How to brine poultry for juicier meat
Brining is an easy, low-effort way to keep poultry juicy and flavorful. By soaking meat in a seasoned saltwater solution, you increase moisture retention and add balanced seasoning throughout. This guide walks you through safe, practical steps for brining chicken or turkey at home.
Step 1: Choose your poultry size
Decide whether you are brining pieces (breasts, thighs, wings) or a whole bird. Use about 1 cup of kosher salt per gallon of water for whole birds up to 6–8 pounds, and 3/4 cup per gallon for pieces to avoid over-salting. Adjust water volume to fully cover the bird in your container.

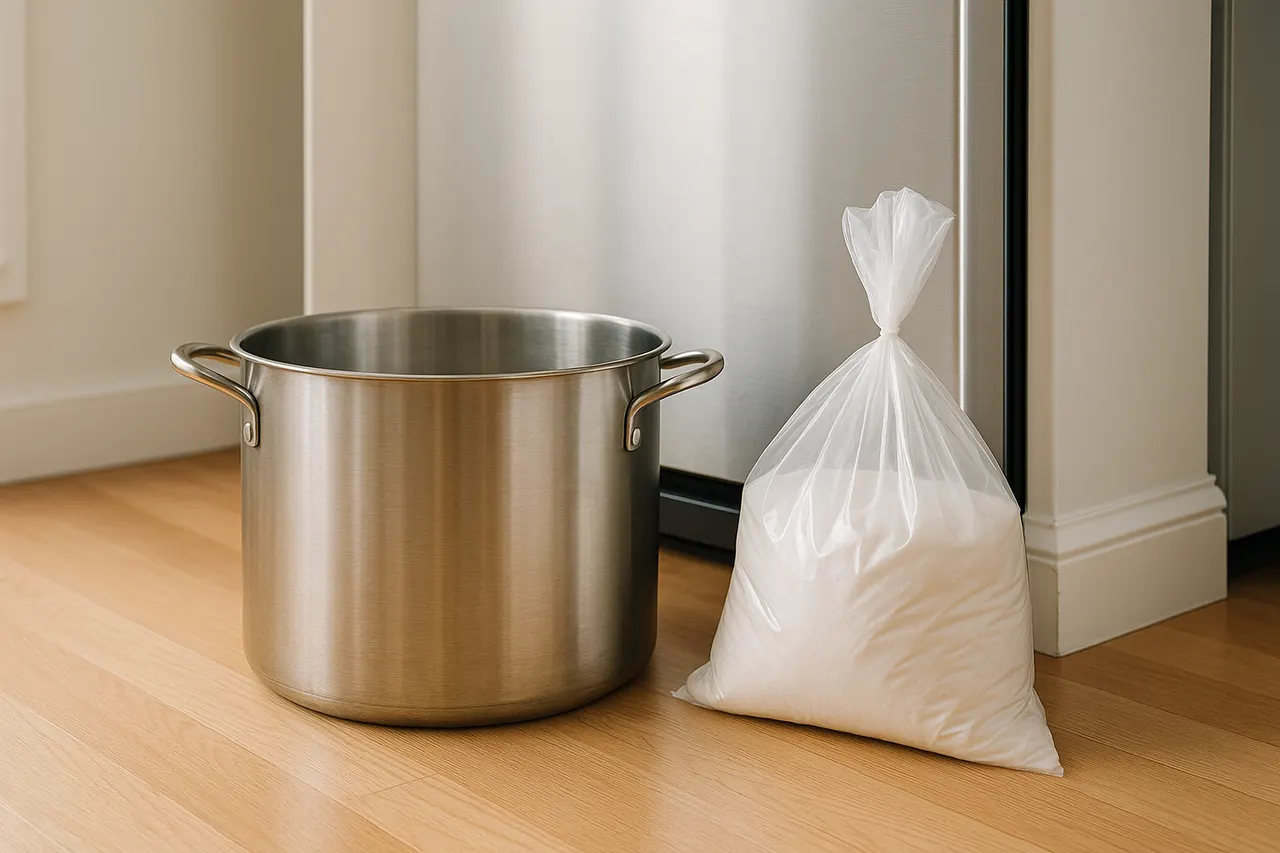
Step 2: Pick a container
Use a nonreactive container such as a food‑grade plastic bucket, large stainless steel pot, or sealable plastic bag in a shallow pan. Make sure the container is big enough to submerge the bird with room for the brine to circulate; this prevents uneven seasoning.
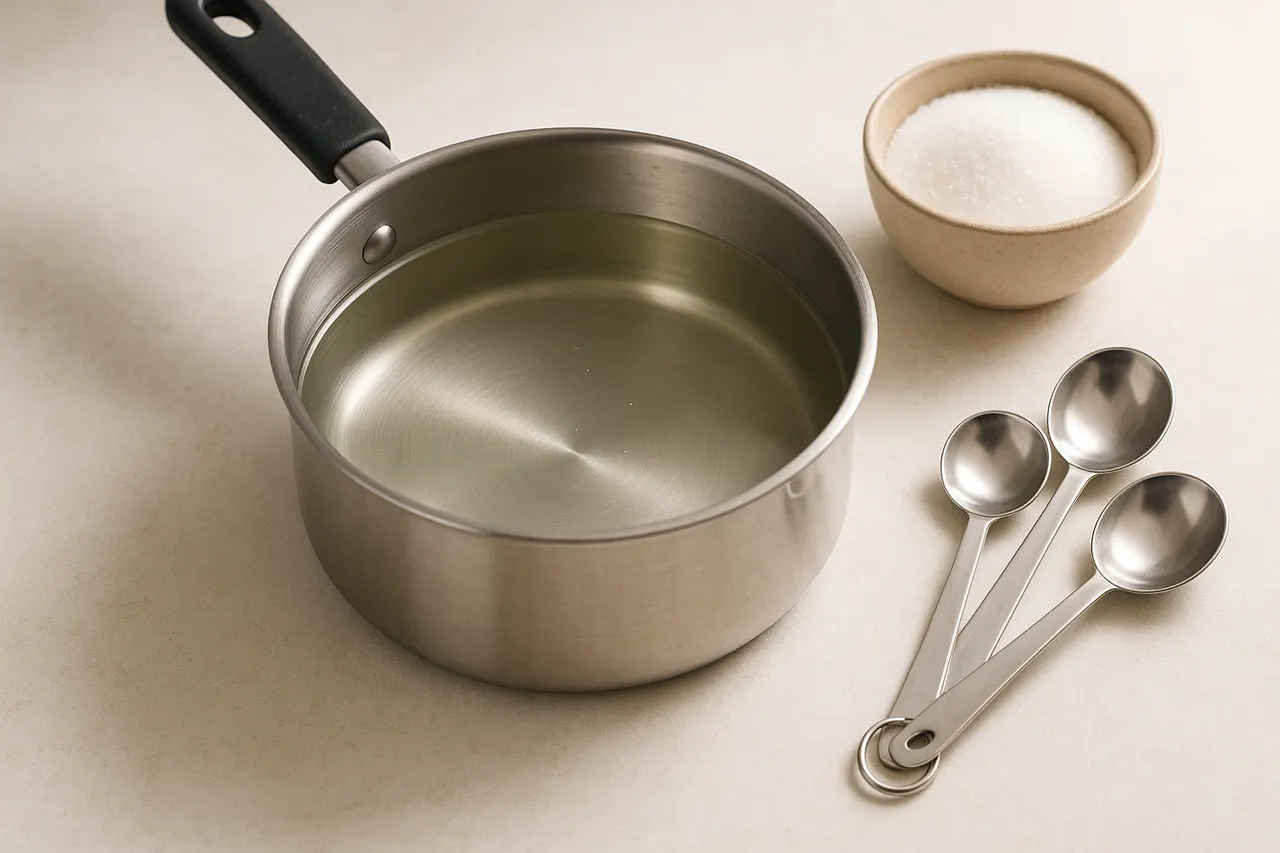
Step 3: Make a basic brine
Combine water, salt, and sugar in a ratio of 1 cup kosher salt and 1/2 cup sugar per gallon of water; dissolve with hot water and then cool the brine to refrigerator temperature. Cooling is essential to keep the poultry out of the danger zone and to prevent partial cooking.
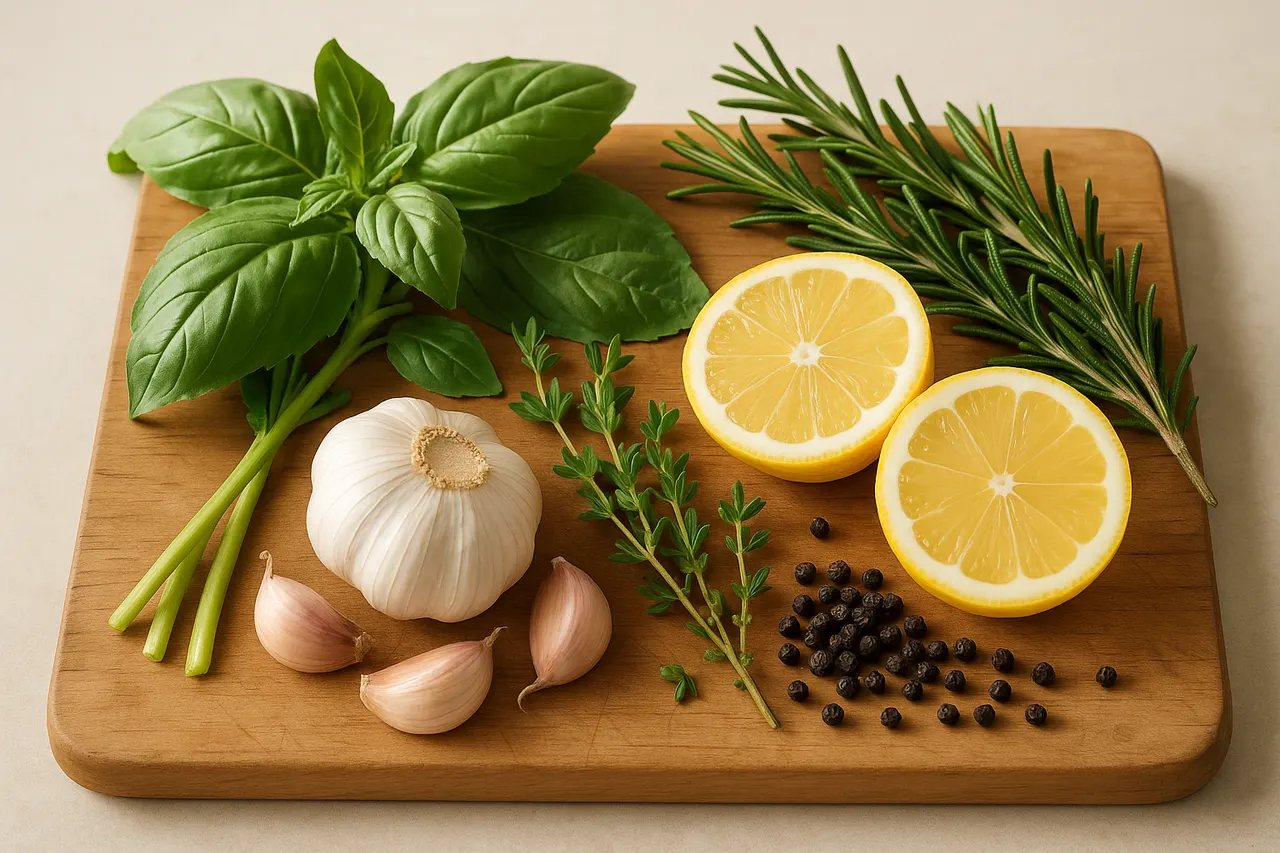
Step 4: Add aromatics and acid
Enhance flavor by adding 4–6 crushed garlic cloves, 2–3 bay leaves, 1 tablespoon whole peppercorns, and a few sprigs of thyme or rosemary per gallon. Optionally add 1/2 cup apple cider vinegar or lemon slices for brightness; acid should be modest so it does not toughen the meat.
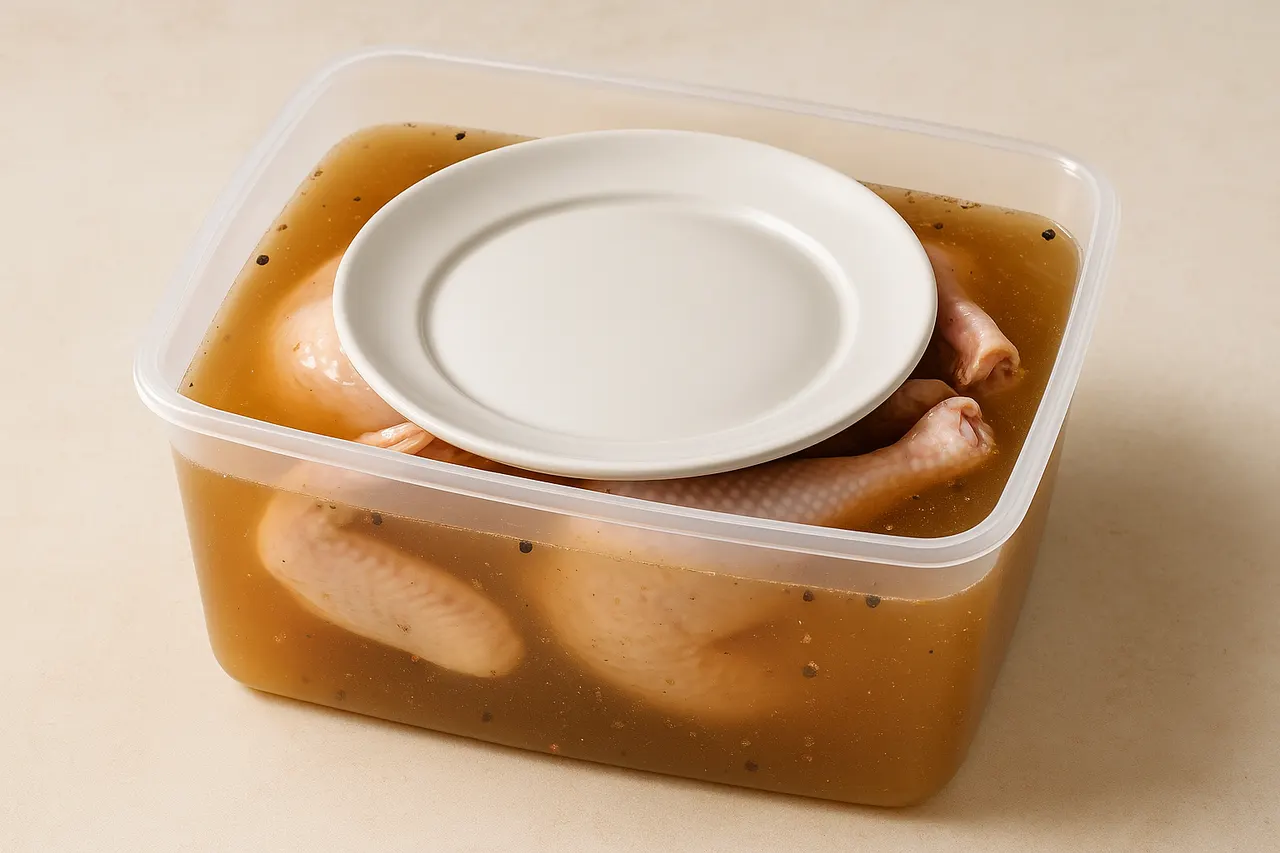
Step 5: Submerge and weigh down
Place poultry in the brine, breast side down, and press under the surface; use a plate or a resealable bag filled with water as a weight. Ensure the meat remains fully submerged for even uptake of salt and moisture.
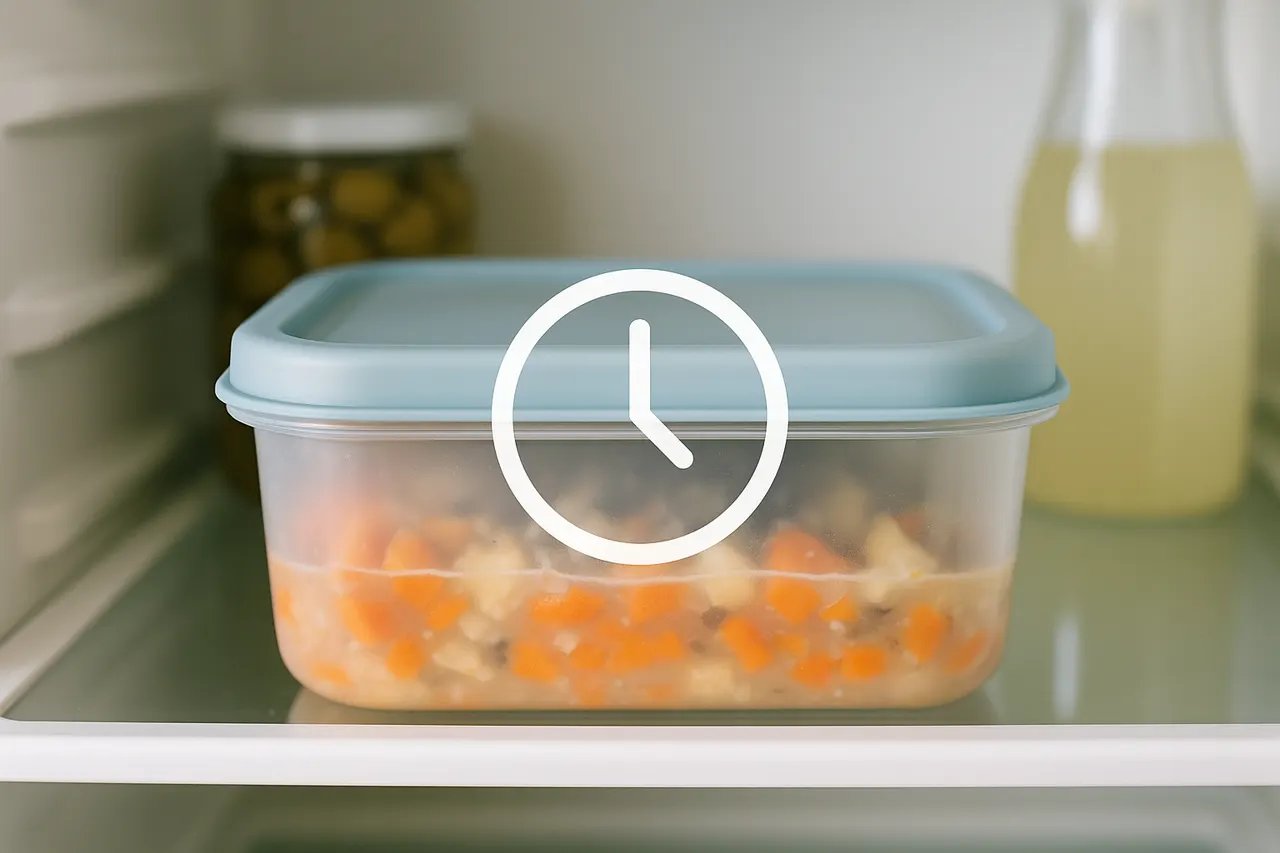
Step 6: Brine for the correct time
Refrigerate while brining: pieces for 1–4 hours, whole birds 8–16 hours for a 4–8 pound bird. Avoid over-brining: small pieces should not exceed 6 hours and whole birds should generally stay under 24 hours to prevent a mushy texture and overly salty meat.
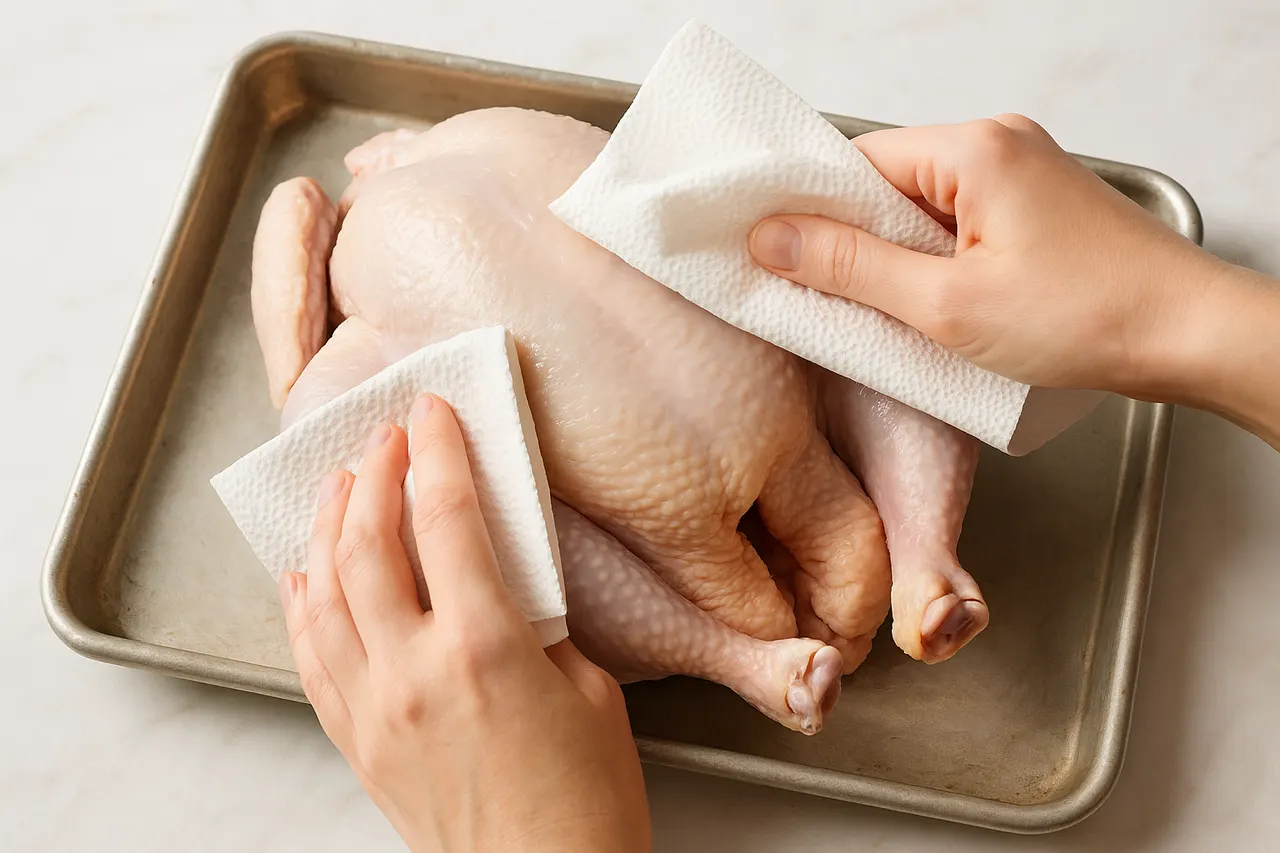
Step 7: Rinse, dry, and rest
When brining is done, remove poultry, rinse lightly under cold water to wash off surface salt, then pat completely dry with paper towels. Let it rest uncovered in the refrigerator 1–4 hours to firm the skin and promote browning during cooking.
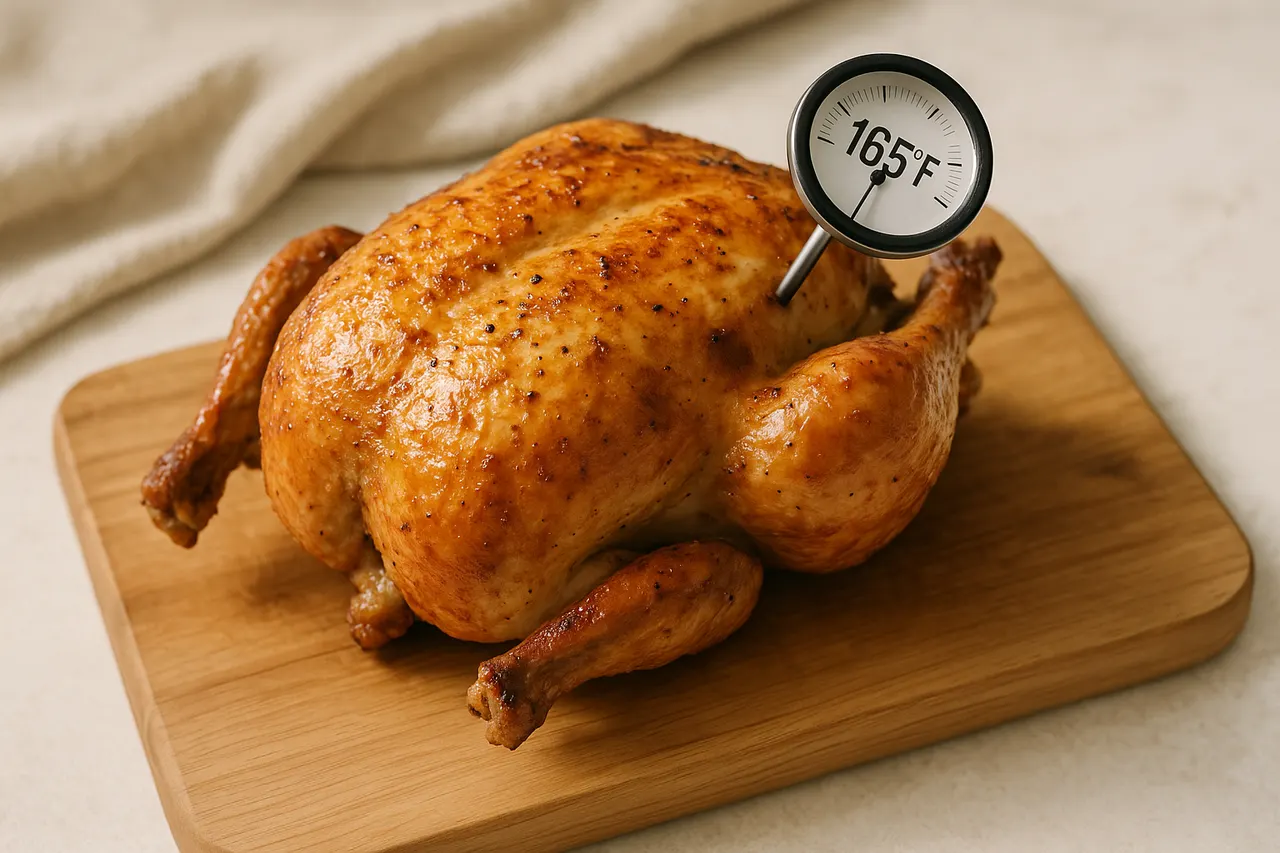
Step 8: Cook to safe temperature
Roast, grill, or pan‑sear to the proper internal temperature: 165°F (74°C) for breasts and whole poultry, 165°F for thighs when measured at the thickest point. Let the meat rest 5–15 minutes after cooking to allow juices to redistribute before slicing.
- Use kosher or pickling salt; if using table salt, reduce amount by about half because it is denser.
- If short on time, make a concentrated brine (double salt) and brine pieces for 30–60 minutes, then rinse well—don’t use concentrated brine for whole birds.
- Flavor additions like citrus peel, brown sugar, soy sauce, or crushed juniper berry can be mixed in—keep total salt consistent.
- Keep brine and poultry refrigerated below 40°F at all times; do not brine at room temperature.
- For a lighter result, use a 50/50 mix of water and low‑sodium chicken stock as part of the brine base.
- Patting the skin very dry and letting it air chill helps achieve crisp skin when roasting or frying.
- Do not reuse brine that has been in contact with raw poultry unless boiled for at least 5 minutes and cooled—otherwise discard for food safety.
- Avoid over-brining (longer than recommended) to prevent a mushy texture and excessive saltiness.
- Never brine in a reactive metal container (like aluminum) which can impart metallic flavors and discolor the meat.
- Always cook poultry to a safe internal temperature (165°F/74°C) to prevent foodborne illness.
Was this guide helpful?
More Food & Entertaining guides
How to make stovetop shakshuka with tender eggs and balanced tomato sauce
Shakshuka is a comforting North African–style skillet of eggs poached in a spiced tomato sauce. This guide walks you through building a balanced sauce and gently cooking tender eggs on the stovetop so yolks stay silky while the sauce is bright and flavorful.
How to make homemade sourdough starter and maintain regular feedings
Making a sourdough starter is a simple, rewarding kitchen project that captures wild yeast and beneficial bacteria to leaven bread. With just flour, water, and a little patience you can build a lively culture and keep it healthy with regular feedings. Follow the step-by-step routine below to create and maintain a starter that will power many loaves.
How to assemble and store layered salads so they don’t get soggy before eating
Layered salads are a colorful, make-ahead way to serve a crowd, but soggy ingredients can ruin the texture. With a few simple construction and storage strategies you can keep greens crisp and dressings separated for 24–72 hours. Follow these steps to assemble jars or bowls that travel well and taste fresh when served.