How to clean and season a cast iron skillet
A well-maintained cast iron skillet can last generations and improve with age. This guide walks you through simple cleaning and seasoning steps so your pan stays nonstick, rust-free, and ready for cooking. Follow the sequence and use the recommended times and amounts for best results.
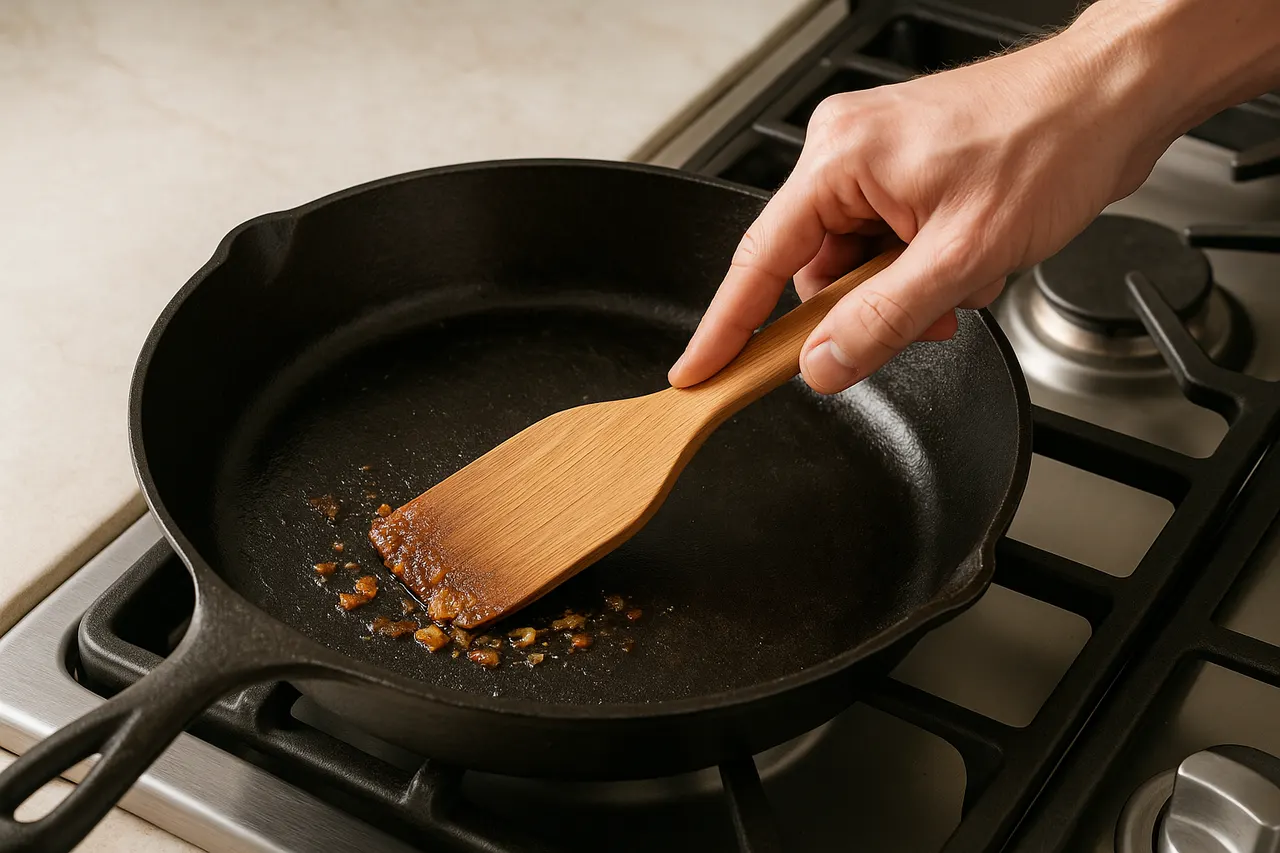
Step 1: Cool and scrape food debris
After cooking, let the skillet cool for 5–10 minutes to avoid warping. Use a wooden or silicone spatula to scrape away large bits of food; removing debris while warm takes less effort and avoids using too much water.
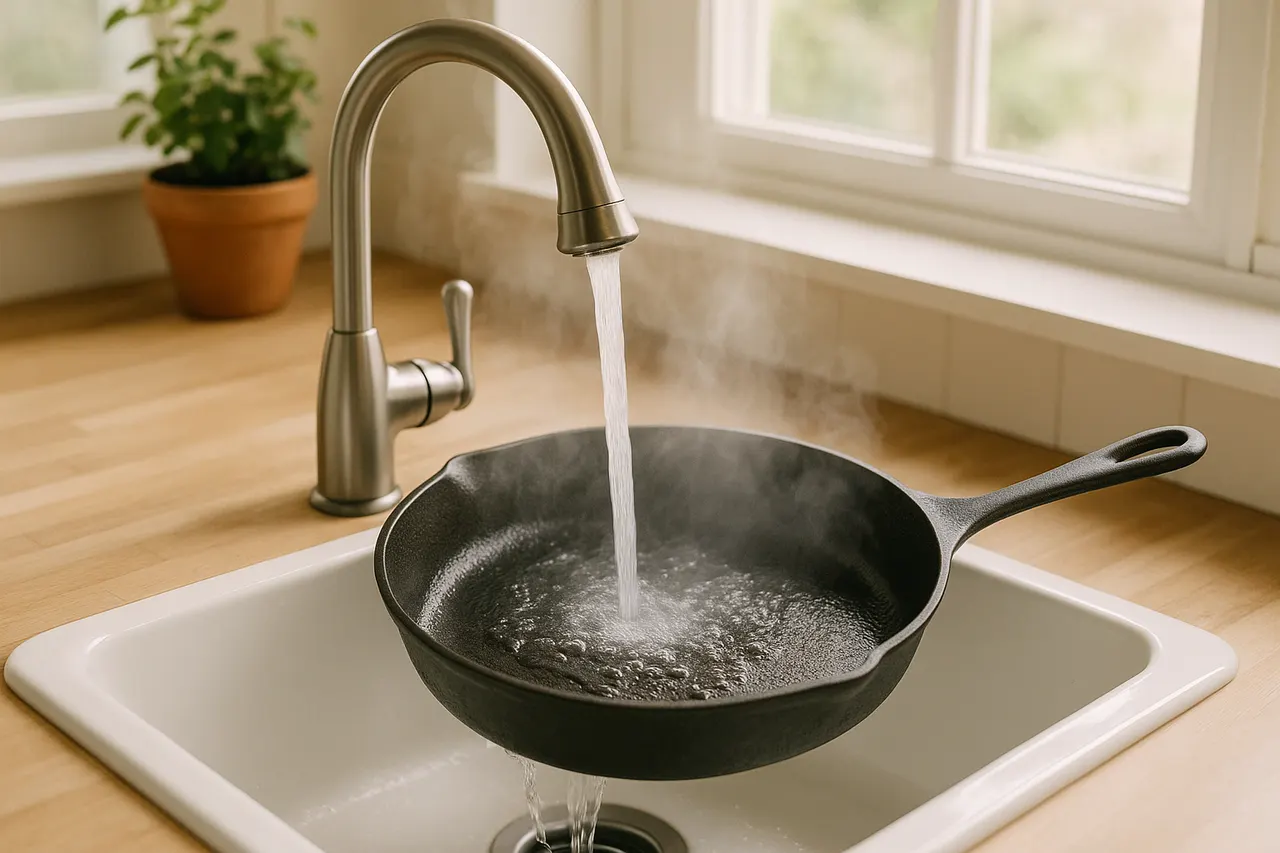
Step 2: Rinse with hot water
Rinse the pan under hot running water for 30–60 seconds to loosen remaining residue. Hot water helps dissolve fats; avoid soaking for long periods because prolonged contact with water can promote rust.
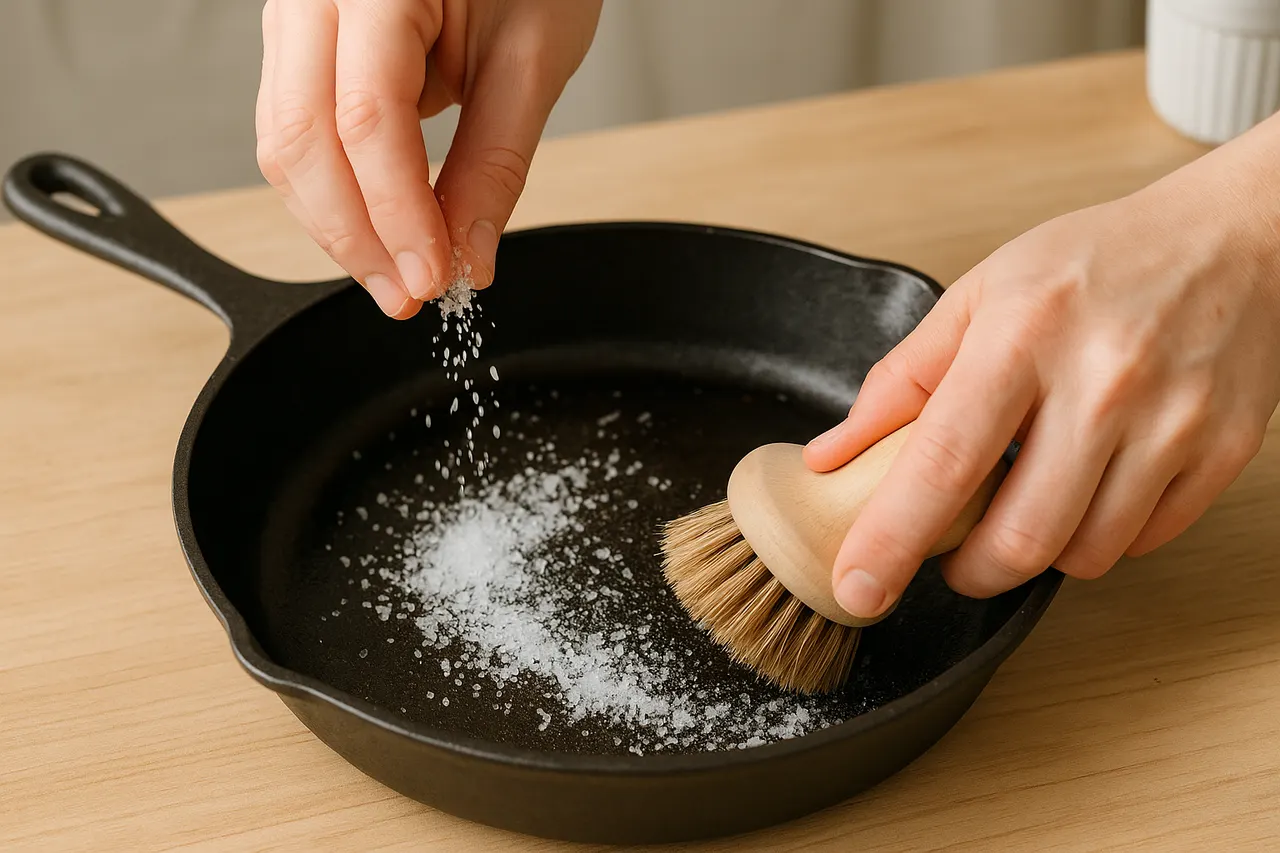
Step 3: Use mild abrasion if needed
For stuck-on bits, scrub with a nonmetal brush or a paste of 1 tablespoon coarse kosher salt and a little water for 1–2 minutes. The salt acts as an abrasive without stripping seasoning like harsh detergents or steel wool would.
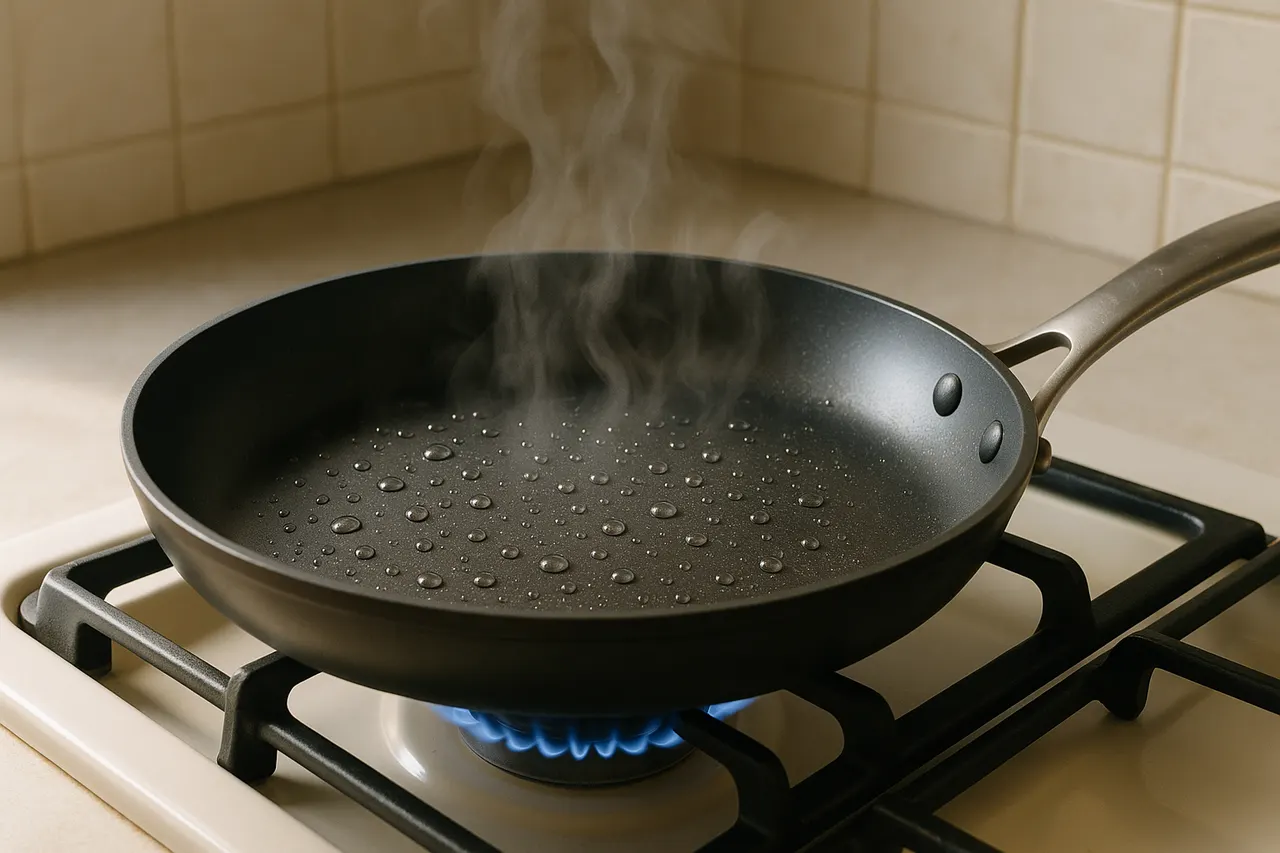
Step 4: Dry thoroughly and heat
Immediately dry the skillet with a clean towel, then place it on medium-low heat for 2–3 minutes to evaporate any remaining moisture. Ensuring the pan is completely dry prevents rust and prepares it for oiling.
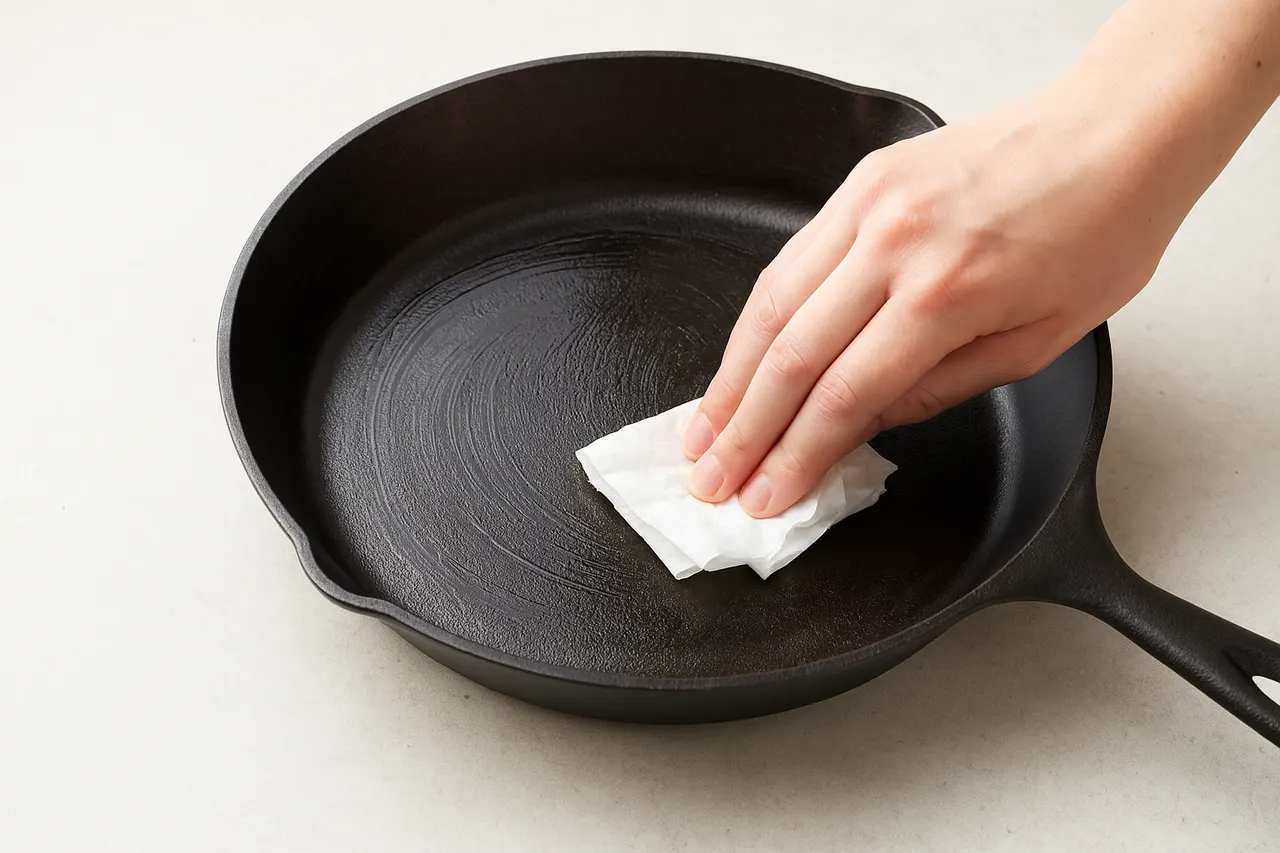
Step 5: Apply a thin layer of oil
Using a paper towel or lint-free cloth, rub 1 teaspoon of high-smoke-point oil (vegetable, canola, or grapeseed) over the entire surface, inside and out, until barely shiny. A thin coat bonds better and avoids sticky buildup.
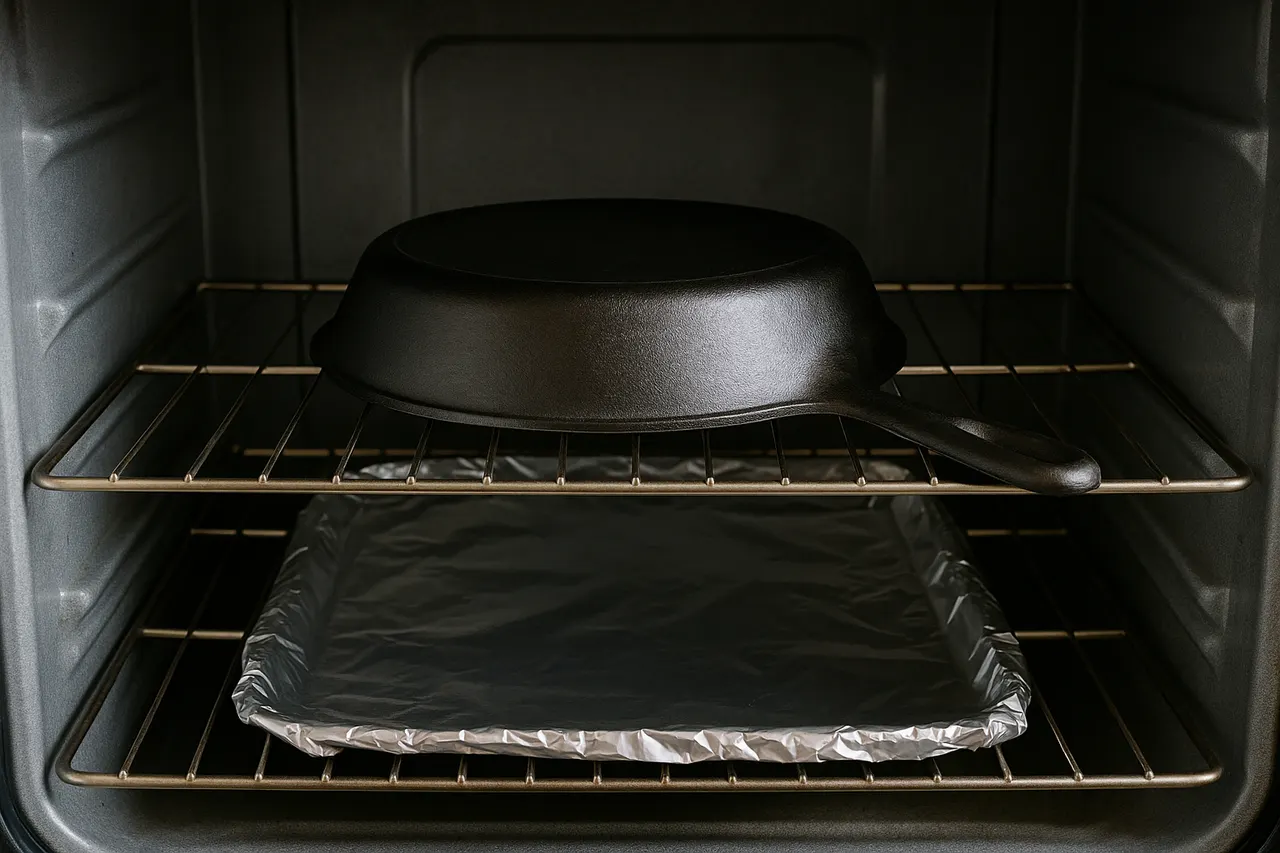
Step 6: Bake to polymerize oil
Place the oiled skillet upside down on the middle oven rack with a foil-lined sheet on the rack below to catch drips. Bake at 450°F (230°C) for 45–60 minutes, then turn off the oven and let the pan cool inside for at least 1 hour to complete seasoning.
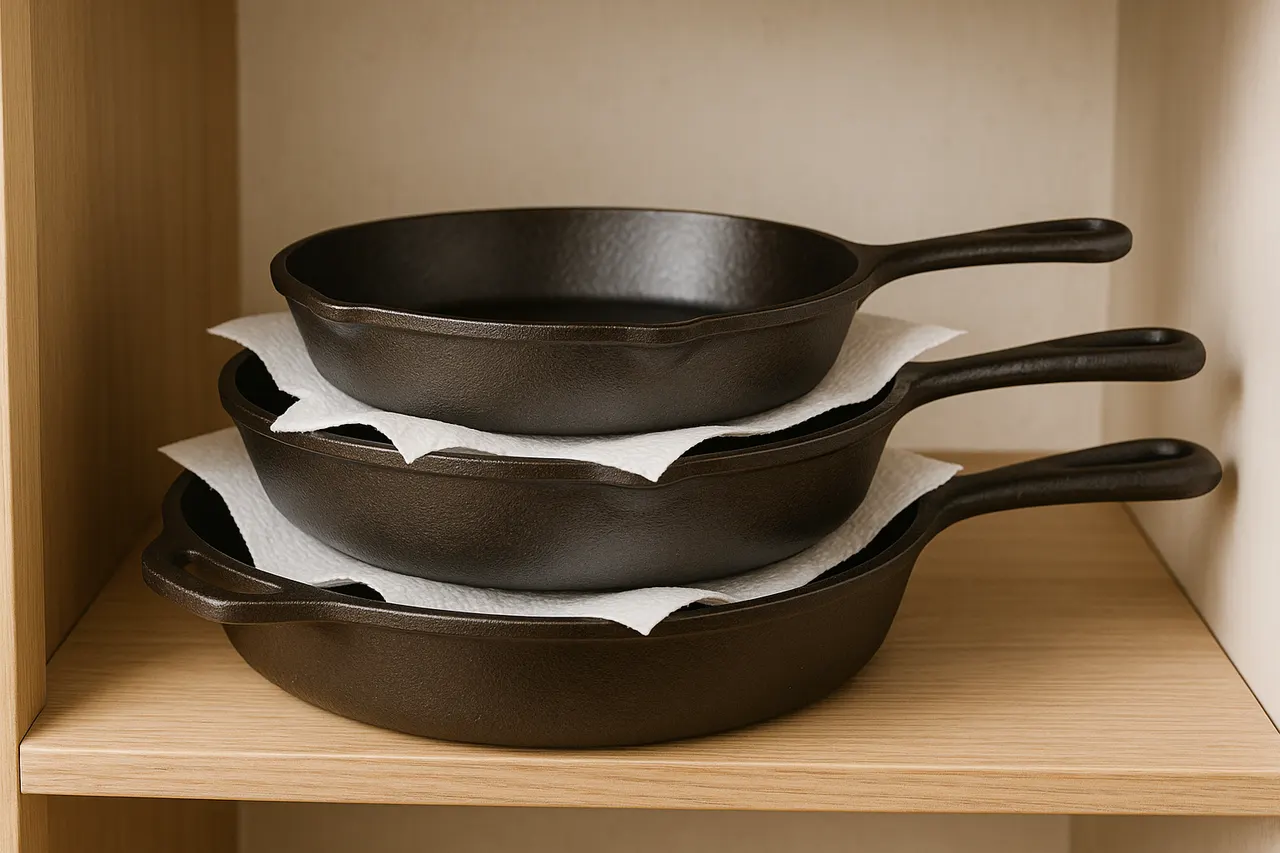
Step 7: Store and maintain routinely
Store your skillet in a dry place with a paper towel or cloth between stacked pans to absorb moisture. Re-season lightly after 3–5 uses or whenever food begins to stick to keep the nonstick surface consistent.
- Clean while slightly warm but not hot to the touch to make scraping easier and safer.
- Use 1 teaspoon of oil for a single skillet; more oil can create a sticky surface after baking.
- If rust appears, scrub with steel wool until the rust is gone, then re-season following the baking step.
- For daily quick maintenance, wipe with a paper towel lightly coated in oil after each use instead of a full reseason.
- Avoid soap for routine cleaning; a drop of mild dish soap can be used occasionally if followed by reseasoning.
- Rotate the skillet in the oven once during the 45–60 minute bake if your oven has hot spots to promote even polymerization.
- Do not immerse a very hot skillet in cold water; thermal shock can warp the metal and cause burns.
- Avoid using automatic dishwashers or prolonged soaking; both can strip seasoning and cause rust.
- Do not leave excess oil on the surface when storing; pooled oil can become sticky or rancid.
- Keep children away when heating oil in the oven and when drying on the stovetop to prevent burns.
Was this guide helpful?
More Food & Entertaining guides
How to make stovetop shakshuka with tender eggs and balanced tomato sauce
Shakshuka is a comforting North African–style skillet of eggs poached in a spiced tomato sauce. This guide walks you through building a balanced sauce and gently cooking tender eggs on the stovetop so yolks stay silky while the sauce is bright and flavorful.
How to make homemade sourdough starter and maintain regular feedings
Making a sourdough starter is a simple, rewarding kitchen project that captures wild yeast and beneficial bacteria to leaven bread. With just flour, water, and a little patience you can build a lively culture and keep it healthy with regular feedings. Follow the step-by-step routine below to create and maintain a starter that will power many loaves.
How to assemble and store layered salads so they don’t get soggy before eating
Layered salads are a colorful, make-ahead way to serve a crowd, but soggy ingredients can ruin the texture. With a few simple construction and storage strategies you can keep greens crisp and dressings separated for 24–72 hours. Follow these steps to assemble jars or bowls that travel well and taste fresh when served.