How to cook dried beans in a pressure cooker/Instant Pot
Cooking dried beans in a pressure cooker or Instant Pot is a fast, economical way to get tender, flavorful beans without babysitting a stovetop pot. With simple steps for sorting, soaking (optional), seasoning, and timing, you can make perfect beans for salads, soups, tacos, and more. Follow these guidelines to avoid mushy or undercooked beans and to get consistent results.
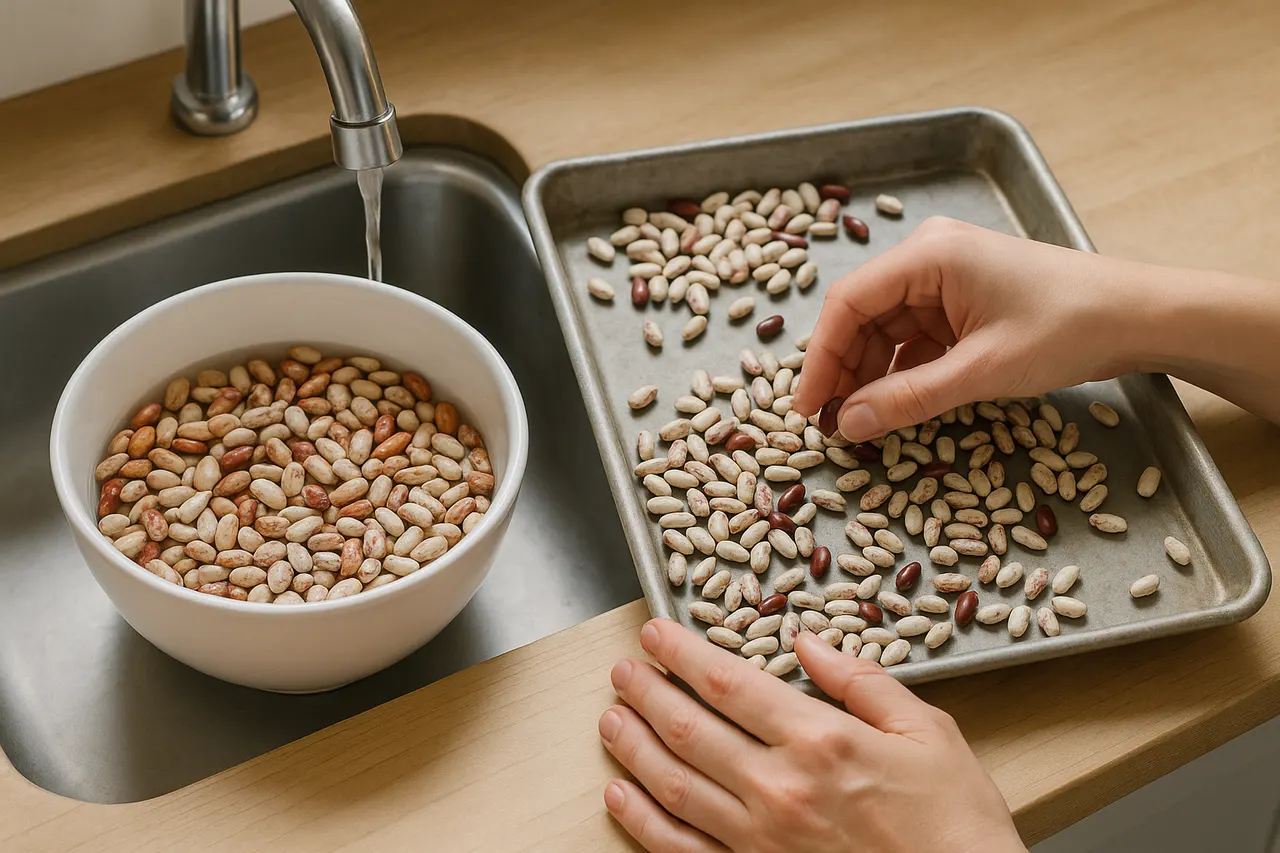
Step 1: Sort and rinse beans
Spread 1 to 2 cups of dried beans on a tray and pick out stones, shriveled beans, or debris. Rinse well under cold running water until the water runs mostly clear to remove dust and surface starch that can cause foaming.
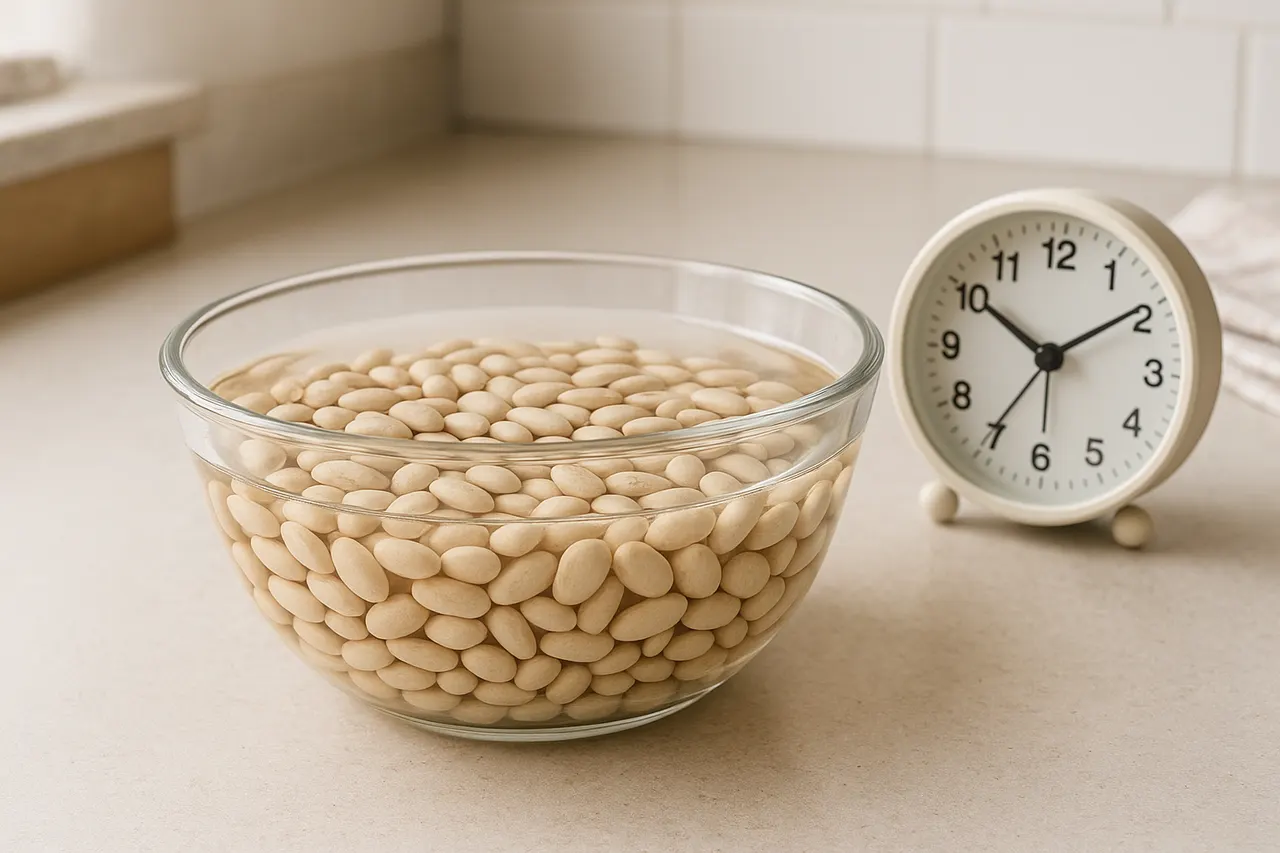
Step 2: Decide whether to soak
For faster, more even cooking and reduced gas, soak beans: cover beans with 3 cups water per cup of beans and soak 6-8 hours or overnight. For unsoaked cooking, skip this step and simply add more cooking time; soaking shortens pressure time and can improve texture.
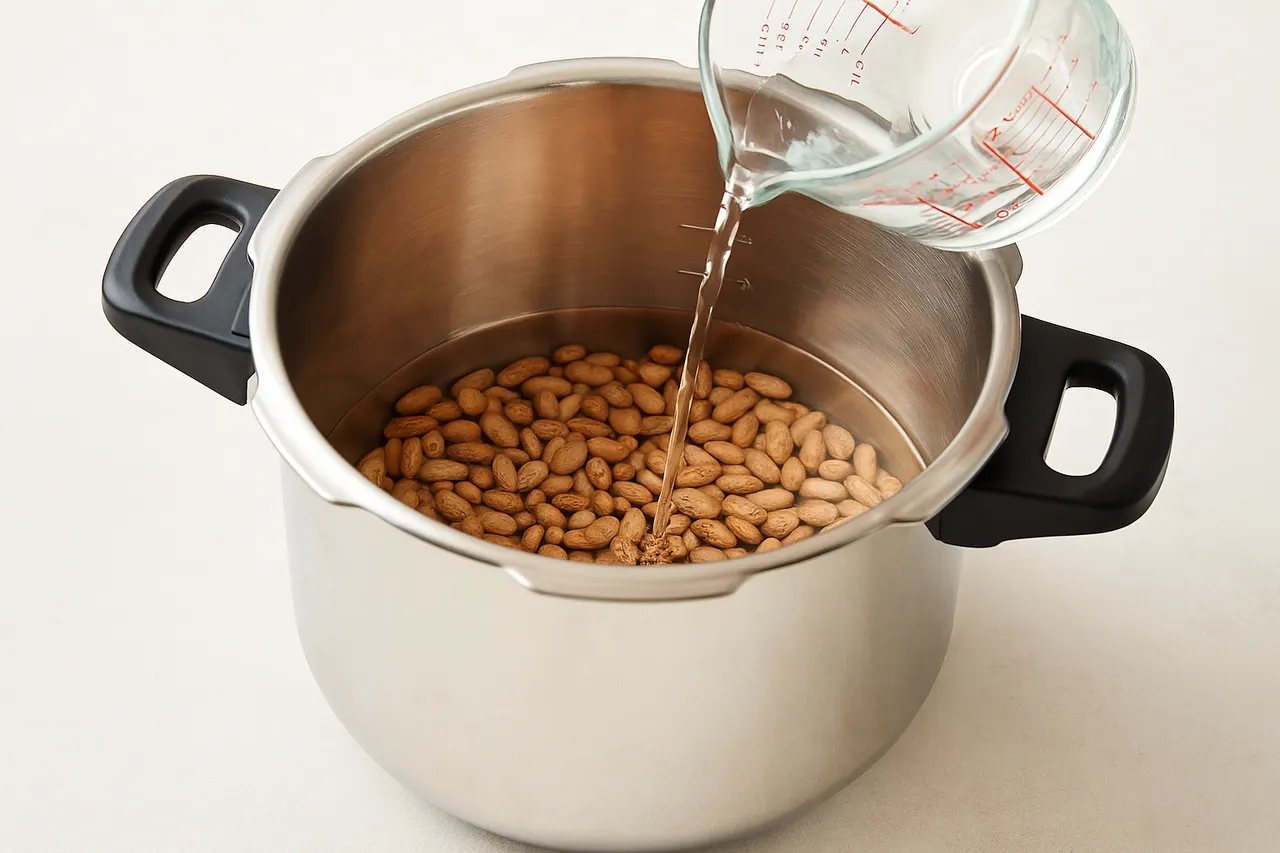
Step 3: Use correct liquid ratio
Place beans in the pressure cooker and add 3 cups water or low-sodium broth per cup of unsoaked beans, or 2.5 cups per cup if soaked and drained. Include 1 teaspoon salt per 2 cups of dry beans if desired; salt can be added early without toughening modern beans.
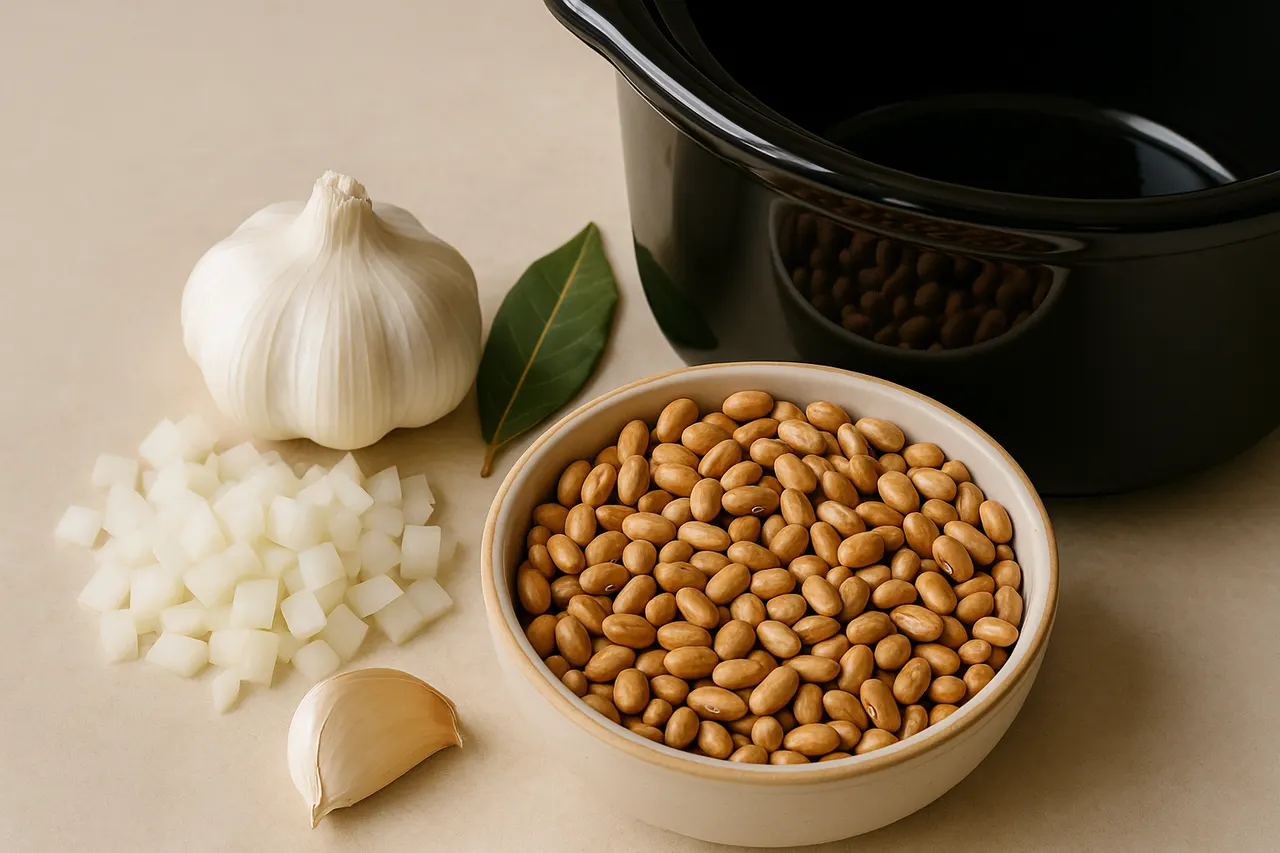
Step 4: Add aromatics and acid later
Add bay leaf, garlic cloves, onion quarters, or a strip of kombu for flavor before cooking. Avoid adding acidic ingredients like tomatoes, vinegar, or lemon until after beans are tender, because acid can slow or prevent softening.
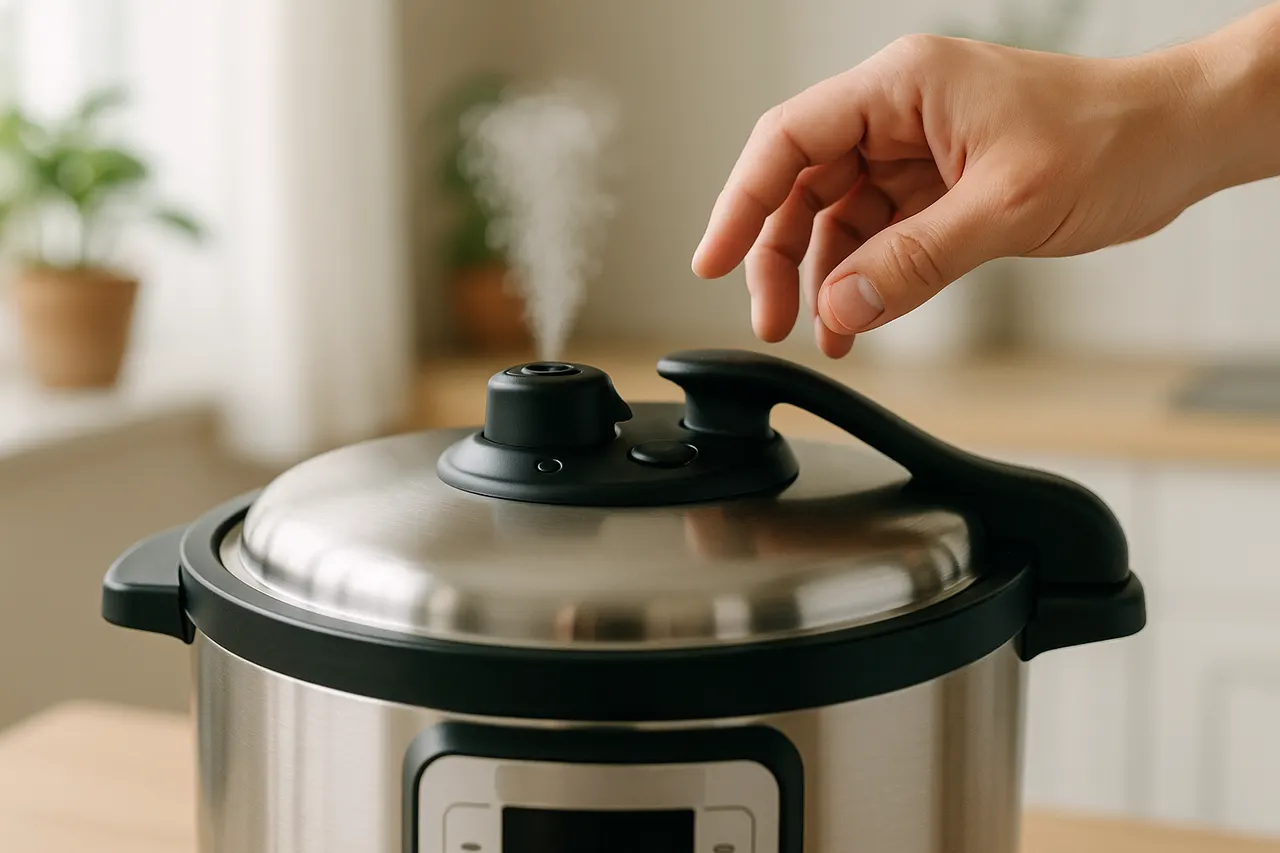
Step 5: Set pressure and time
Seal the cooker and bring to high pressure. Cook times vary by bean: black beans 20–25 minutes unsoaked (12–15 soaked), pinto 25–30 minutes unsoaked (15–20 soaked), navy 20–25 minutes unsoaked (10–15 soaked), and chickpeas 35–40 minutes unsoaked (20–25 soaked). Use the lower end for firmer beans and the higher end for stew-ready softness.

Step 6: Use natural release for best texture
Let pressure release naturally for 10–20 minutes after cook time to allow beans to finish softening gently; then quick-release any remaining pressure. Natural release reduces split or mashed skins and gives more even doneness.
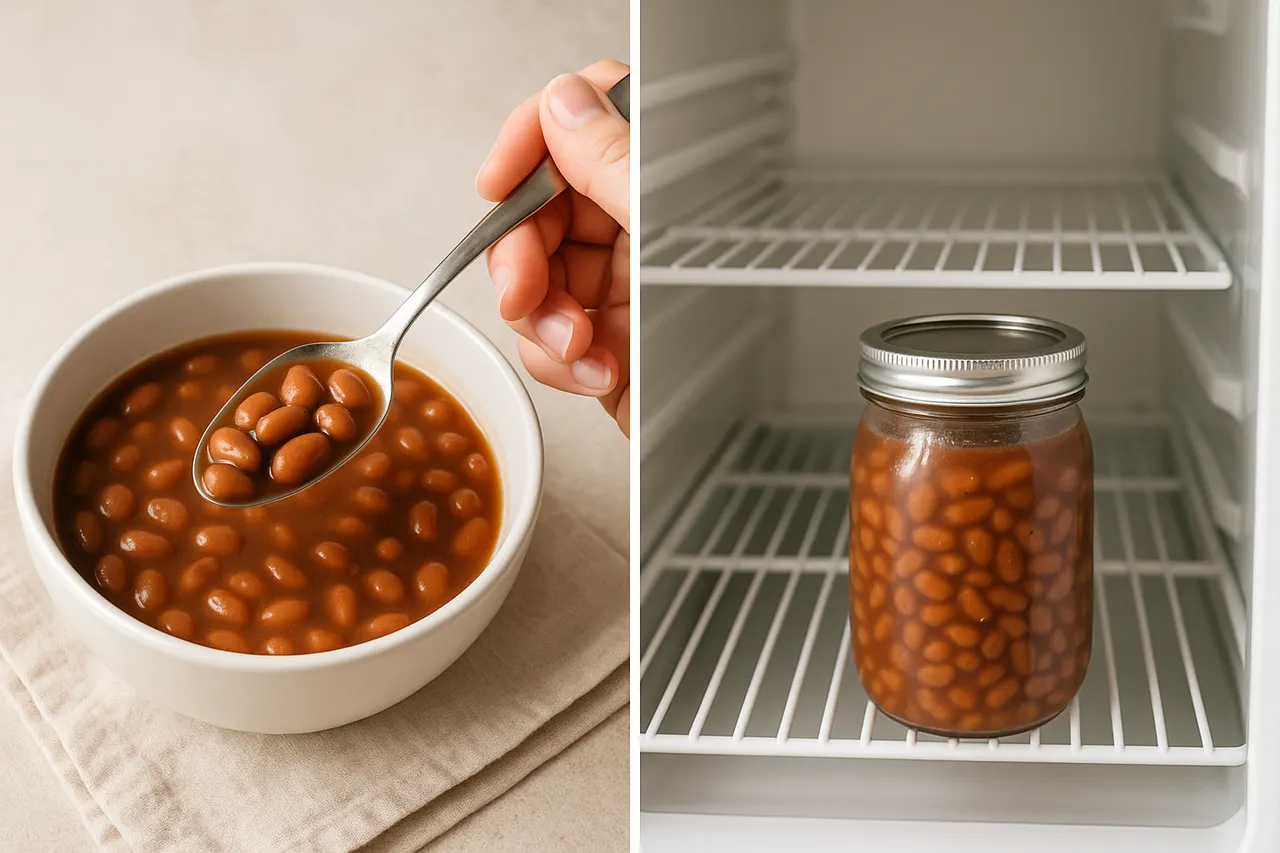
Step 7: Check, season, and store
Open the lid and test 3–4 beans for doneness; if still firm, simmer under pressure for another 5–10 minutes. Adjust salt, acid, and spices after cooking. Cool and refrigerate cooked beans in their cooking liquid up to 4–5 days or freeze in portions for 3 months.
- For very foamy beans, add a tablespoon of oil to the cooking liquid to reduce foaming and protect the pressure release valve.
- If you need beans faster, use the quick-soak method: bring beans and water to a boil for 2 minutes, remove from heat, cover, and soak 1 hour before pressure cooking with soaked times.
- Label and freeze beans in 1-2 cup portions in airtight bags to speed meal prep and portion control.
- Reserve some of the cooking liquid (pot liquor) when storing beans; it adds flavor and keeps beans moist when reheating.
- For soups and chilis, undercook beans slightly in the pressure cooker if you plan to simmer further with acidic ingredients so they don’t become mushy.
- Beans vary by age; older beans take longer. If beans remain hard after extended cooking, try another 10–15 minutes at high pressure with fresh water.
- Never overfill the pressure cooker; keep contents below the manufacturer’s max fill line, typically two-thirds full or half full for beans because they foam.
- Do not force-open the cooker while it is pressurized; always follow the recommended natural or quick-release procedures to avoid scalding.
- If the pressure cooker emits excessive foam or blocks the vent, turn off heat and allow to cool and release pressure naturally before inspecting.
- Avoid adding large amounts of acidic ingredients (vinegar, tomatoes, wine) at the start; they can prevent beans from softening and lead to long, ineffective cooking times.
Was this guide helpful?
More Food & Entertaining guides
How to make stovetop shakshuka with tender eggs and balanced tomato sauce
Shakshuka is a comforting North African–style skillet of eggs poached in a spiced tomato sauce. This guide walks you through building a balanced sauce and gently cooking tender eggs on the stovetop so yolks stay silky while the sauce is bright and flavorful.
How to make homemade sourdough starter and maintain regular feedings
Making a sourdough starter is a simple, rewarding kitchen project that captures wild yeast and beneficial bacteria to leaven bread. With just flour, water, and a little patience you can build a lively culture and keep it healthy with regular feedings. Follow the step-by-step routine below to create and maintain a starter that will power many loaves.
How to assemble and store layered salads so they don’t get soggy before eating
Layered salads are a colorful, make-ahead way to serve a crowd, but soggy ingredients can ruin the texture. With a few simple construction and storage strategies you can keep greens crisp and dressings separated for 24–72 hours. Follow these steps to assemble jars or bowls that travel well and taste fresh when served.