How to cook fluffy long-grain rice on the stovetop
Cooking fluffy long-grain rice on the stovetop is simple with the right ratio, gentle heat, and a little patience. This guide walks you through measured steps to get separated, tender grains every time without sticky clumps. Keep utensils ready and follow the timings for best results.
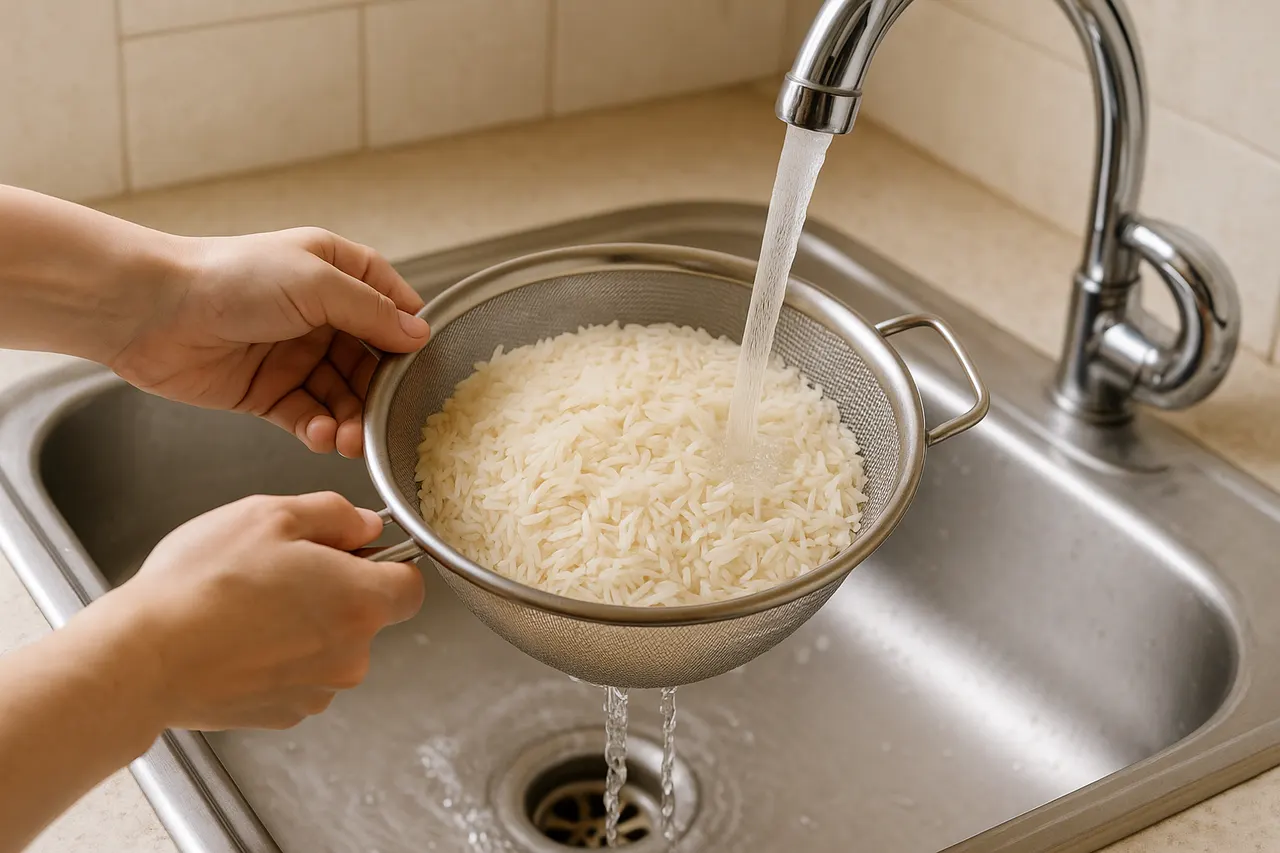
Step 1: Measure rice and rinse
Measure 1 cup (200 g) long-grain white rice for about 3 cups cooked. Rinse the rice under cold water in a fine-mesh sieve until the water runs mostly clear to remove surface starches that cause clumping. Drain well for 30–60 seconds.
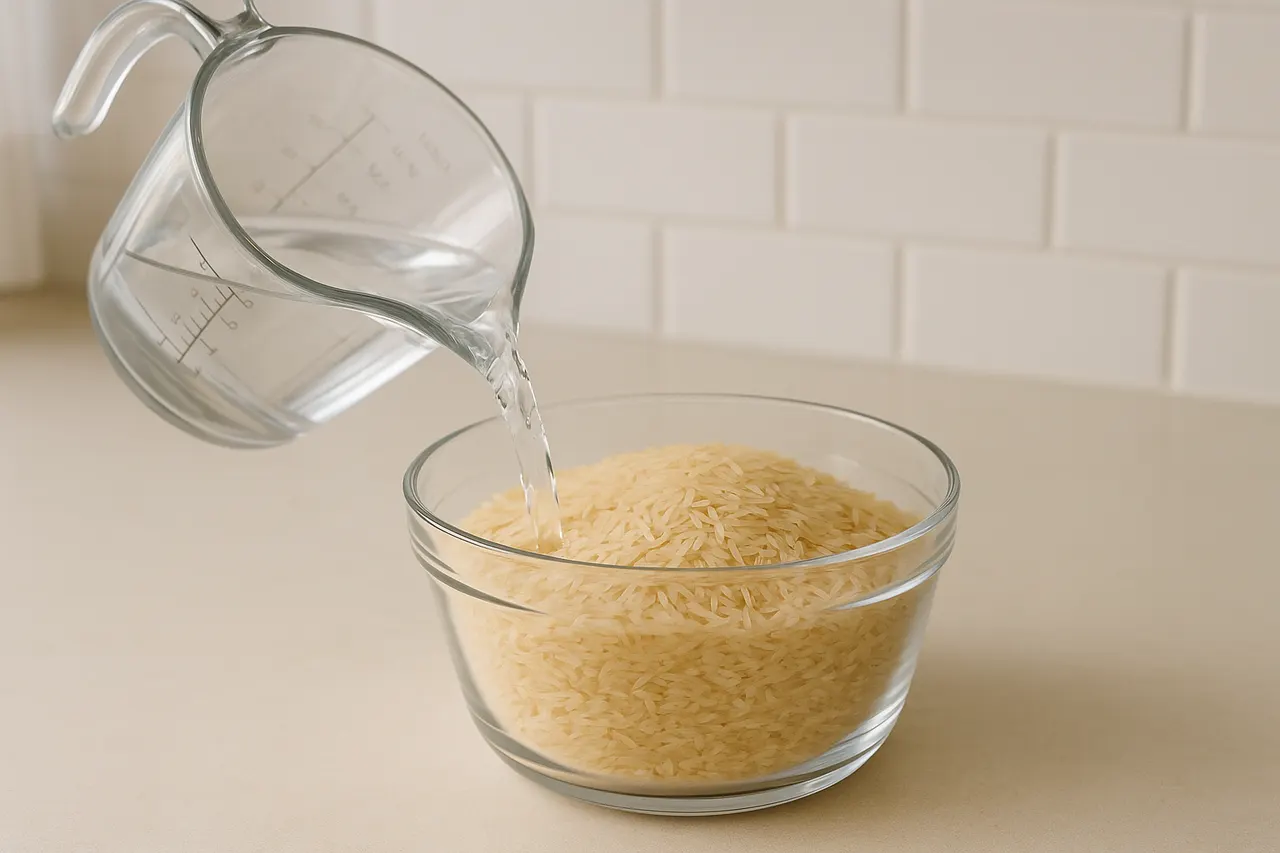
Step 2: Measure water precisely
Use a 1:1.5 rice-to-water ratio for most long-grain white rice: 1 cup rice to 1.5 cups (360 ml) water. If your rice package suggests a different ratio, adjust by 1–2 tablespoons. Use cold water measured in the same cup for consistency.
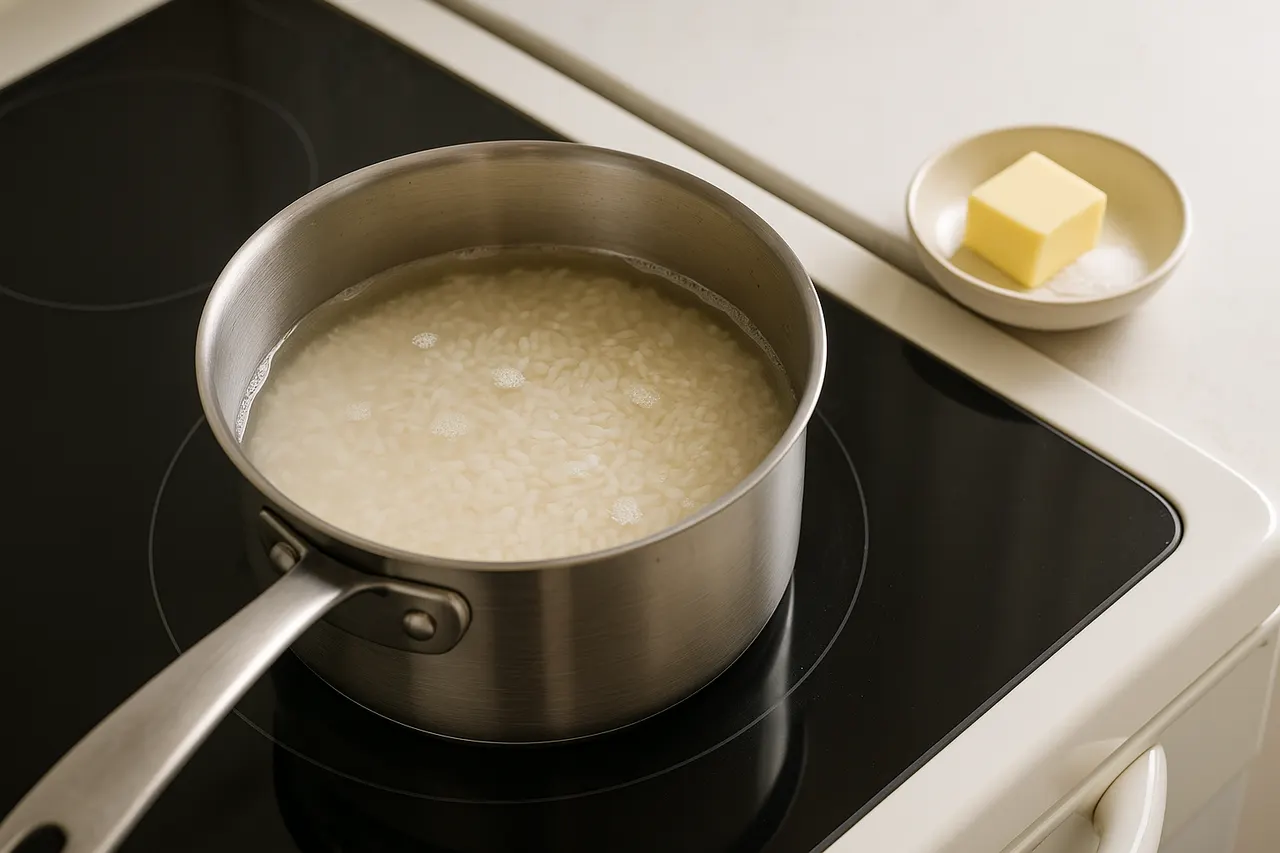
Step 3: Combine rice and water in pot
Place the rinsed rice and measured water in a medium saucepan (2-quart/2-liter) with a snug-fitting lid. Add 1/2 teaspoon salt and 1 tablespoon unsalted butter or oil if desired for flavor and separation of grains. Stir once to evenly distribute.
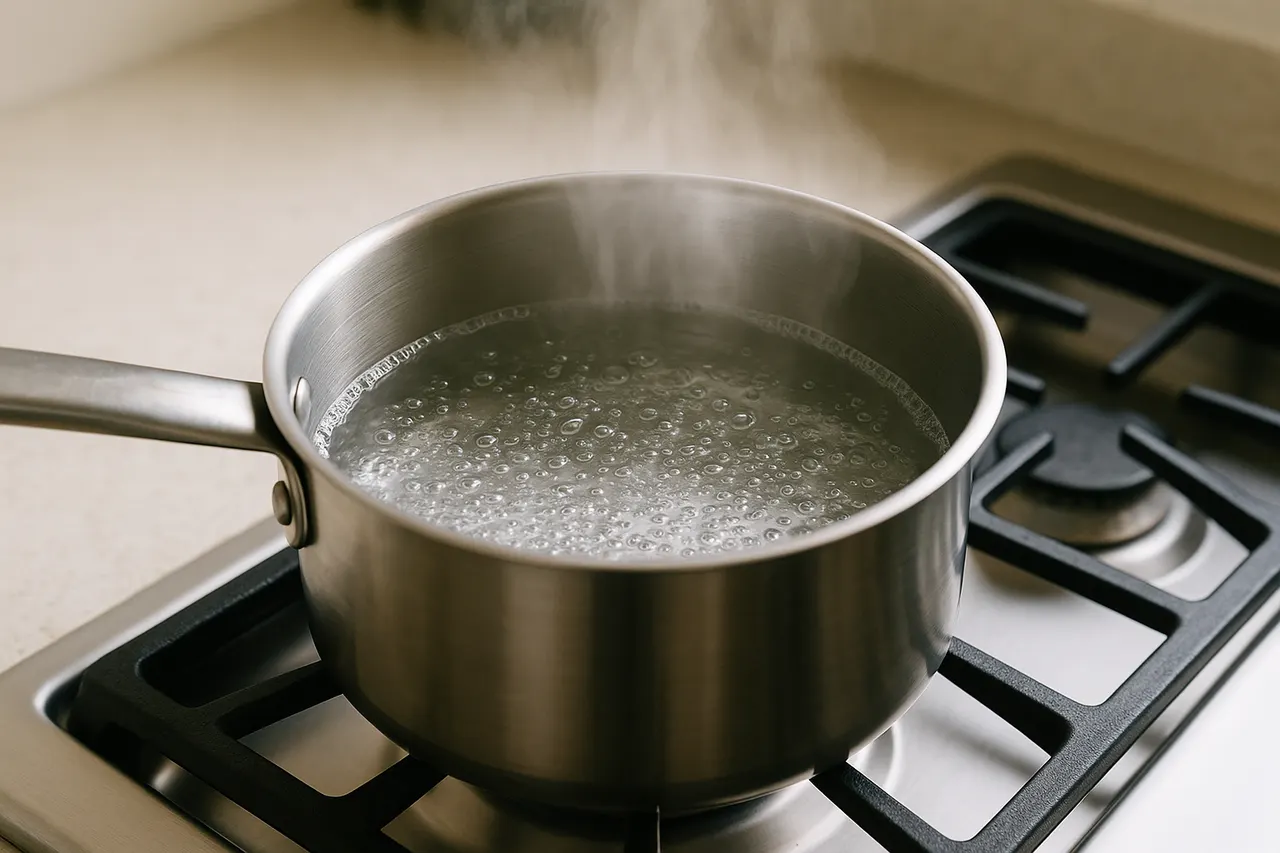
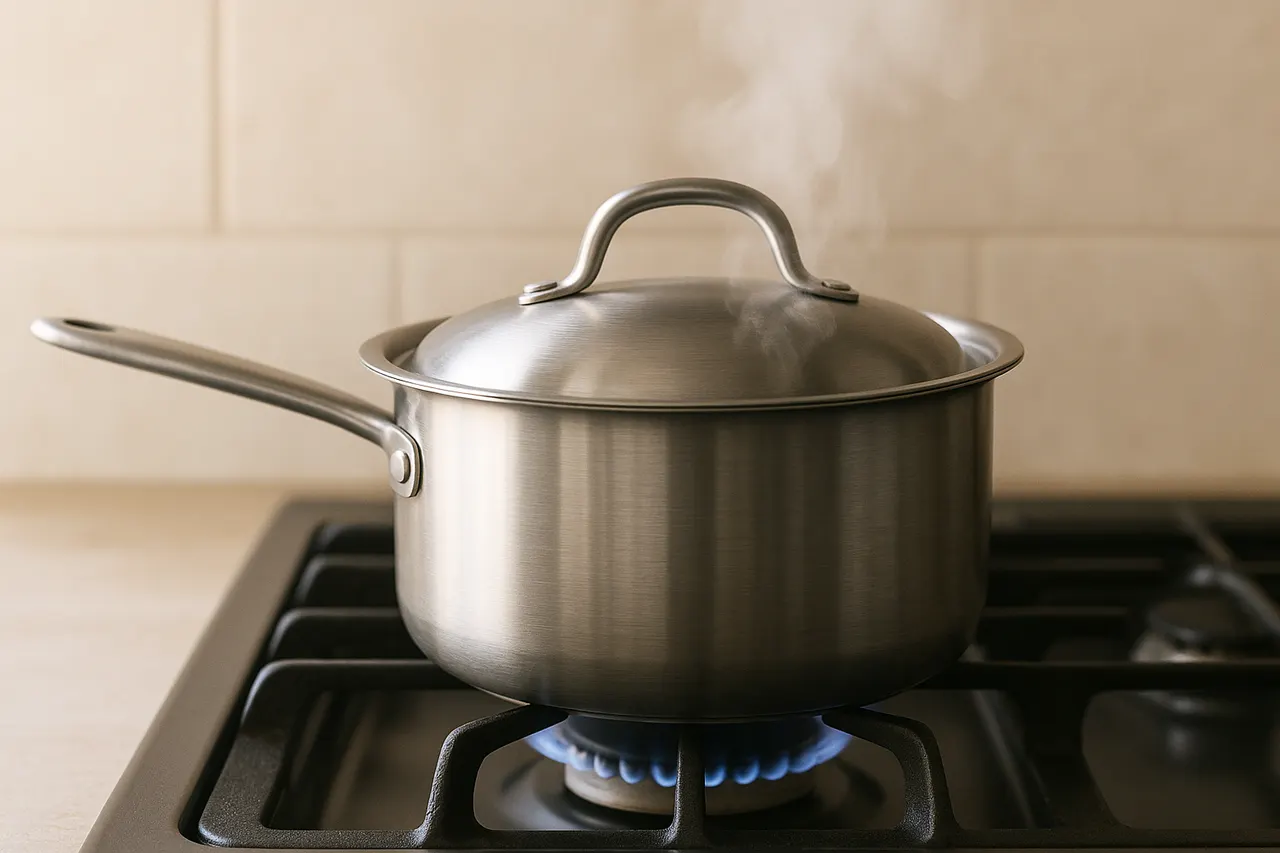
Step 4: Bring to a gentle boil
Heat uncovered over medium-high heat until steam rises and the surface shows steady small bubbles, about 4–6 minutes. Watch closely to prevent boiling over. Do not stir during this stage to avoid releasing more starch.
Step 5: Reduce to low and cover
As soon as it reaches a gentle boil, reduce heat to low so liquid is barely simmering and place the lid on tightly. The goal is a gentle simmer, not an aggressive boil; this prevents grain breakage and uneven cooking.
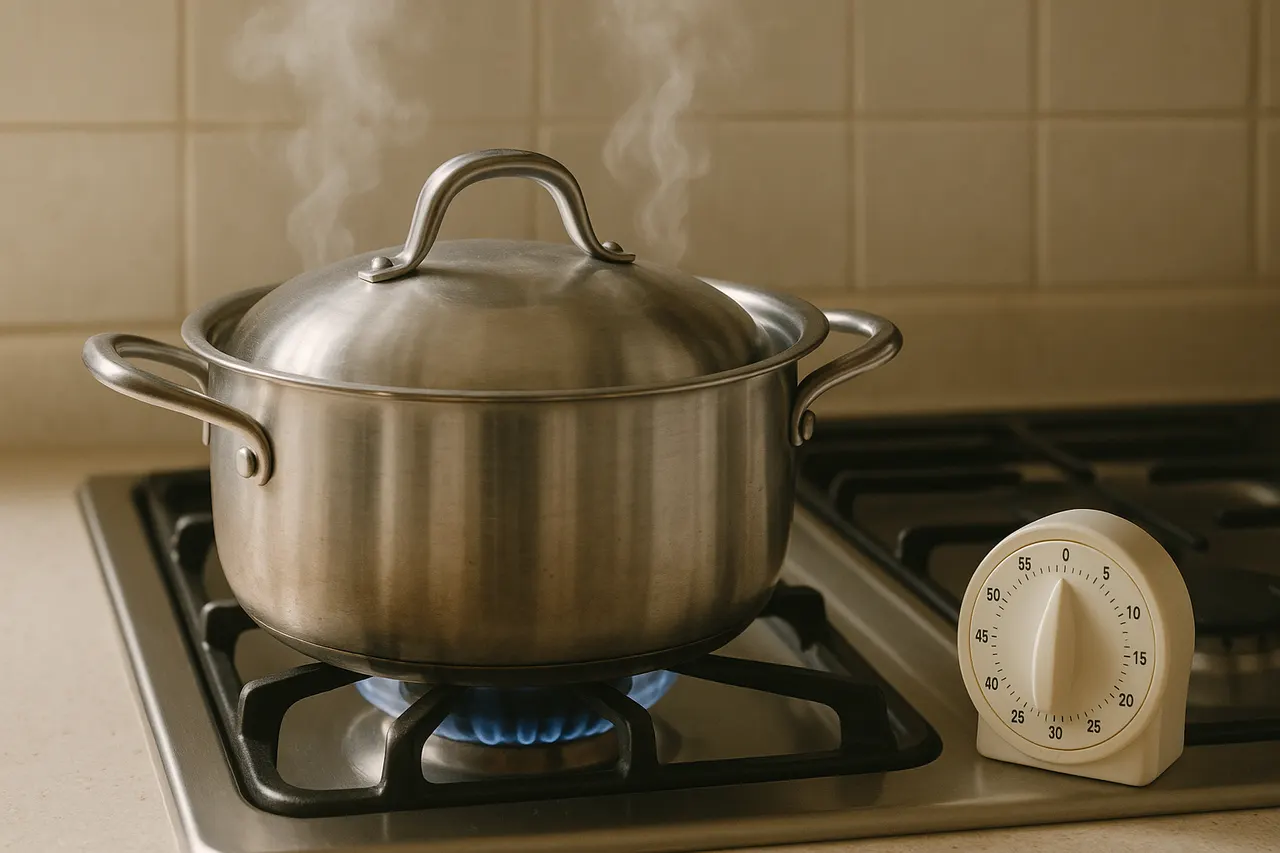
Step 6: Simmer without lifting lid
Cook undisturbed for 15 minutes for standard long-grain white rice. Avoid lifting the lid or stirring, which lets steam escape and can make rice gummy. Set a timer to ensure precise cooking time.
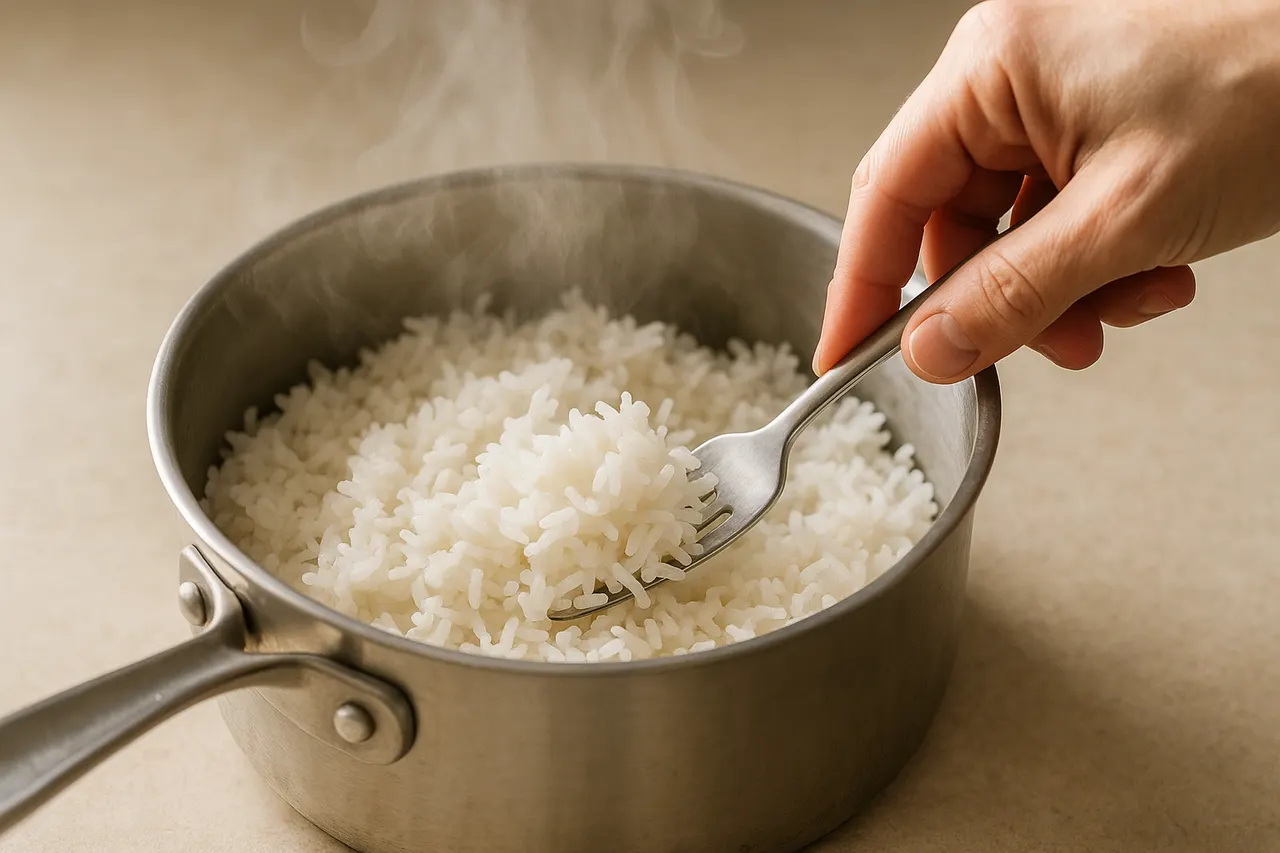
Step 7: Rest off heat, then fluff
After 15 minutes, remove the pot from heat and keep the lid on for an additional 5–10 minutes to finish steaming and settle the grains. Then remove the lid, use a fork to gently fluff and separate the grains, and serve immediately.
- Use a heavy-bottomed saucepan to distribute heat evenly and reduce hotspots that scorch rice.
- If you prefer firmer rice, reduce water by 1–2 tablespoons; for softer rice, add 1–2 tablespoons more. Adjust in small increments.
- For extra flavor, cook rice in low-sodium broth instead of water and reduce added salt.
- Scale linearly: for 2 cups rice use 3 cups water, maintain the 1:1.5 ratio and similar cooking/rest times.
- If you accidentally lift the lid, continue cooking until all water is absorbed and then extend the resting time by 5 minutes.
- Cool leftover rice quickly and refrigerate within 2 hours; reheat with a splash of water and cover to restore moisture.
- Do not increase heat after covering; high heat will boil vigorously, break grains, and make rice sticky.
- Avoid stirring rice during cooking or resting — stirring releases starch and causes clumping.
- If water remains after the recommended time, continue low simmering for 2–3 minutes, but don’t force-cook on high heat which can scorch.
- Use caution when removing lid; hot steam can cause burns. Open lid away from your face.
Was this guide helpful?
More Food & Entertaining guides
How to make stovetop shakshuka with tender eggs and balanced tomato sauce
Shakshuka is a comforting North African–style skillet of eggs poached in a spiced tomato sauce. This guide walks you through building a balanced sauce and gently cooking tender eggs on the stovetop so yolks stay silky while the sauce is bright and flavorful.
How to make homemade sourdough starter and maintain regular feedings
Making a sourdough starter is a simple, rewarding kitchen project that captures wild yeast and beneficial bacteria to leaven bread. With just flour, water, and a little patience you can build a lively culture and keep it healthy with regular feedings. Follow the step-by-step routine below to create and maintain a starter that will power many loaves.
How to assemble and store layered salads so they don’t get soggy before eating
Layered salads are a colorful, make-ahead way to serve a crowd, but soggy ingredients can ruin the texture. With a few simple construction and storage strategies you can keep greens crisp and dressings separated for 24–72 hours. Follow these steps to assemble jars or bowls that travel well and taste fresh when served.