How to deglaze a pan and use the fond for flavor
Deglazing a pan releases concentrated browned flavors (fond) left after searing meat or vegetables and turns them into a quick sauce or base for soups and stews. With a few simple steps, a splash of liquid, and 1–3 minutes of work you can transform stuck bits into a silky, savory finish that elevates any dish.
Step 1: Remove food and rest
Transfer the cooked protein or vegetables to a plate and tent loosely with foil to rest for 5–10 minutes. Resting prevents overcooking and frees up the pan surface so you can safely deglaze without crowding it.
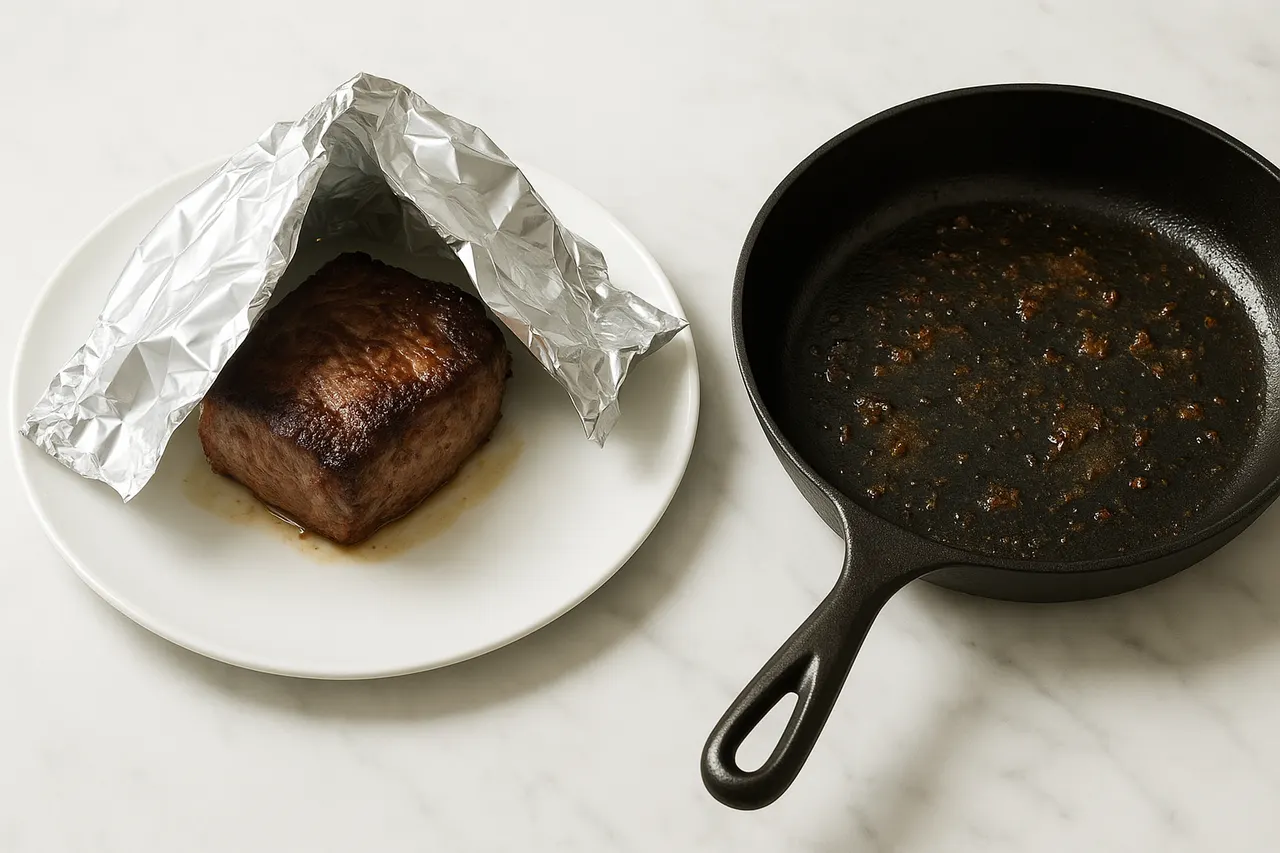
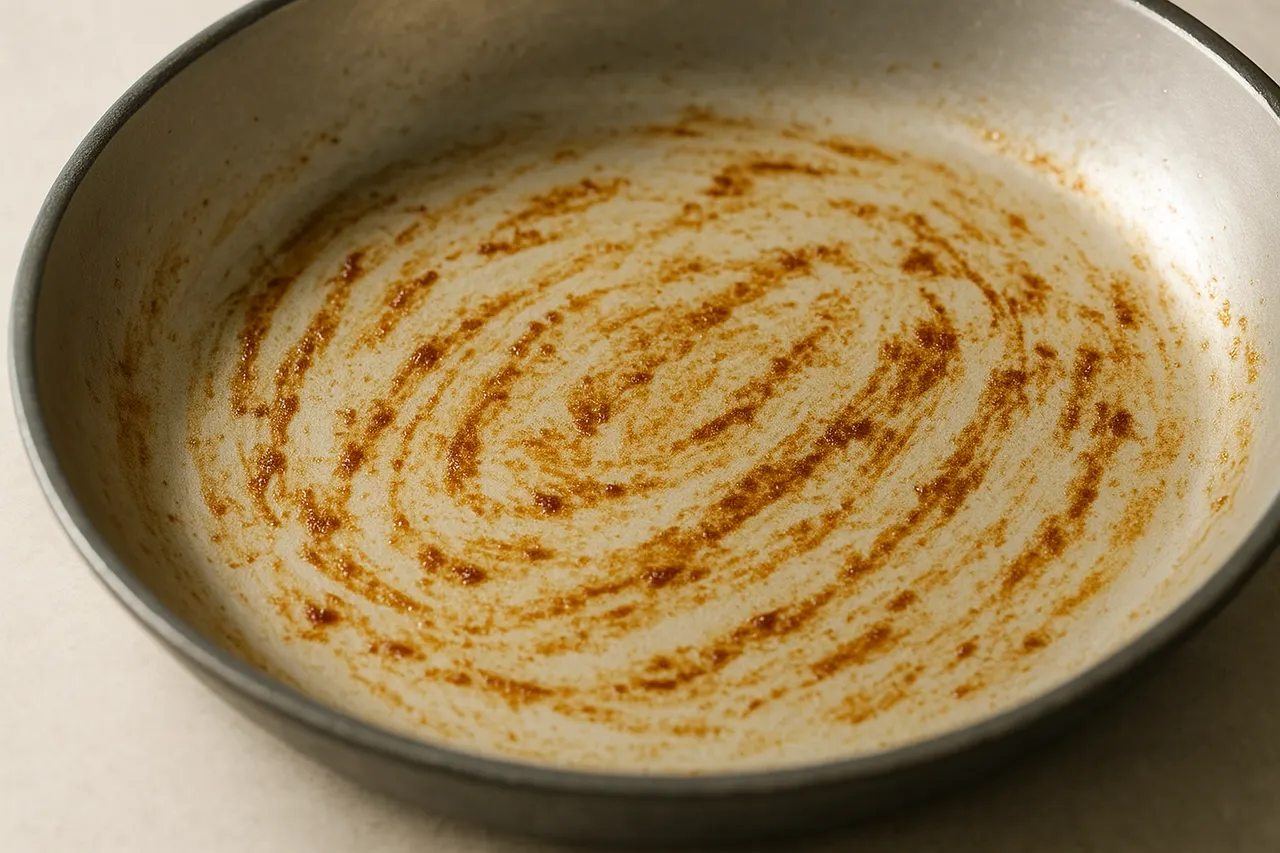
Step 2: Lower heat and assess fond
Reduce heat to medium or medium-low and tilt the pan to see how much brown fond is stuck; if the fond is very dark or smoking, remove pan from heat for 30 seconds to cool slightly. A stable medium heat helps dissolve the fond without burning it and keeps liquids from evaporating too fast.
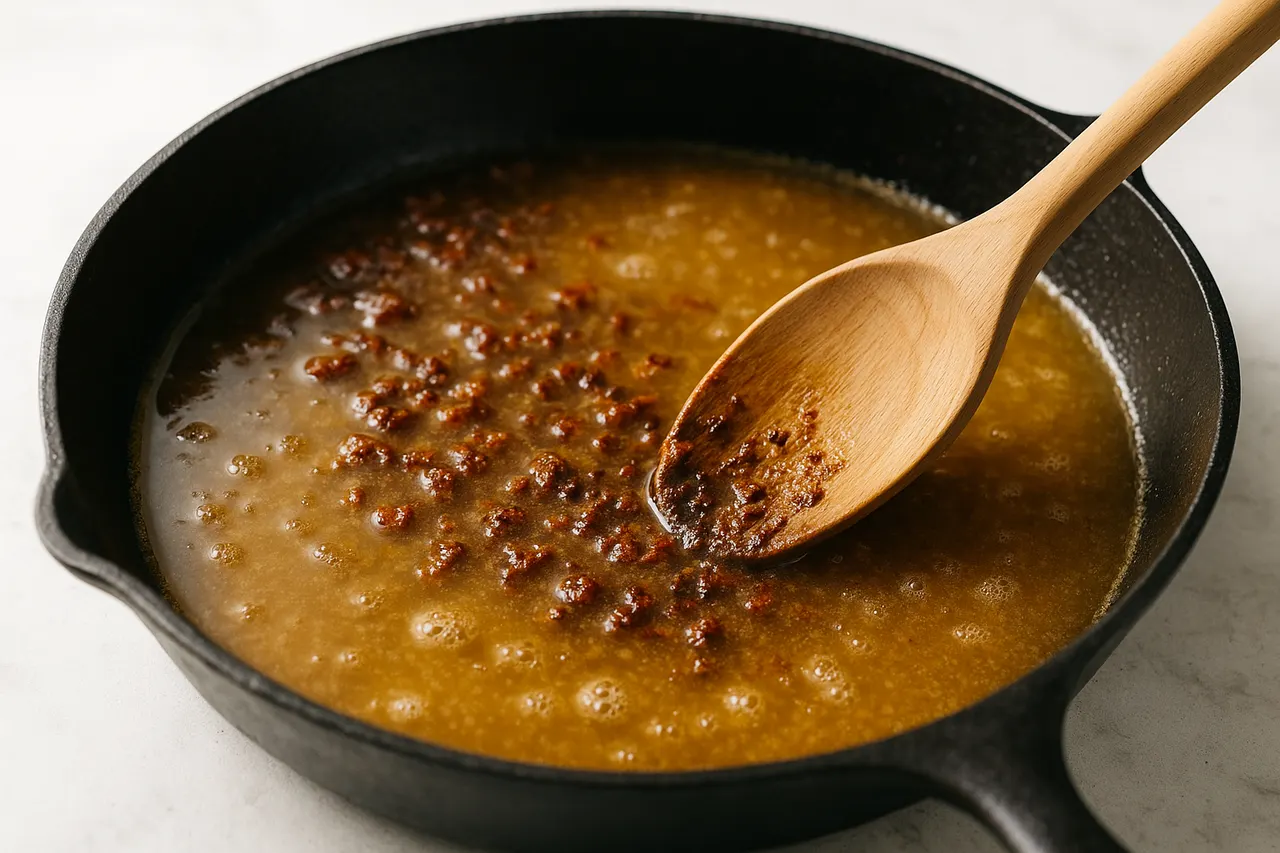
Step 3: Add a measured splash of liquid
Pour 1/4 to 1/2 cup of a deglazing liquid (wine, stock, beer, or water) into the hot pan; use 1/4 cup for a quick pan sauce or 1/2 cup for a more saucy result. The liquid should sizzle and immediately begin to lift the browned bits; use acidic liquids like wine or vinegar sparingly (1–2 tablespoons) for brightness.

Step 4: Scrape with a sturdy utensil
Use a wooden spoon or heatproof spatula to scrape the fond from the pan surface, working the brown bits into the liquid for 30–90 seconds until mostly dissolved. Scraping releases concentrated flavor and creates the base of your sauce, so be thorough but gentle to avoid scratching a nonstick pan.
Step 5: Reduce and concentrate
Let the liquid simmer gently for 1–3 minutes to reduce and concentrate flavor, stirring occasionally; for a thicker sauce reduce 3–5 minutes until syrupy. A brief reduction intensifies taste and helps the sauce cling to the food when returned to the pan.
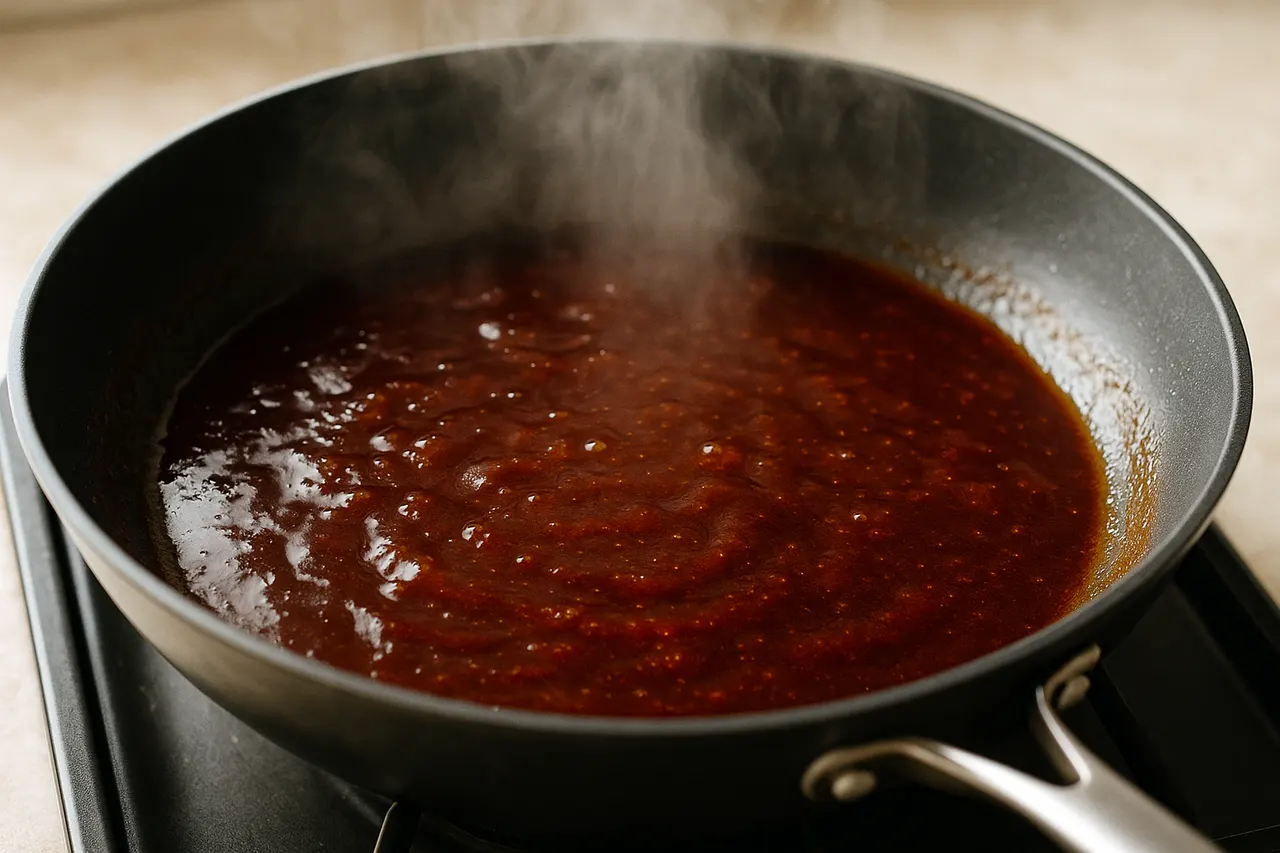
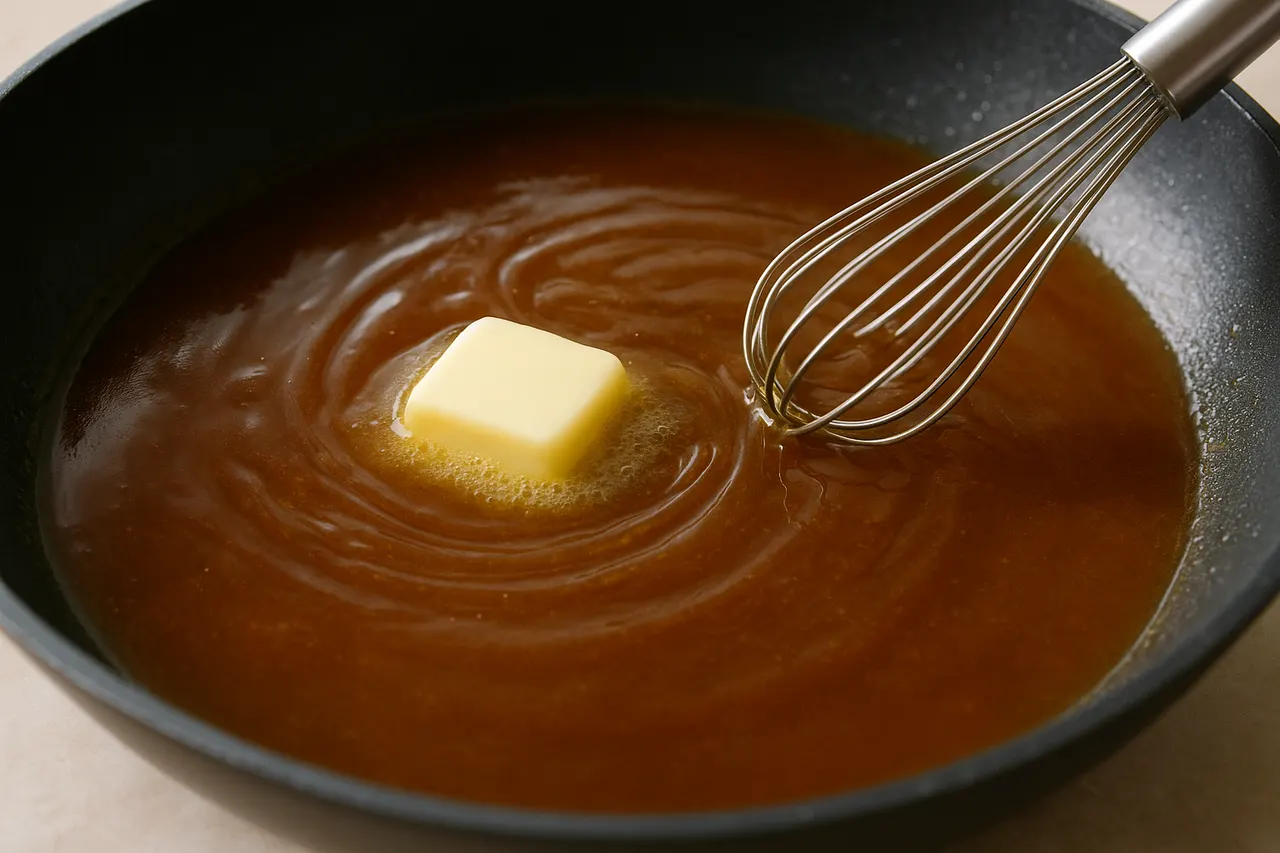
Step 6: Enrich and finish the sauce
Stir in 1–2 tablespoons cold butter, 1 tablespoon cream, or a splash of stock to finish and add body; whisk vigorously for 15–30 seconds until smooth and glossy. Finishing with fat balances acidity and creates a velvety texture that carries the fond’s flavors.
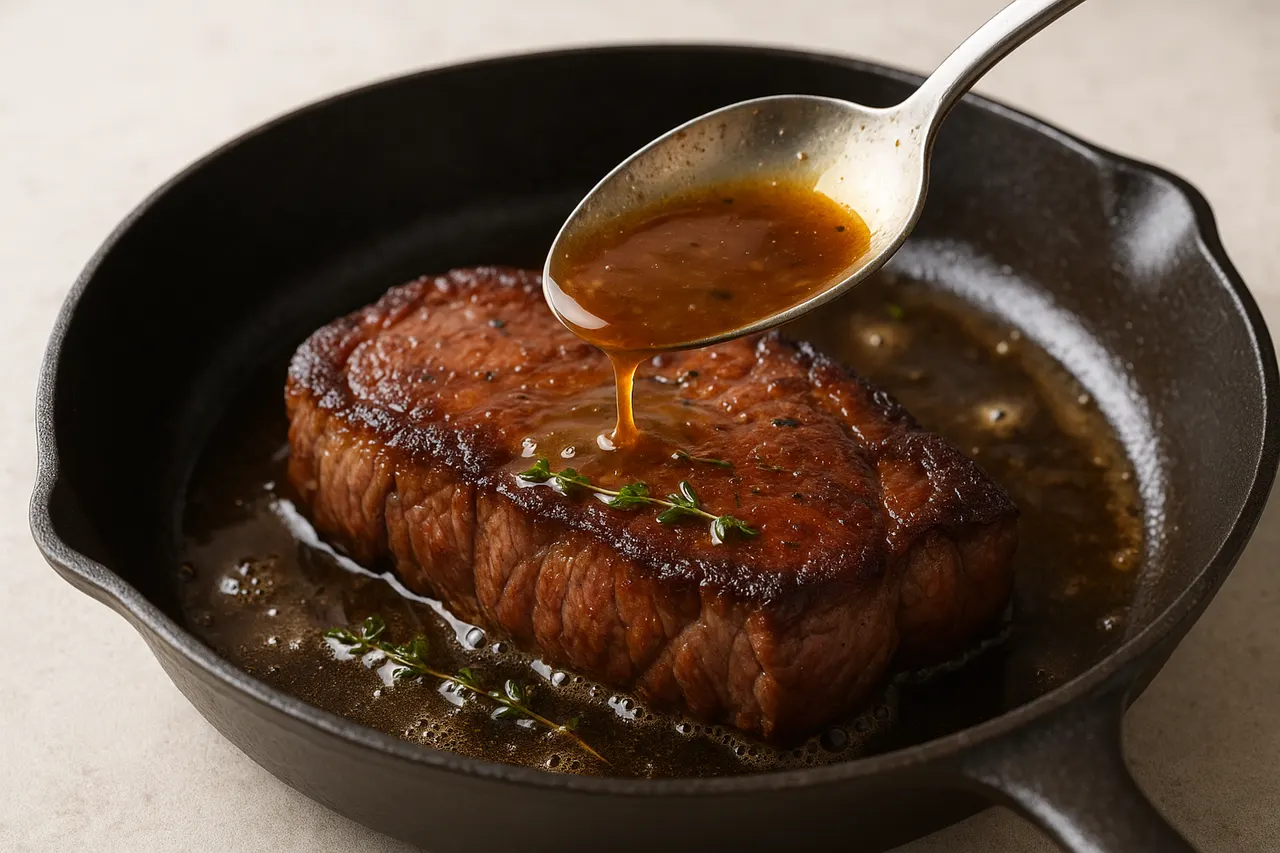
Step 7: Return protein and serve
Return the meat or vegetables to the pan and spoon the sauce over them for 30–60 seconds to rewarm and glaze, or strain the sauce into a bowl before serving if you prefer a smooth finish. Serve immediately while warm to make the most of the concentrated fond flavors.
- Use a liquid at room temperature to avoid overly rapid cooling of the pan; about 1/4 cup works for most 2–4 serving pans.
- White wine adds brightness; beef stock or red wine adds depth; beer or cider adds unique character—match flavors to the main protein.
- If fond is very stuck, pour 1–2 tablespoons water and let steam for 10–20 seconds before scraping to loosen it.
- Deglaze with stock instead of water when making gravy or stew to keep flavor concentrated; use low-sodium stock to control salt.
- To thicken further, whisk a slurry of 1 teaspoon cornstarch and 1 tablespoon cold water, then stir into sauce and simmer 30–60 seconds.
- For a glossy finish, whisk in cold butter at the end and remove from heat immediately to emulsify the sauce.
- Never pour large amounts of cold liquid into a very hot pan as it can splatter and cause burns; pour slowly and stand back.
- Avoid deglazing an overly-charred pan; bitter burnt fond will ruin the sauce—discard and start fresh if the fond smells acrid.
- Be cautious with alcohol; if you want to flare the liquid, only do so away from overhead vents and follow safety steps to avoid flare-ups.
- Do not use metal utensils on nonstick pans when scraping vigorously to avoid damaging the coating.
Was this guide helpful?
More Food & Entertaining guides
How to make stovetop shakshuka with tender eggs and balanced tomato sauce
Shakshuka is a comforting North African–style skillet of eggs poached in a spiced tomato sauce. This guide walks you through building a balanced sauce and gently cooking tender eggs on the stovetop so yolks stay silky while the sauce is bright and flavorful.
How to make homemade sourdough starter and maintain regular feedings
Making a sourdough starter is a simple, rewarding kitchen project that captures wild yeast and beneficial bacteria to leaven bread. With just flour, water, and a little patience you can build a lively culture and keep it healthy with regular feedings. Follow the step-by-step routine below to create and maintain a starter that will power many loaves.
How to assemble and store layered salads so they don’t get soggy before eating
Layered salads are a colorful, make-ahead way to serve a crowd, but soggy ingredients can ruin the texture. With a few simple construction and storage strategies you can keep greens crisp and dressings separated for 24–72 hours. Follow these steps to assemble jars or bowls that travel well and taste fresh when served.