How to ferment vegetables at home (sauerkraut or kimchi)
Fermenting vegetables at home is an easy, rewarding way to preserve produce and add bright, tangy flavors to meals. With just vegetables, salt, and a jar you can make sauerkraut or a quick kimchi that develops beneficial acids and probiotics over days to weeks. Follow the steps below to ferment safely and successfully.
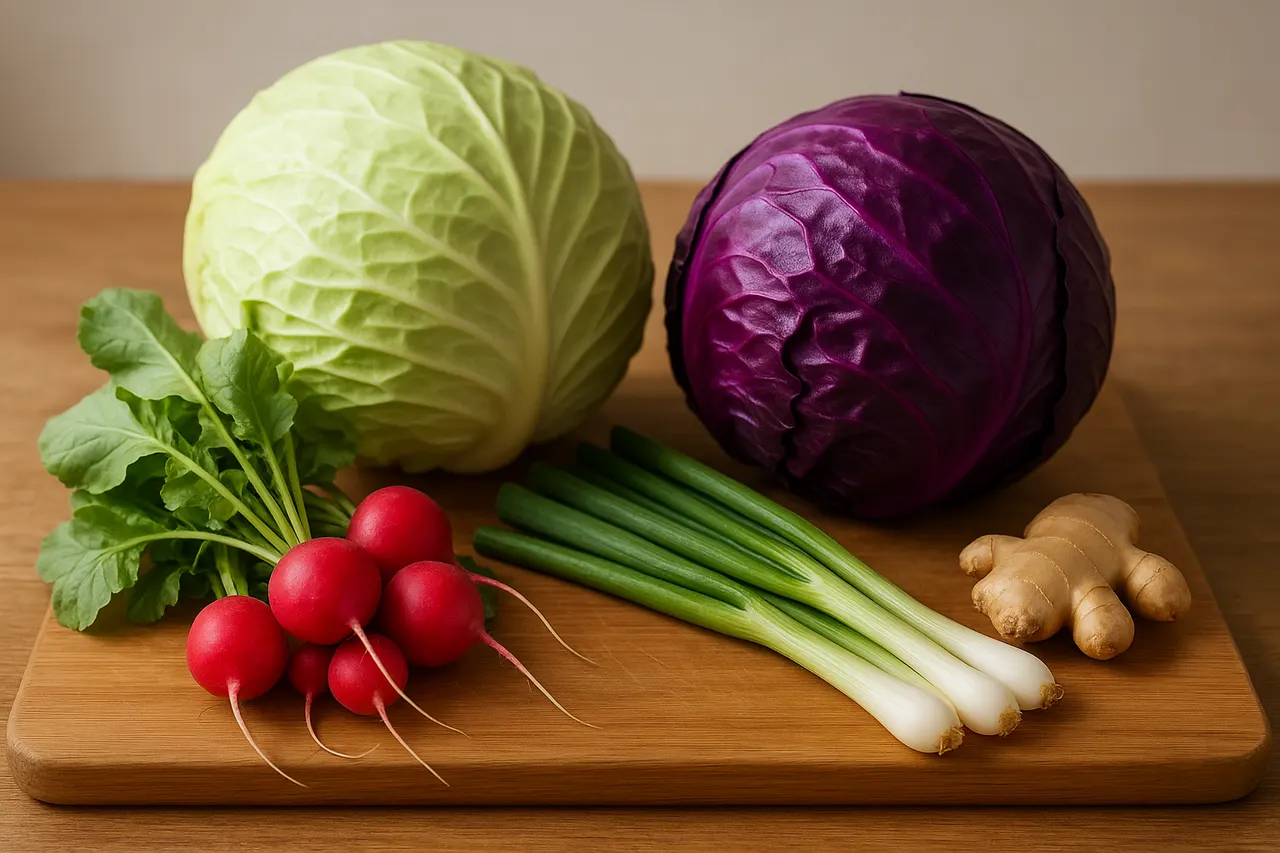
Step 1: Choose fresh vegetables and recipes
Select firm, fresh cabbage or vegetables free of blemishes; for 1 quart of finished ferment plan on about 1–1.5 pounds of vegetables. Decide whether you want a simple sauerkraut (cabbage + salt) or a flavored kimchi (cabbage, radish, scallion, ginger, chili). Using precise weights helps calculate salt ratio and ensures consistent fermentation.
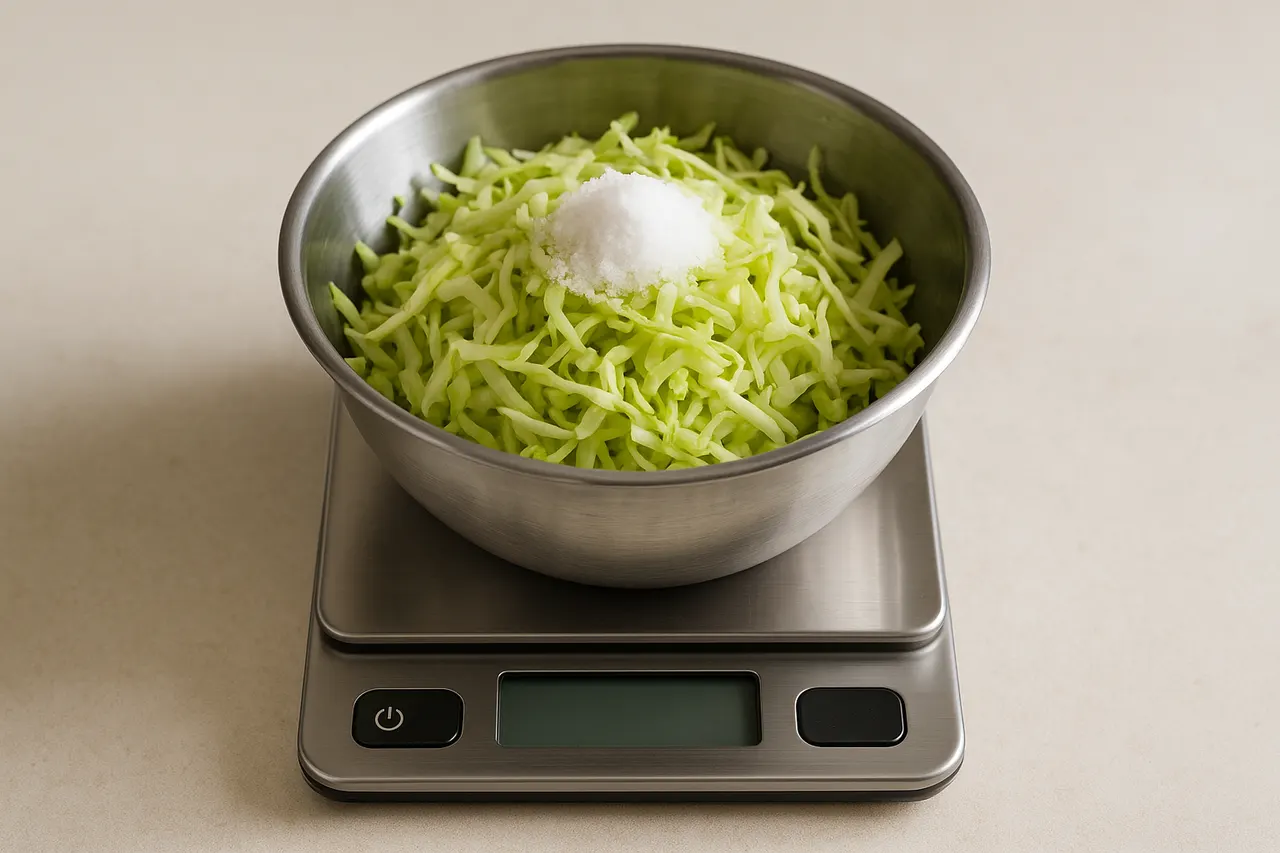
Step 2: Weigh and mix salt
Measure salt as 2.0–2.5% of the vegetable weight for a crisp, controlled ferment (for 1,000 g vegetables use 20–25 g salt). Use non-iodized salt (sea salt or kosher) and mix it thoroughly with the shredded or chopped vegetables so salt draws out water and inhibits unwanted microbes while promoting lactic acid bacteria.
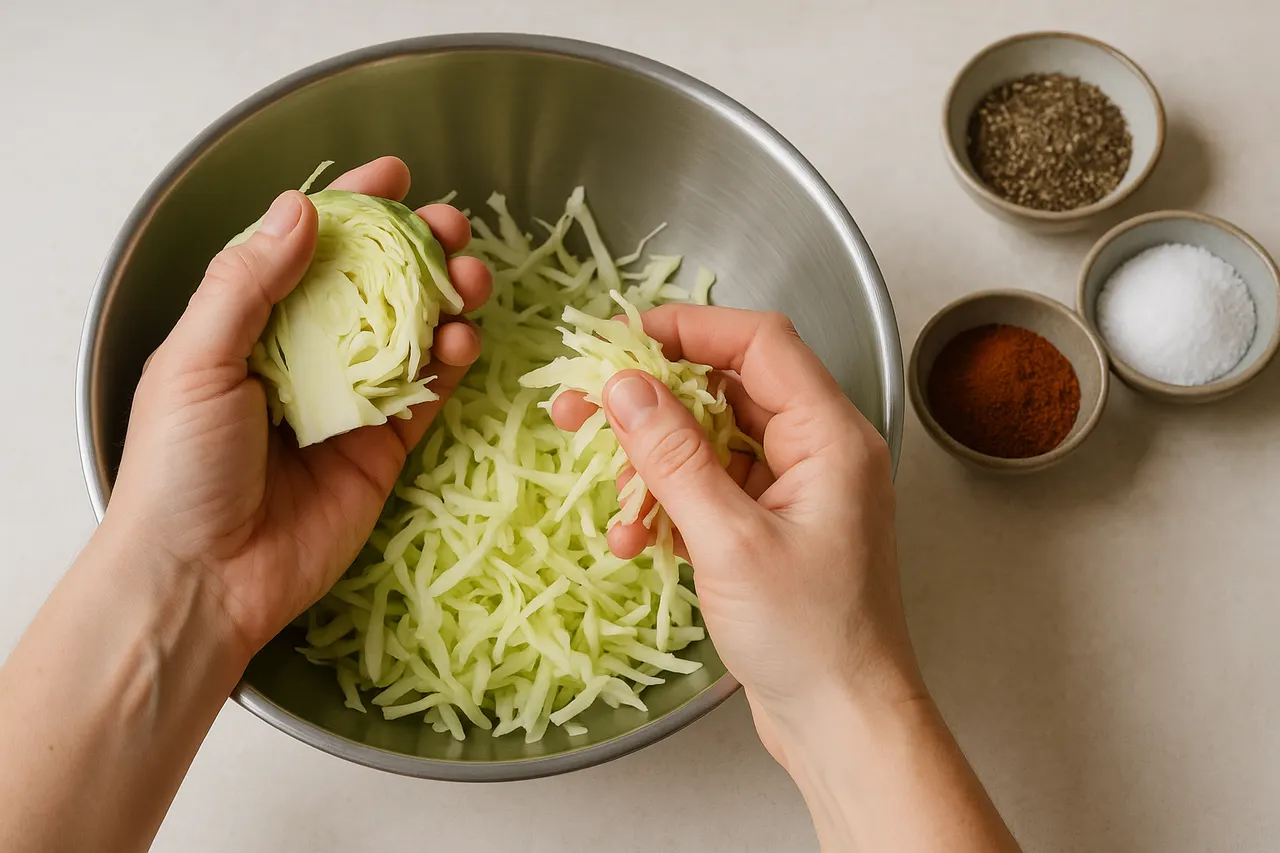
Step 3: Shred or chop and season
Cut vegetables to desired size — thin shreds for sauerkraut, chunkier pieces for kimchi — and add flavorings like 1–2 tablespoons grated ginger, 1 tablespoon fish sauce or soy, and 1–2 tablespoons chili flakes per 1,000 g vegetables if making kimchi. Even distribution of seasonings ensures uniform fermentation and flavor development.
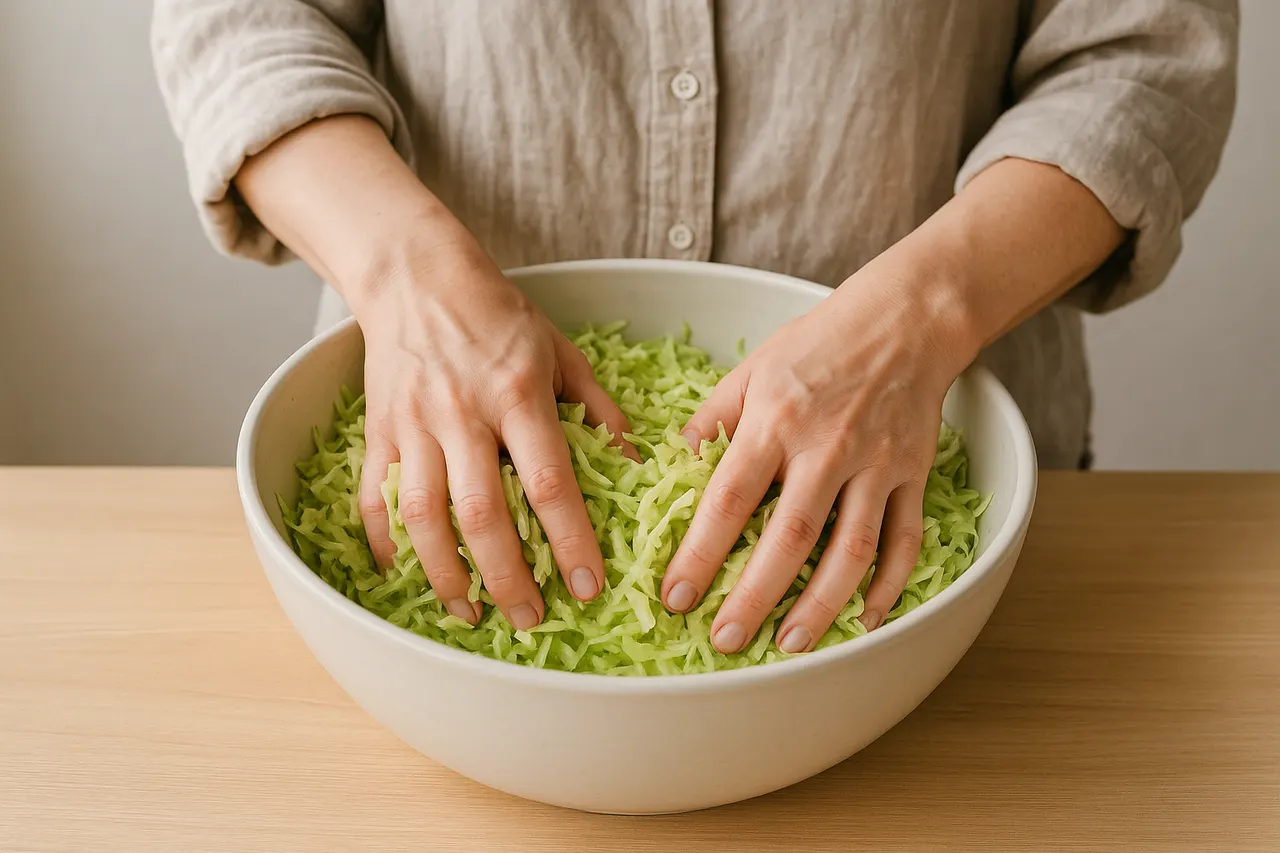
Step 4: Massage or pound to release brine
Massage the salted vegetables vigorously for 5–10 minutes or pound with a tamper until they release enough liquid to cover themselves; you should see a visible brine. Creating your own brine avoids adding water and maintains the correct salt-to-vegetable ratio critical for safety and texture.
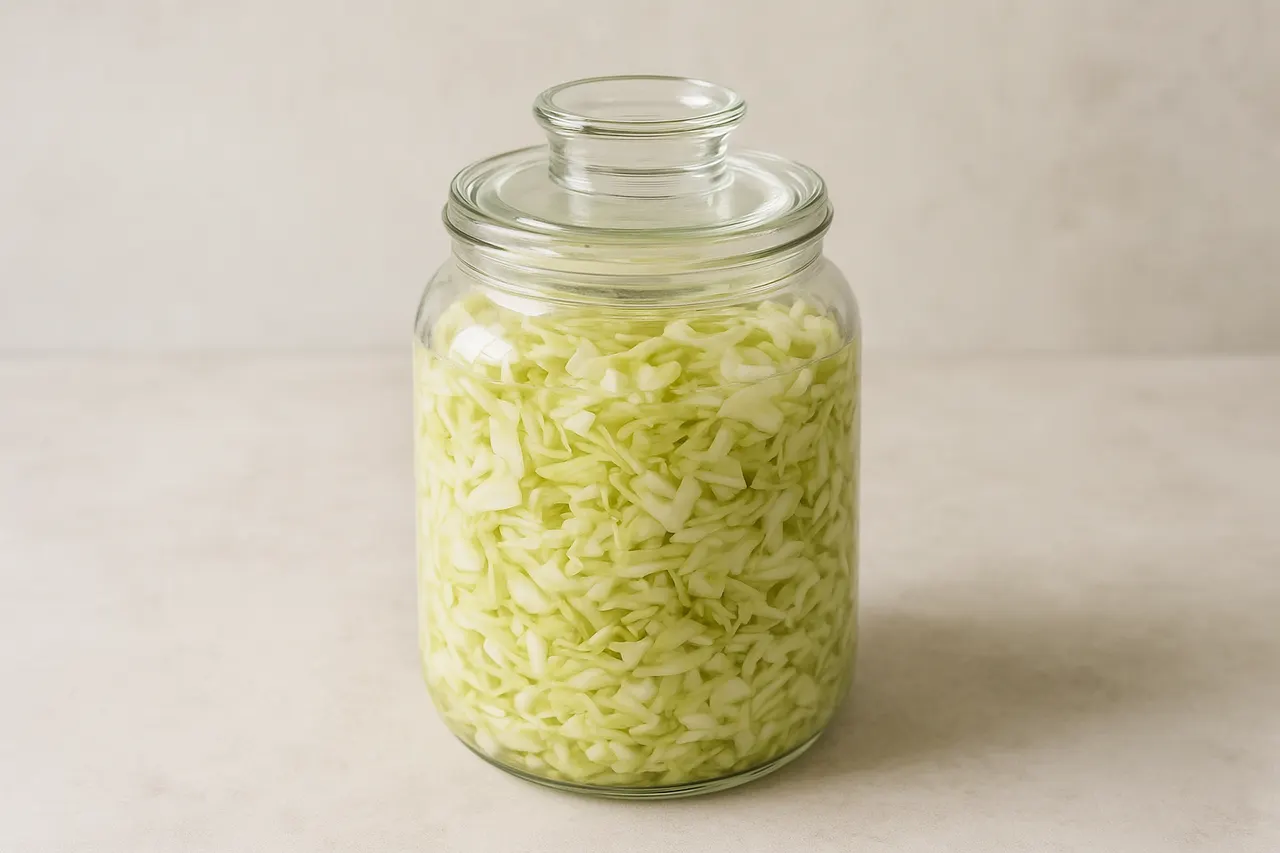
Step 5: Pack into a clean fermentation vessel
Press the vegetables firmly into a wide-mouth jar or crock, removing air pockets and leaving 1–2 inches headspace. Use a fermentation weight, small jar, or a clean cabbage leaf to keep vegetables submerged under brine; contact with brine prevents mold and encourages lactic acid growth.
Step 6: Seal and ferment at room temperature
Cover the jar with an airlock lid, clean cloth with rubber band, or loosely screwed lid to allow gases to escape; ferment at 60–75°F (16–24°C). Check daily for bubbles and skim any surface scum; primary fermentation typically takes 5–14 days depending on temperature and taste preferences.

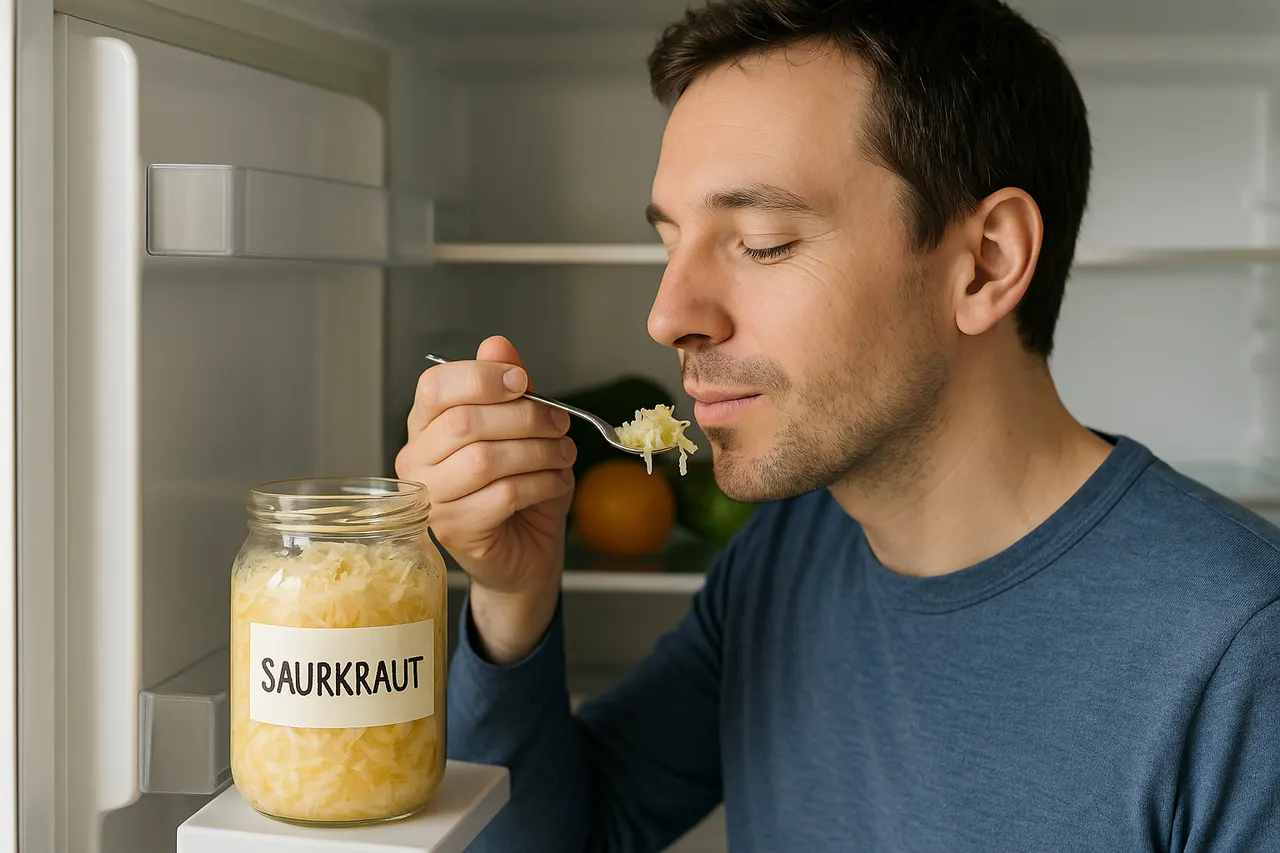
Step 7: Taste, move to cool storage
Begin tasting after 5 days; when acidity and texture suit you, transfer the jar to the refrigerator or a 50–55°F (10–13°C) cellar to slow fermentation. Refrigeration extends shelf life for months and preserves preferred flavor; label with date and ingredients so you can track aging.
- Use a 2.0–2.5% salt ratio by weight for most vegetables for crispness and safety.
- If brine is insufficient, add a pre-made 2.0% salt solution (20 g salt per liter water) to fully cover vegetables.
- Keep work surfaces and jars very clean but avoid sterilizing vegetables — beneficial microbes are desired.
- If surface mold appears, skim it off quickly; if smell is rotten or slimy, discard the batch.
- Warmer temps speed fermentation but produce softer texture; cooler temps produce crisper results.
- Use glass, food-grade plastic, or ceramic crocks; avoid reactive metals like aluminum.
- Record dates and temperature so you can reproduce batches you like.
- Never use iodized or anti-caking salts; additives can inhibit fermentation.
- Do not taste or eat ferments that smell rotten, produce excessive slime, or grow fuzzy colored molds—when in doubt, discard.
- Keep ferments submerged under brine; prolonged exposure to air increases risk of spoilage.
- If you have a compromised immune system or are pregnant, consult a healthcare provider before adding raw ferments to your diet.
Was this guide helpful?
More Food & Entertaining guides
How to make stovetop shakshuka with tender eggs and balanced tomato sauce
Shakshuka is a comforting North African–style skillet of eggs poached in a spiced tomato sauce. This guide walks you through building a balanced sauce and gently cooking tender eggs on the stovetop so yolks stay silky while the sauce is bright and flavorful.
How to make homemade sourdough starter and maintain regular feedings
Making a sourdough starter is a simple, rewarding kitchen project that captures wild yeast and beneficial bacteria to leaven bread. With just flour, water, and a little patience you can build a lively culture and keep it healthy with regular feedings. Follow the step-by-step routine below to create and maintain a starter that will power many loaves.
How to assemble and store layered salads so they don’t get soggy before eating
Layered salads are a colorful, make-ahead way to serve a crowd, but soggy ingredients can ruin the texture. With a few simple construction and storage strategies you can keep greens crisp and dressings separated for 24–72 hours. Follow these steps to assemble jars or bowls that travel well and taste fresh when served.