How to freeze and reheat leftovers safely
Freezing and reheating leftovers can save time, reduce waste, and keep meals tasty when done correctly. This guide walks you through simple, safe steps to freeze, store, and reheat leftovers so food stays flavorful and free of harmful bacteria. Follow practical timing and temperature tips to get the best results every time.
Step 1: Cool food promptly
Allow cooked food to cool at room temperature no longer than 1 hour (2 hours only if ambient is below 70°F/21°C). Divide large portions into shallow containers or 1- to 2-inch layers to speed cooling and prevent bacterial growth.
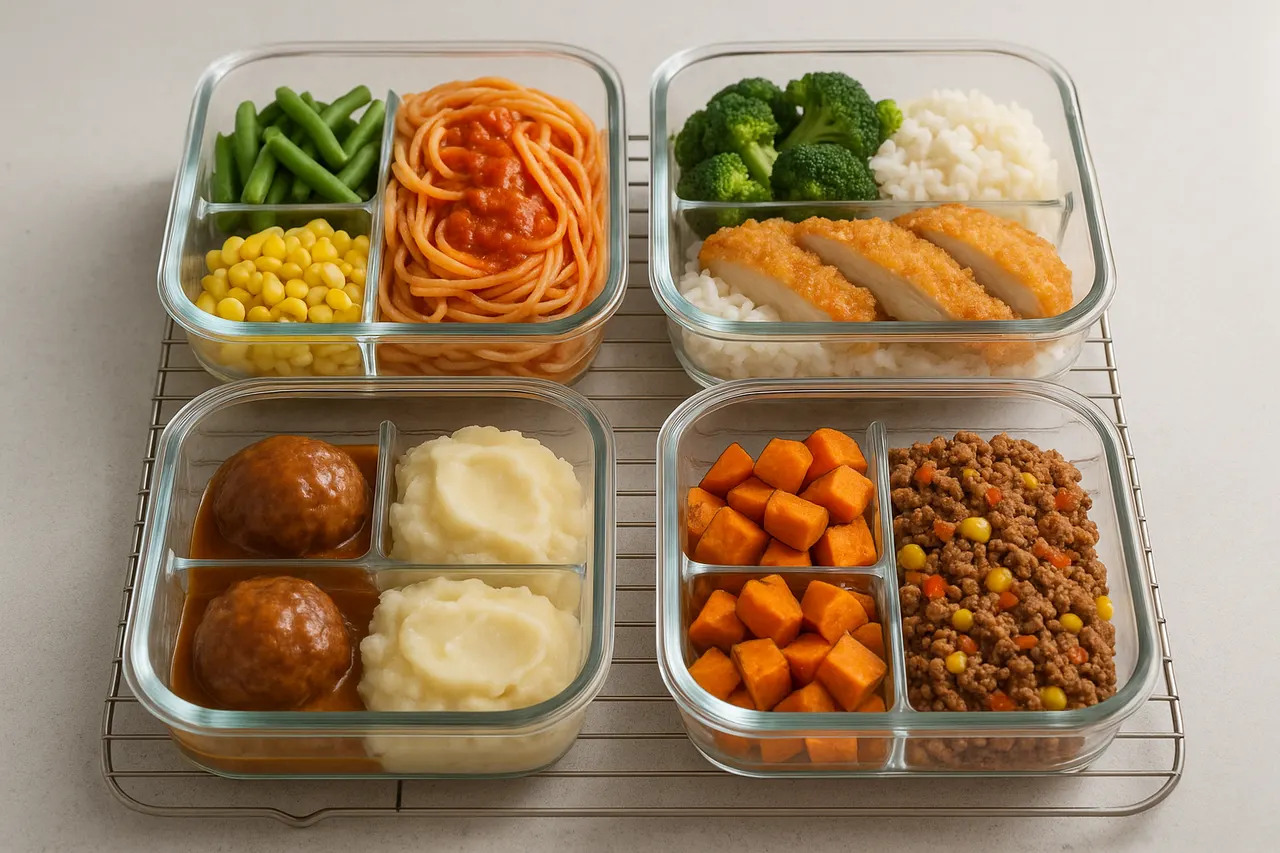
Step 2: Portion for convenience
Divide meals into single- or family-sized portions using freezer-safe containers or resealable bags. Label each portion with the name, date, and reheating instructions to avoid waste and to rotate older items first.
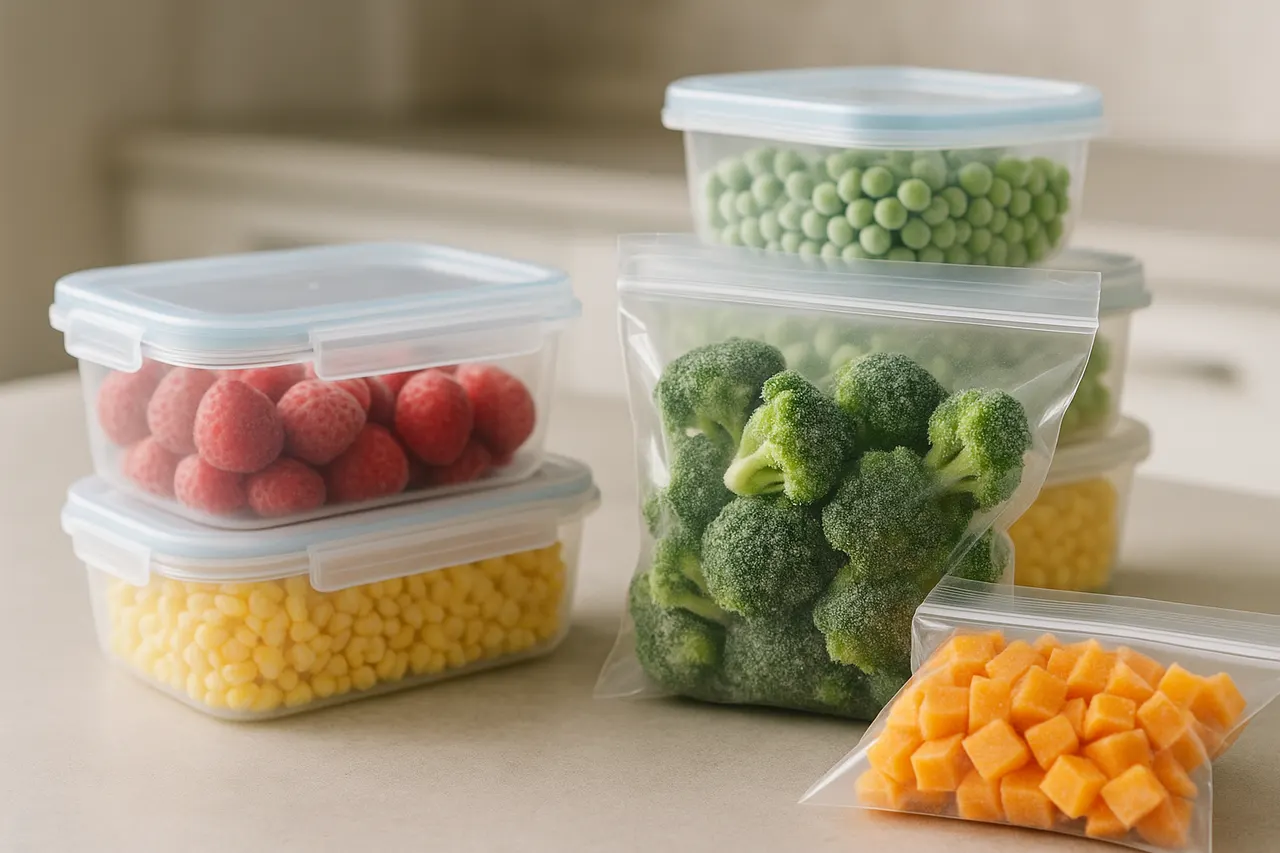
Step 3: Use proper containers
Choose airtight, freezer-safe containers or heavy-duty freezer bags to prevent freezer burn and absorption of odors. Leave 1/2 inch of headspace for liquids to expand and squeeze out excess air from bags before sealing.
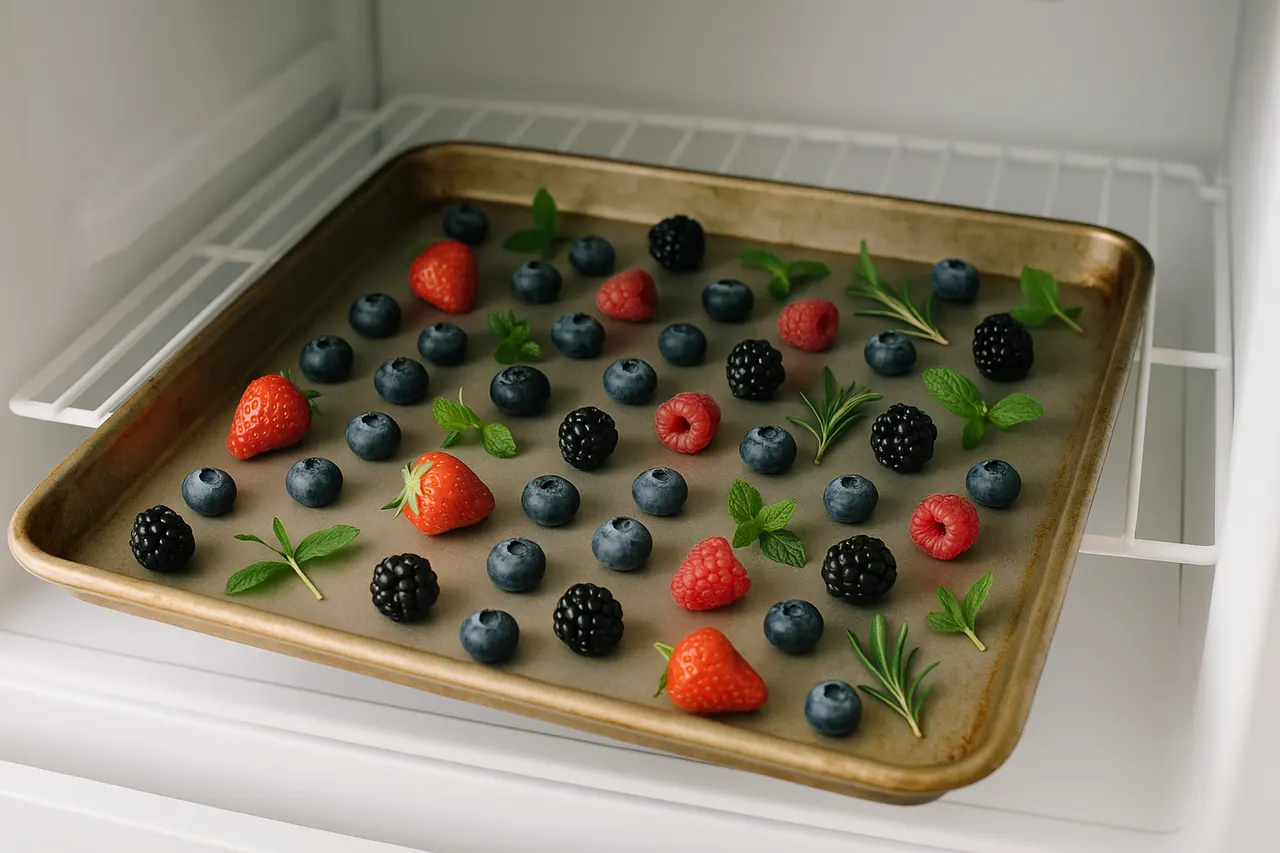
Step 4: Flash-freeze delicate items
For items like berries, herbs, or individual pieces, arrange in a single layer on a baking sheet and freeze 1-2 hours before transferring to bags. This prevents clumping and lets you remove exactly the portion you need.
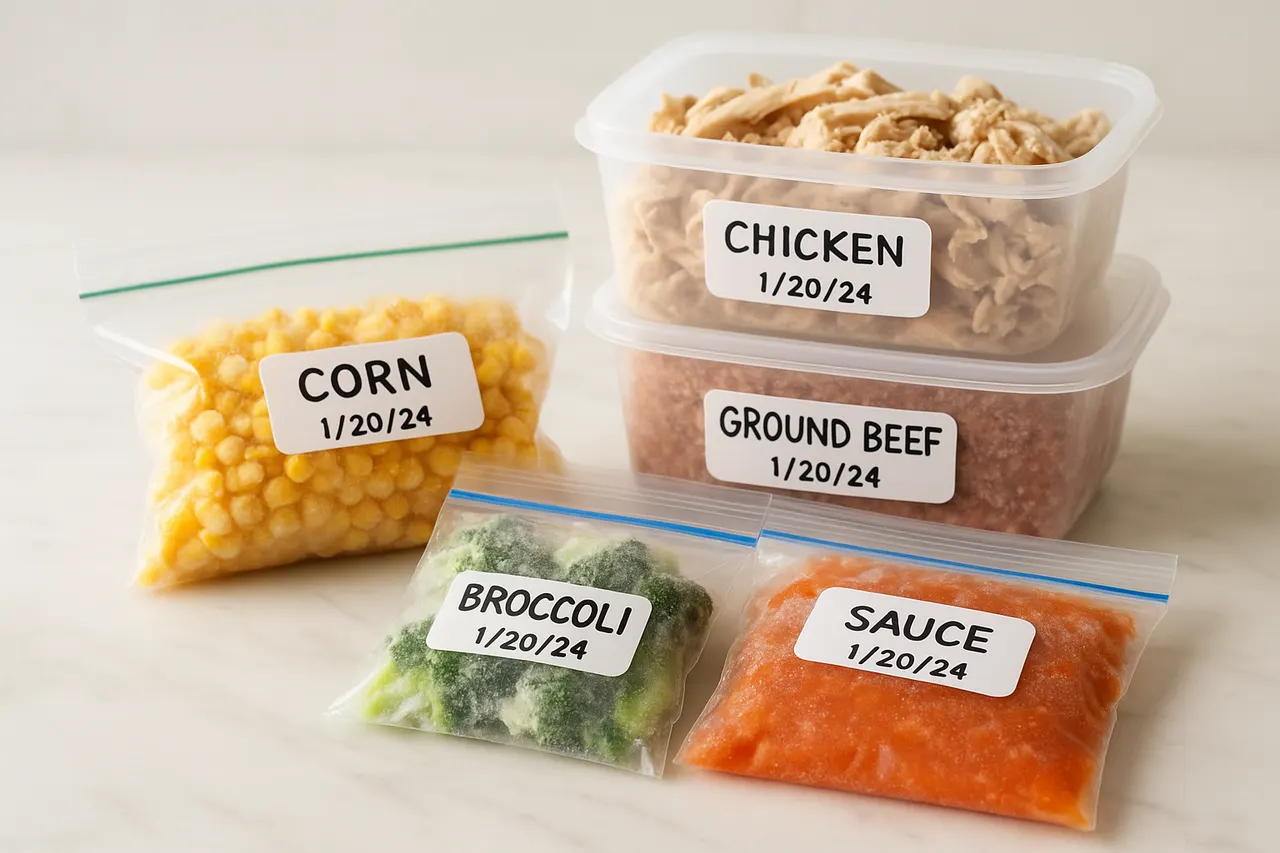
Step 5: Label and organize by date
Use a first-in, first-out system and write freeze date on each package; most cooked leftovers are best used within 2-3 months for quality (safe longer but texture may degrade). Store similar items together and keep older packages at the front.

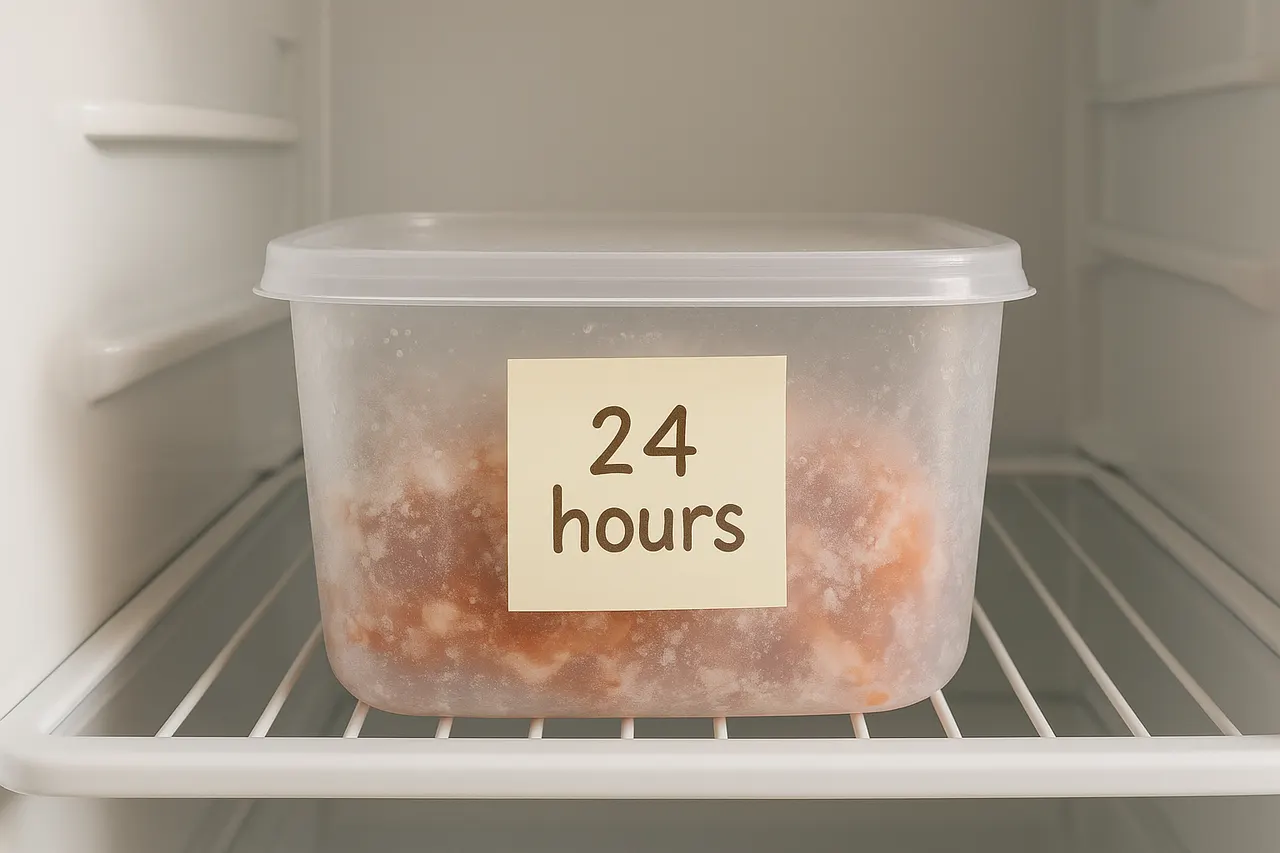
Step 6: Thaw safely in refrigerator
Move frozen leftovers to the fridge and allow 24 hours for a 1-2 pound container to thaw; smaller portions may thaw overnight. Thawing in the refrigerator keeps food below 40°F (4°C) to limit bacterial growth.
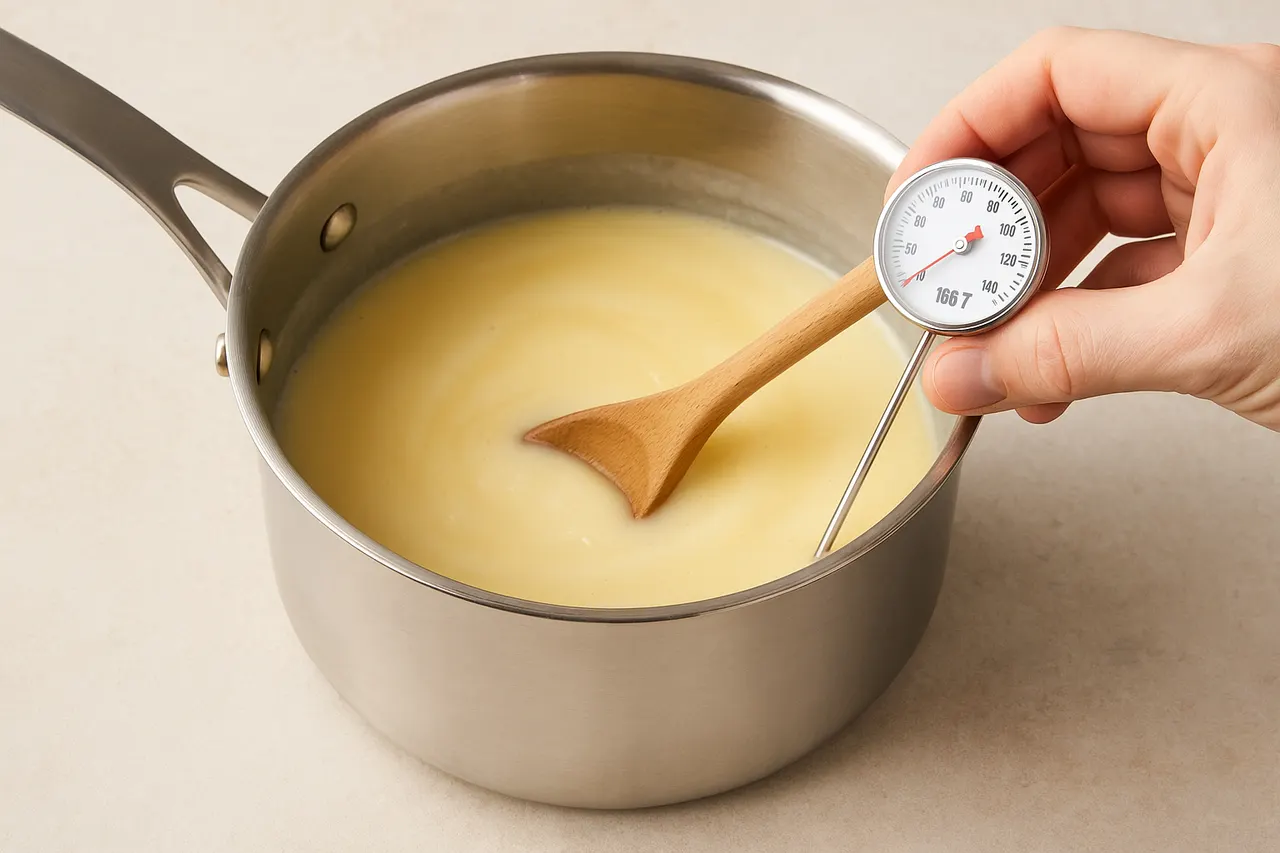
Step 7: Reheat to safe temperature
Reheat leftovers until they reach an internal temperature of 165°F (74°C) throughout; use a food thermometer to check. Reheat sauces and soups to a rolling boil, stir for even heat, and avoid reheating more than once to maintain safety and quality.
- Cool soups and stews in an ice bath to speed cooling for large batches.
- Divide meat and casseroles into 1-2 cup portions for faster thawing and reheating.
- Label with both contents and reheating method, e.g., "microwave 3 min, stir" for convenience.
- Use silicone molds or muffin tins to freeze individual portions of rice, mashed potatoes, or sauces.
- If microwaving, cover food loosely and stir halfway through heating for even temperatures.
- For best texture, undercook pasta and vegetables slightly before freezing so they finish when reheated.
- Consume frozen leftovers within 2-3 months for taste; seafood and cream-heavy dishes are best used within 1 month.
- Refreeze only if thawed food was kept refrigerated and not above 40°F (4°C) and you reheat it properly first.
- Never refreeze leftovers that were thawed at room temperature or left out more than 2 hours (1 hour above 90°F/32°C).
- Do not rely on color or smell to judge safety—always reheat to 165°F (74°C) to kill pathogens.
- Avoid reheating leftovers multiple times; repeated heating increases food-safety risk and reduces quality.
- Do not store hot food in deep, unopened containers in the freezer; this can keep the center in the danger zone (40–140°F) too long.
- When in doubt about age or storage conditions, discard leftovers rather than risk foodborne illness.
Was this guide helpful?
More Food & Entertaining guides
How to make stovetop shakshuka with tender eggs and balanced tomato sauce
Shakshuka is a comforting North African–style skillet of eggs poached in a spiced tomato sauce. This guide walks you through building a balanced sauce and gently cooking tender eggs on the stovetop so yolks stay silky while the sauce is bright and flavorful.
How to make homemade sourdough starter and maintain regular feedings
Making a sourdough starter is a simple, rewarding kitchen project that captures wild yeast and beneficial bacteria to leaven bread. With just flour, water, and a little patience you can build a lively culture and keep it healthy with regular feedings. Follow the step-by-step routine below to create and maintain a starter that will power many loaves.
How to assemble and store layered salads so they don’t get soggy before eating
Layered salads are a colorful, make-ahead way to serve a crowd, but soggy ingredients can ruin the texture. With a few simple construction and storage strategies you can keep greens crisp and dressings separated for 24–72 hours. Follow these steps to assemble jars or bowls that travel well and taste fresh when served.