How to julienne vegetables quickly and safely
Julienning vegetables makes them cook evenly and look professional, and with a few simple techniques you can do it fast and safely. This guide walks you through preparing, cutting, and finishing common vegetables so your strips are uniform and ready for sautéing, salads, or stir-fries.
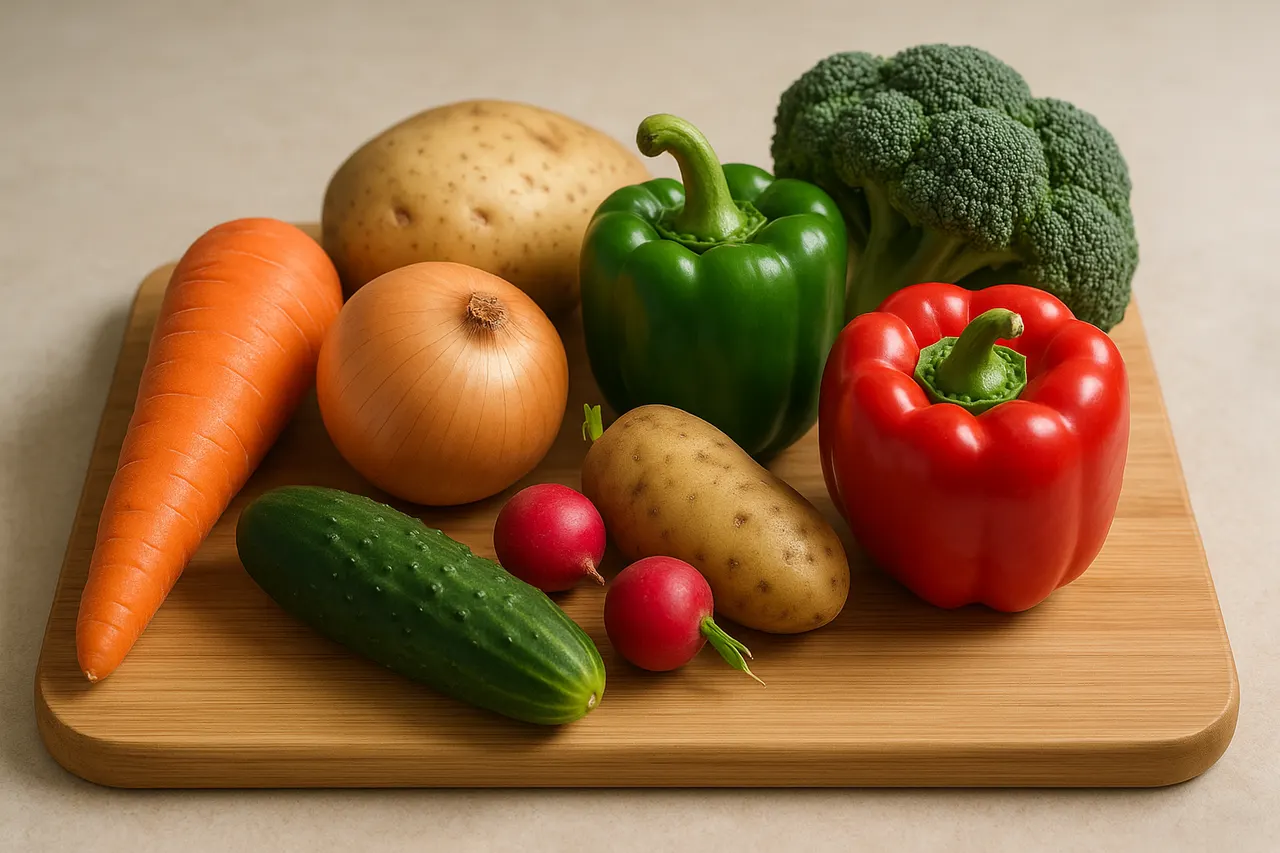
Step 1: Choose firm vegetables
Pick vegetables that are fresh and firm — carrots, zucchini, cucumbers, bell peppers, and daikon work well. Softer vegetables like tomatoes or very ripe squash are harder to julienne safely and evenly, so reserve them for other cuts.
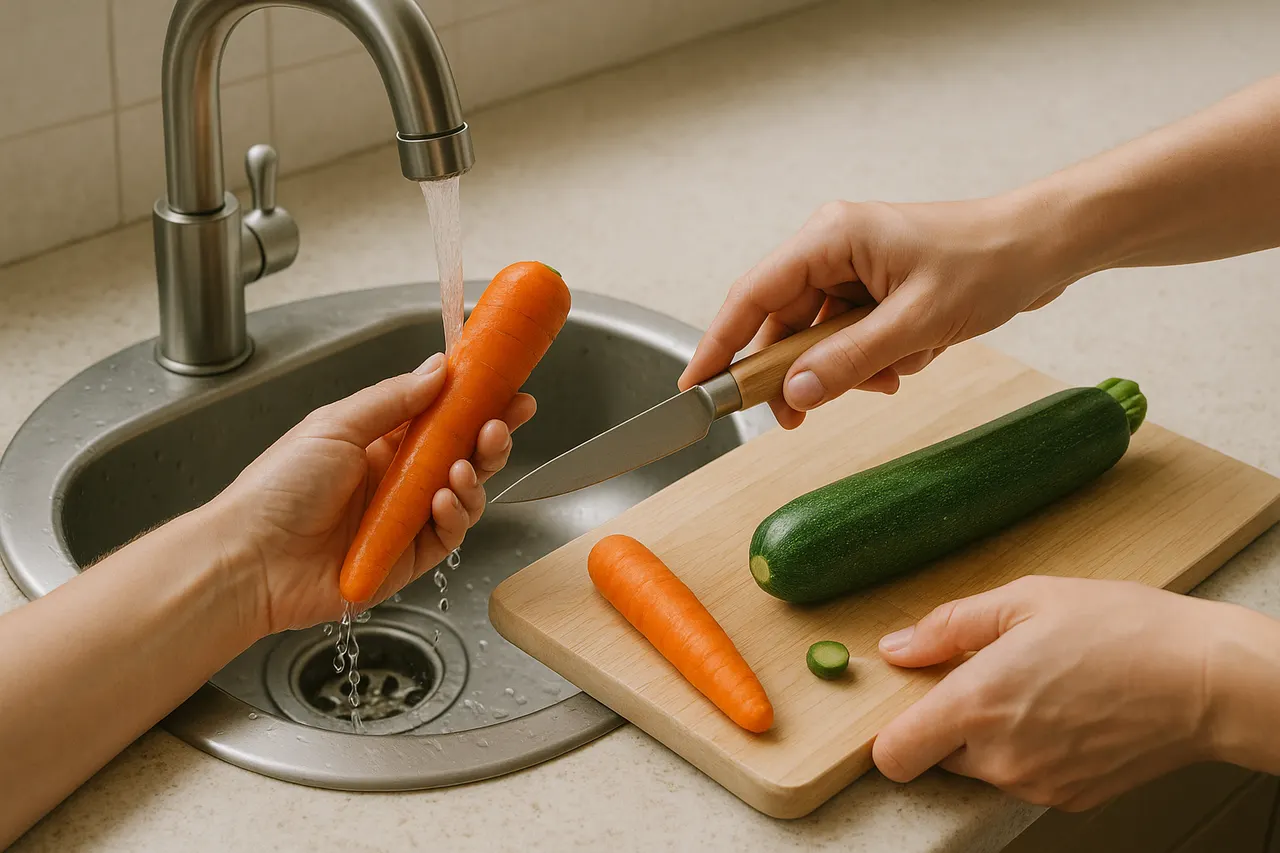
Step 2: Wash and trim ends
Rinse vegetables under cold water and pat dry. Trim both ends and remove peels if needed (for carrots or daikon), which makes stable, flat surfaces and prevents slipping while you cut.
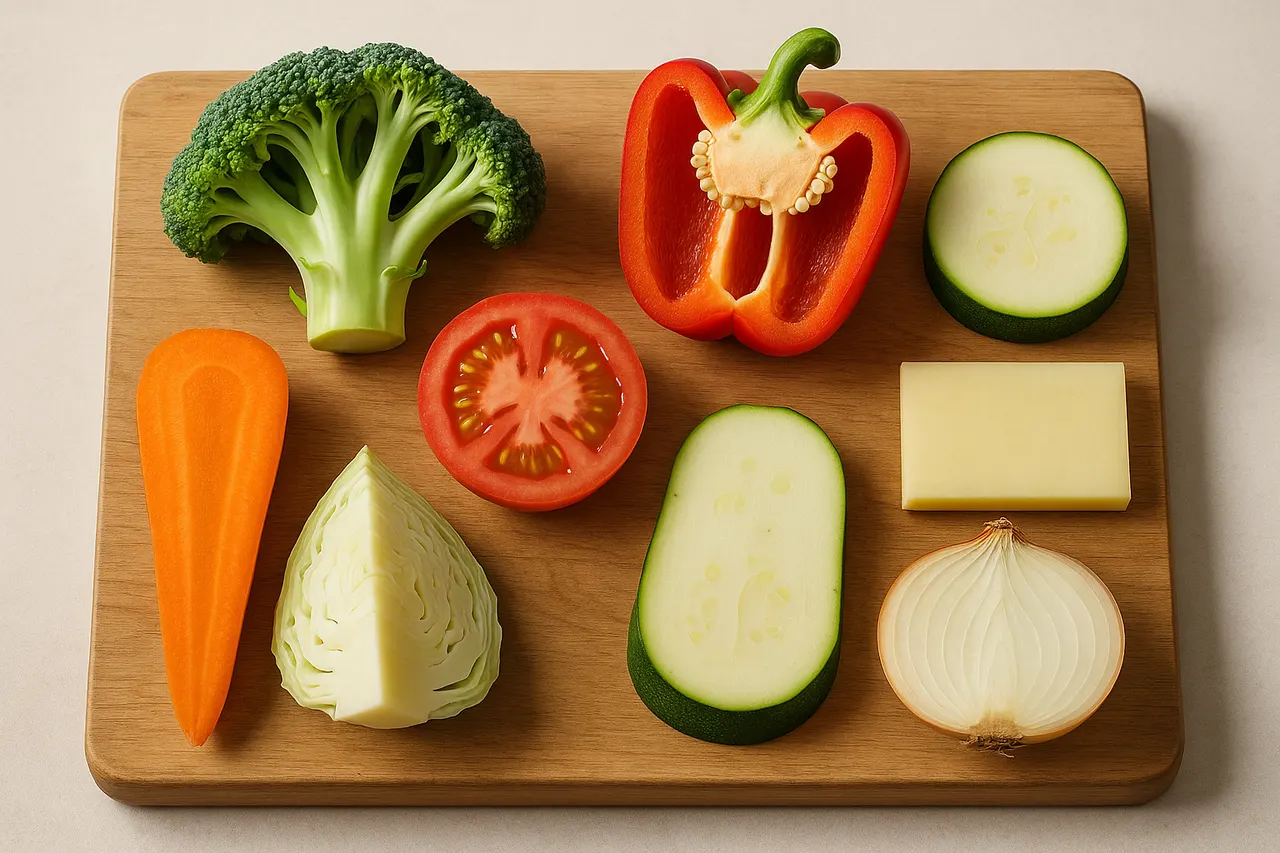
Step 3: Create flat faces
Slice a thin piece off one side of round vegetables to create a flat face; for long vegetables, split in half lengthwise. A flat surface stabilizes the vegetable and reduces rolling when you cut.
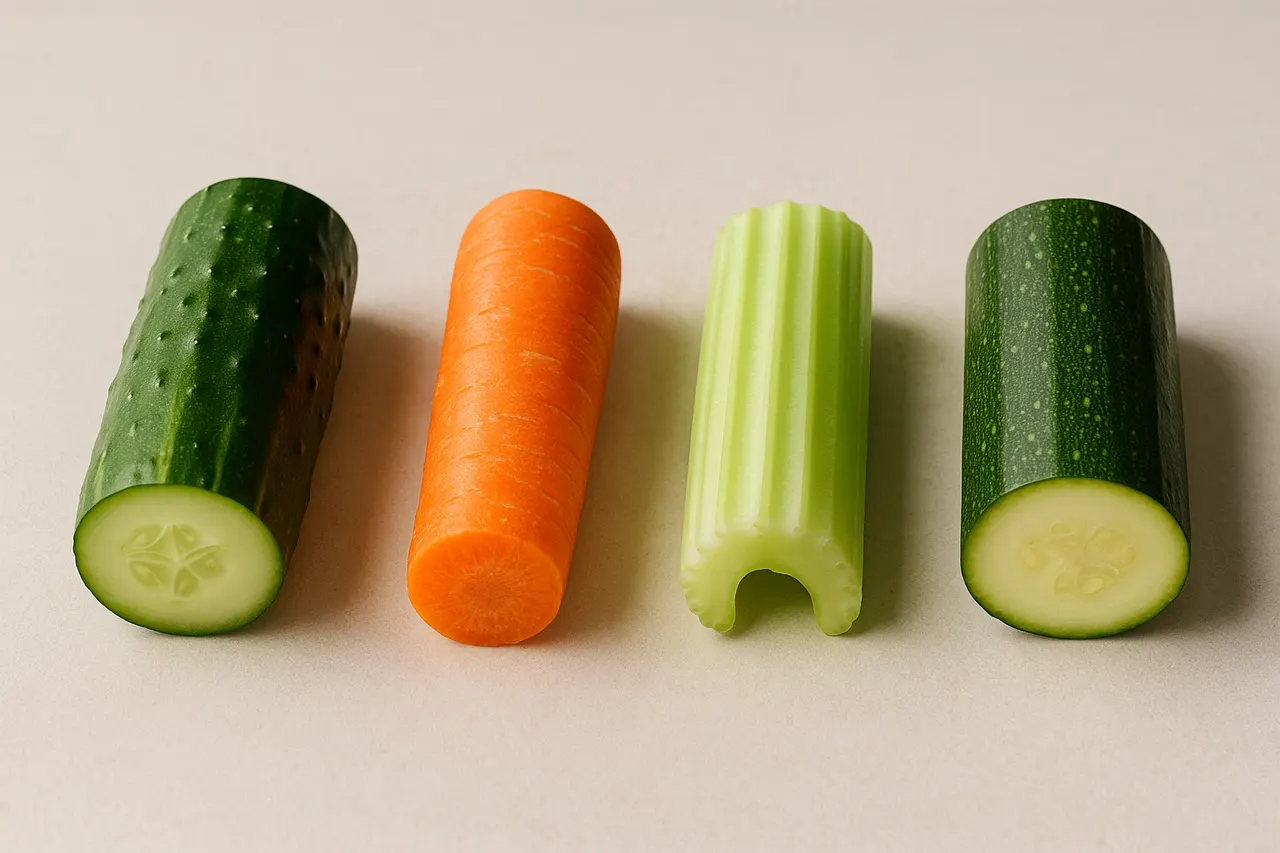
Step 4: Cut manageable segments
Cut long vegetables into 2–3 inch segments so each piece is easy to control; shorter pieces let you keep your fingers safely away from the blade. Aim for segments about the length you want the final julienne strips to be.
Step 5: Slice into thin planks
Place the flat face down and slice each segment into 1/8 to 1/4 inch thick planks using a sharp chef’s knife. A sharp blade requires less force and gives cleaner cuts, reducing slipping and accidents.
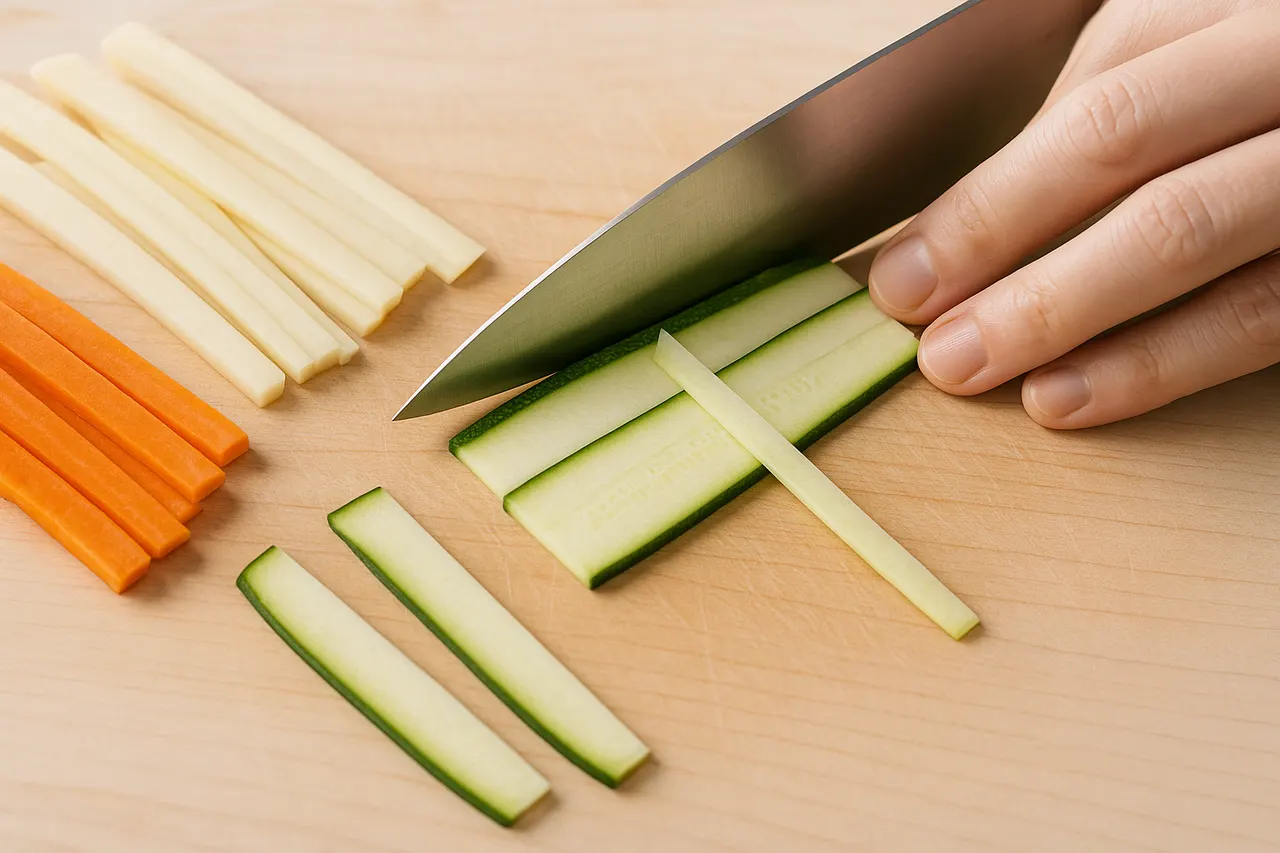
Step 6: Stack and cut matchsticks
Stack 2–4 planks, align the edges, and cut across into 1/8 to 1/4 inch matchstick strips. Keep your fingertips curled under and use your knuckles to guide the knife for consistent width and safety.
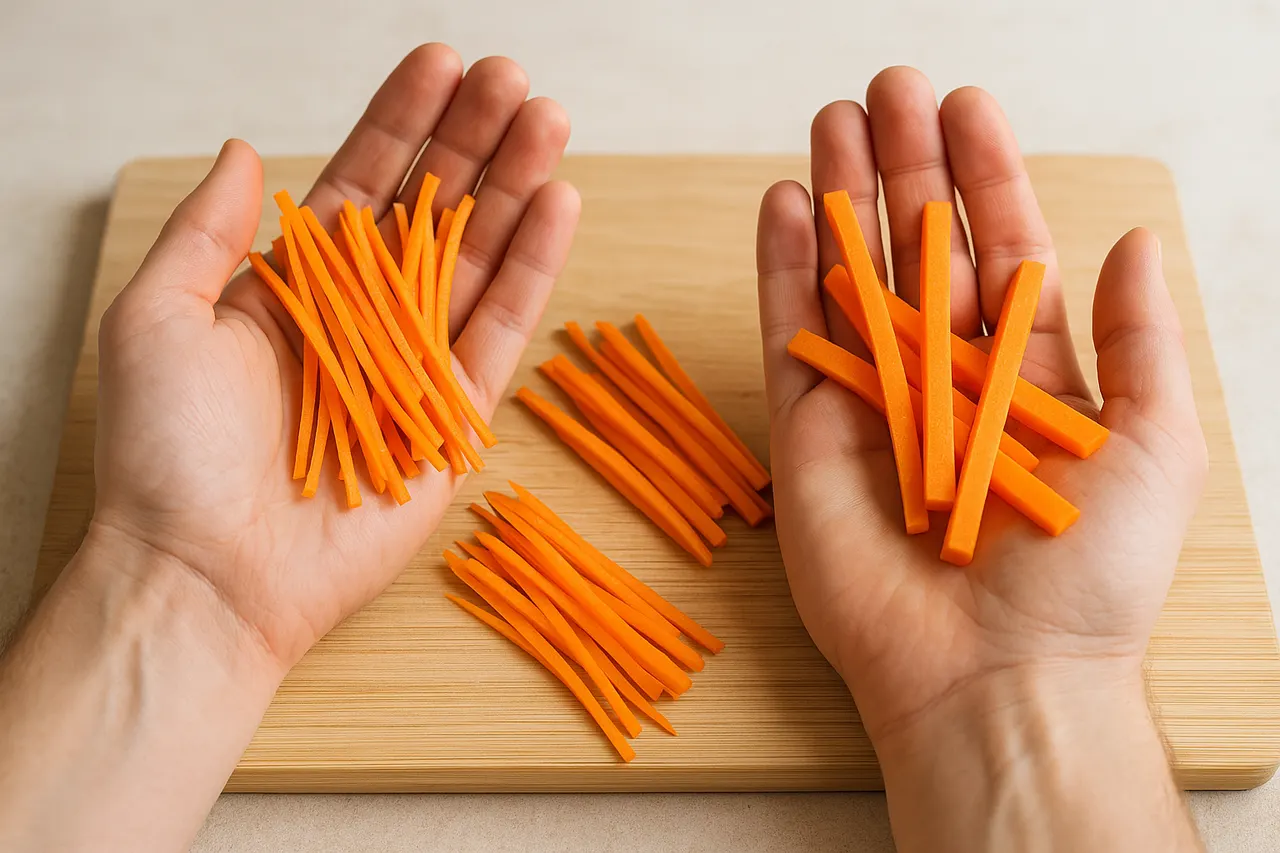
Step 7: Adjust for thin julienne
For thinner julienne, quarter the planks lengthwise before stacking, aiming for 1/16 inch strips; for thicker batons, leave as is. Gather the strips and lightly fan them out to check evenness before cooking.
- Keep your knife sharpened and hone it every 5–10 minutes of intensive prep to maintain a keen edge.
- Use a cut-resistant glove on the non-cutting hand if you’re still gaining confidence with knife skills.
- Work with a stable, non-slip cutting board; place a damp towel underneath if it slides.
- If pieces vary, quickly square the ends and re-stack to even them up for uniform cooking.
- For slippery vegetables like cucumber, remove seeds with a spoon to make slicing safer and less messy.
- Practice with soft inexpensive vegetables first to build speed before moving to harder ones like carrots.
- Always keep fingertips curled under (claw grip) and never rush while cutting — most kitchen cuts happen when people hurry.
- Do not use a dull knife; it increases the chance of slips and deeper injuries because you apply more force.
- Avoid julienning frozen or partially frozen vegetables — the blade can skip or shatter pieces unpredictably.
- Keep knives away from the edge of the counter and store them securely when not in use to prevent falls and accidental cuts.
Was this guide helpful?
More Food & Entertaining guides
How to make stovetop shakshuka with tender eggs and balanced tomato sauce
Shakshuka is a comforting North African–style skillet of eggs poached in a spiced tomato sauce. This guide walks you through building a balanced sauce and gently cooking tender eggs on the stovetop so yolks stay silky while the sauce is bright and flavorful.
How to make homemade sourdough starter and maintain regular feedings
Making a sourdough starter is a simple, rewarding kitchen project that captures wild yeast and beneficial bacteria to leaven bread. With just flour, water, and a little patience you can build a lively culture and keep it healthy with regular feedings. Follow the step-by-step routine below to create and maintain a starter that will power many loaves.
How to assemble and store layered salads so they don’t get soggy before eating
Layered salads are a colorful, make-ahead way to serve a crowd, but soggy ingredients can ruin the texture. With a few simple construction and storage strategies you can keep greens crisp and dressings separated for 24–72 hours. Follow these steps to assemble jars or bowls that travel well and taste fresh when served.