How to make and maintain a sourdough starter
Making a sourdough starter is a simple, rewarding process that captures wild yeast and beneficial bacteria from flour and air. With a little routine feeding and attention, you can build a reliable leavening culture for bread, pancakes, and more. Expect about 5–10 days to establish a robust starter, then maintain it with regular feedings.
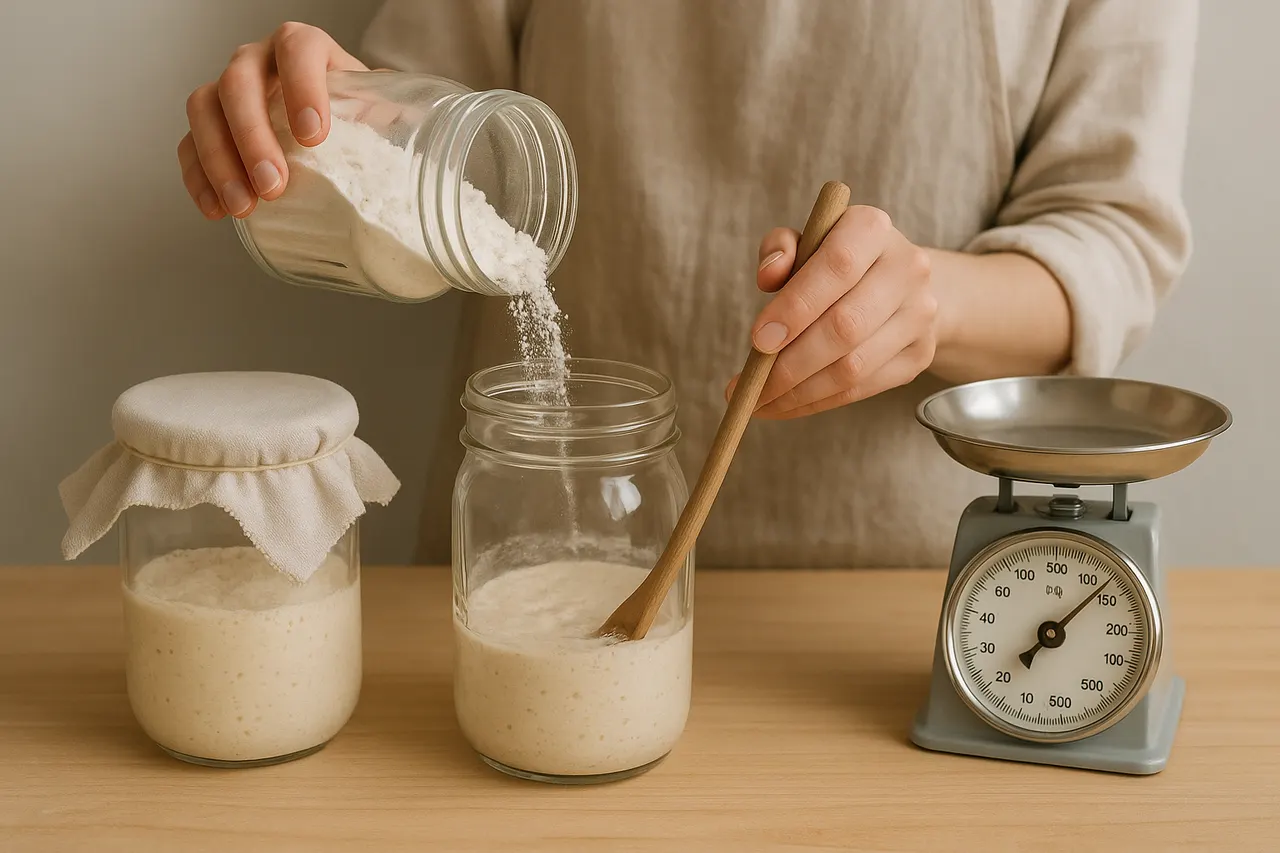
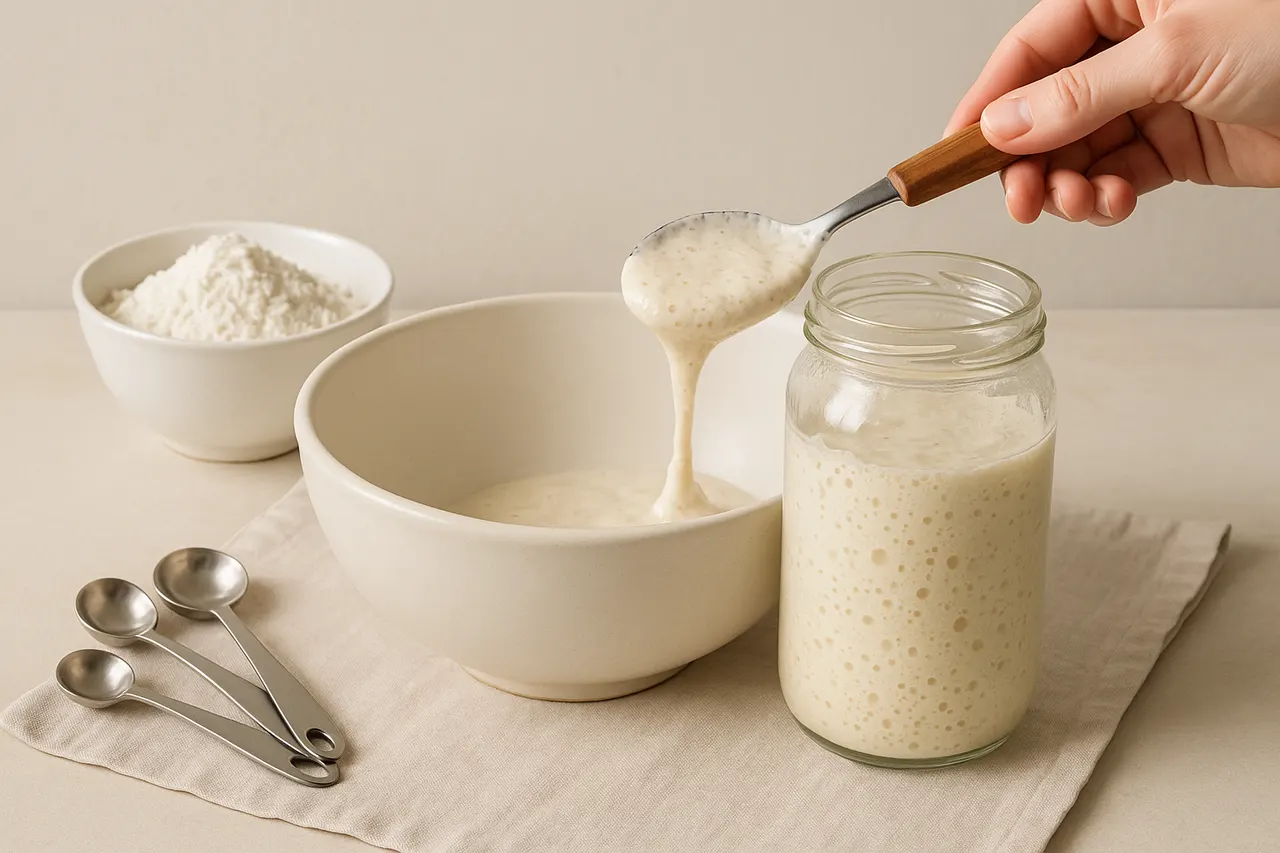
Step 1: Gather supplies and ingredients
Use a clean 500–1000 ml glass jar, a digital scale, a spoon, and breathable cover (coffee filter or cloth). Measure 50–100 g unbleached all-purpose or whole wheat flour and 50–100 g cool water (20–24°C) for each feeding; weighing is more accurate than volume. Having a dedicated jar prevents contamination and makes tracking growth easier.

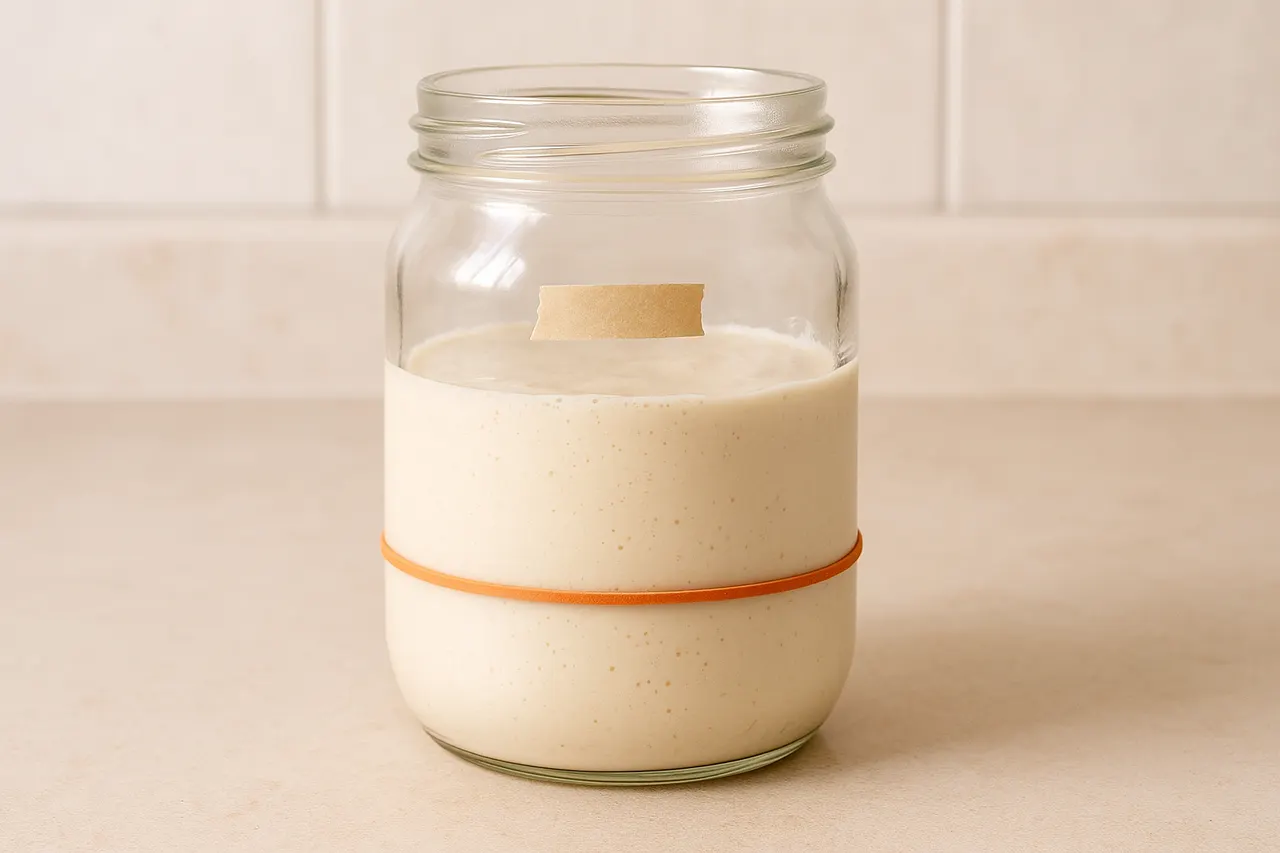
Step 2: Make first mixture
Combine 50 g flour and 50 g water in the jar and stir to a smooth batter; scrape down sides so the mixture sits in the center. Mark the level with a rubber band or tape so you can see rising. Let it sit at room temperature (20–24°C) for 24 hours to allow wild yeasts to begin colonizing.
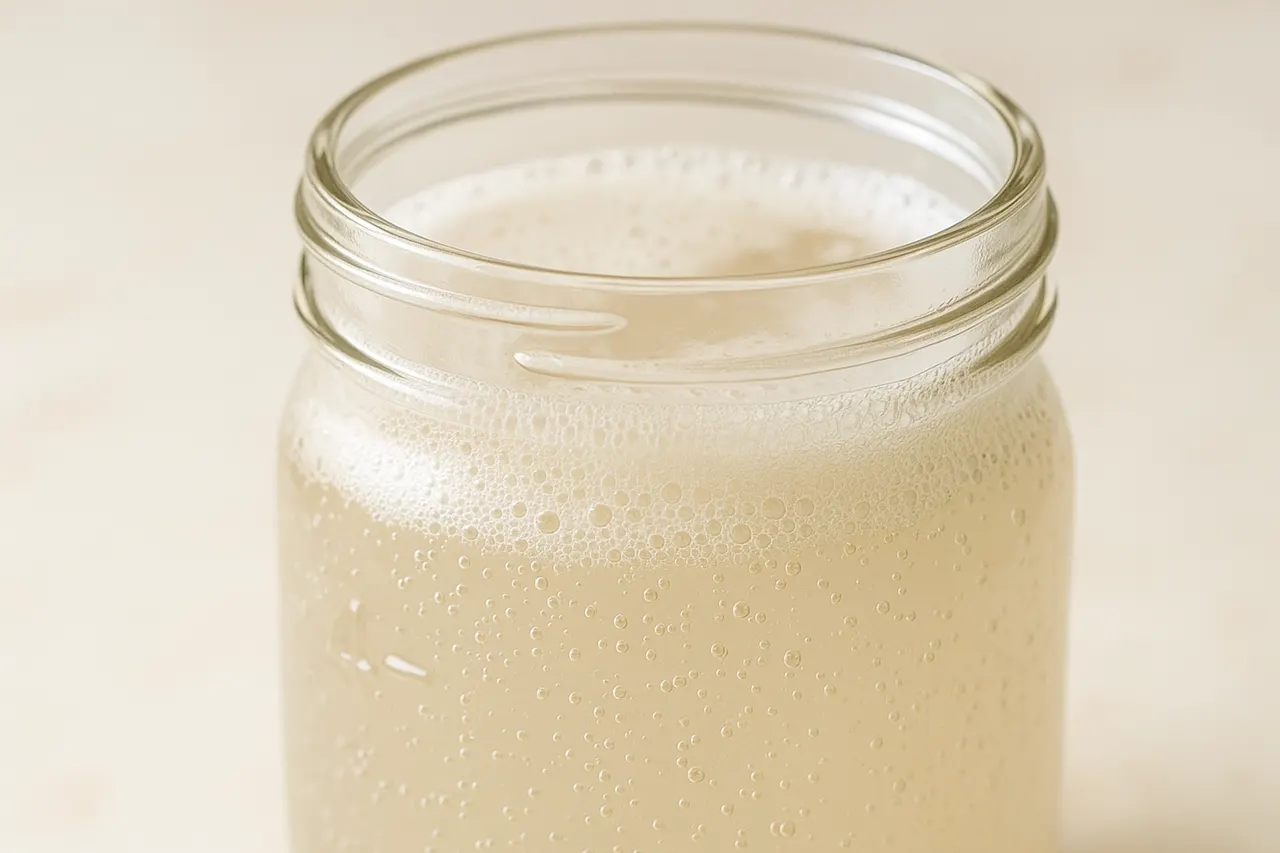
Step 3: Observe for activity
After 24–48 hours, look for tiny bubbles, a tangy smell, or slight rise; some jars show nothing at first and that’s normal. If you see pink, orange, or foul odors, discard and start over. Early observation helps you decide when to begin regular feedings and avoid overripe spoilage.
Step 4: Begin daily feedings
Discard half the starter (about 50 g) and add 50 g flour plus 50 g water, stirring until smooth; cover and leave at room temperature for 24 hours. Repeat this discard-and-feed cycle daily for 3–5 days. Regular feedings build yeast populations and keep acidity balanced so the starter becomes vigorous.
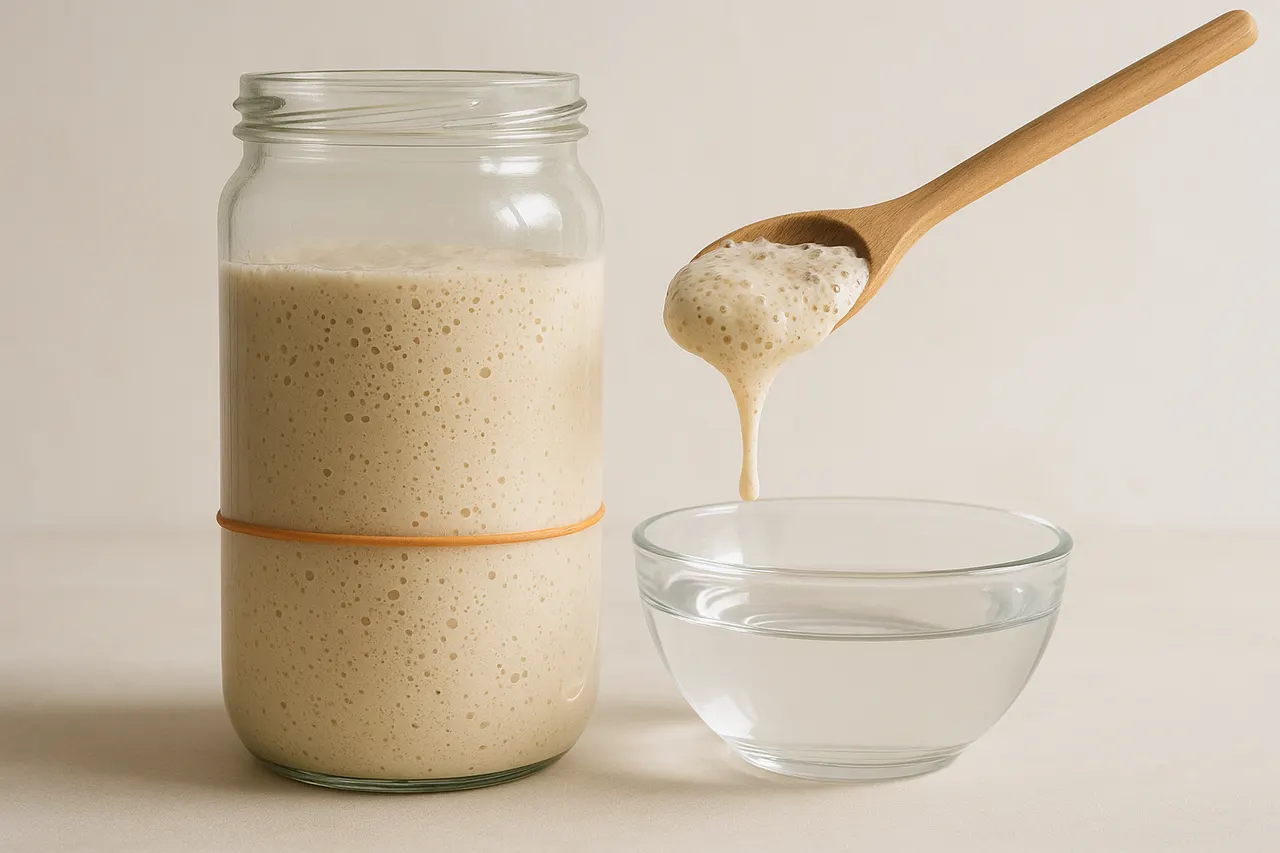
Step 5: Watch for consistent doubling
Around day 5–10 the starter should double in volume 4–8 hours after a feeding and smell pleasantly sour and fruity. To test readiness, drop a spoonful into water — a healthy starter will float. Consistent doubling indicates strong fermentation and readiness for baking.
Step 6: Adjust feeding schedule
If your starter doubles quickly, feed every 12 hours (50 g flour + 50 g water); if slow, keep 24-hour feedings and warmer location (24°C) to speed activity. For less maintenance, refrigerate after an active feeding and feed once per week, stirring and discarding half before refreshing. Tailoring frequency prevents overgrowth or starvation depending on how often you bake.
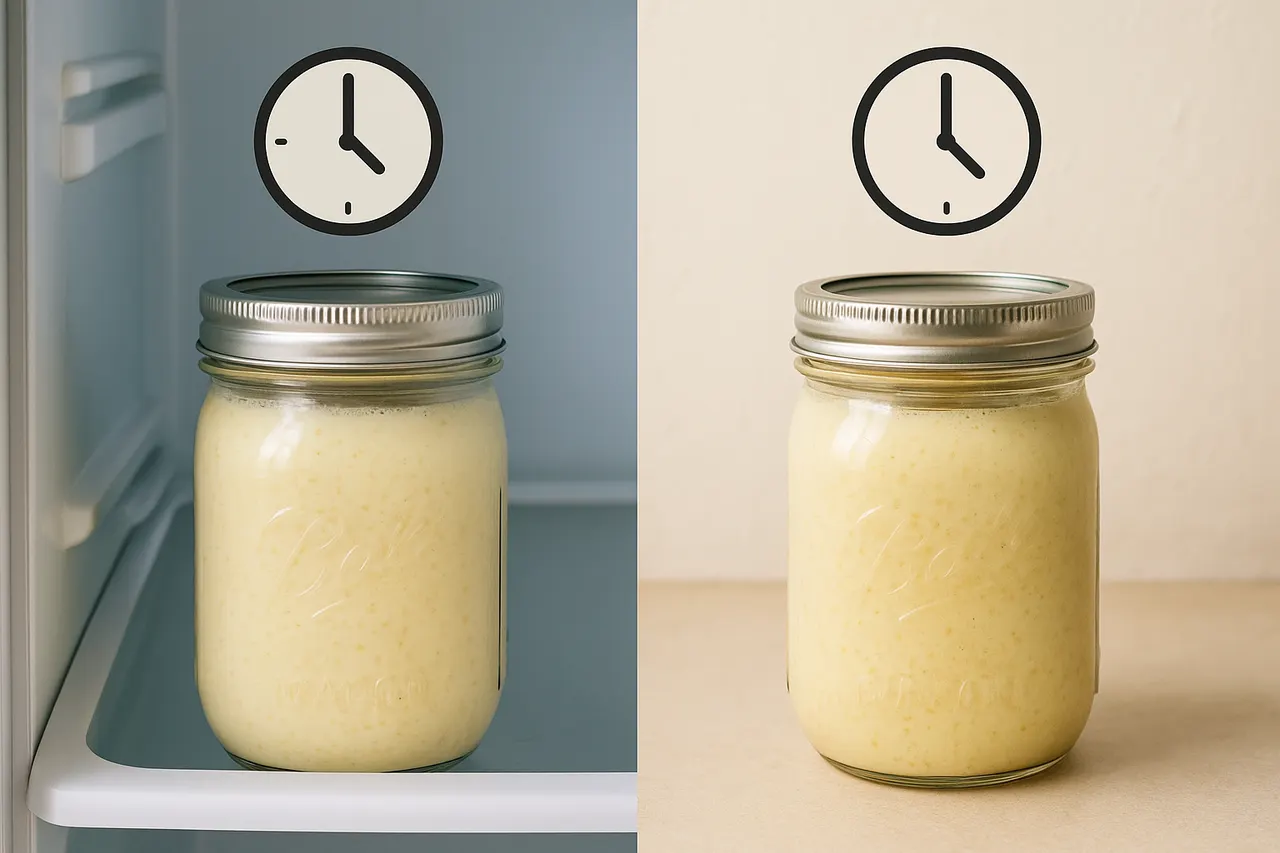
Step 7: Use and maintain long-term
Before baking, refresh the starter with two consecutive feedings 4–6 hours apart to maximize activity. After using, reserve 50–100 g of starter, feed it, and store at room temperature for daily baking or in the fridge for weekly use. Keep a consistent routine, clean utensils, and occasional whole-grain feedings (20–30%) to refresh nutrients and biodiversity.
- Use filtered or bottled water if tap is heavily chlorinated; chlorine can inhibit wild yeast.
- Whole wheat or rye flour contributes faster fermentation early on due to more nutrients and microbes; mix with all-purpose once established.
- Keep the jar at a stable spot away from direct sunlight and drafts; ideal temperature is 20–24°C for steady activity.
- If mold ever appears (fuzzy, colored patches), discard the starter and clean the jar thoroughly before starting again.
- Label your jar with date and feeding schedule so you can track progress and identify when to change routine.
- When reducing waste, save the discarded portion to make crackers, pancakes, or waffles instead of throwing it away.
- If you notice pink, orange, black spots, or an unpleasant rotten smell, discard the starter immediately — those are signs of harmful contamination.
- Do not use metal containers for long-term storage; acidic starter can corrode metal and affect flavor — use glass, plastic, or food-safe ceramic.
- Avoid using heavily chlorinated or chloramine-treated water without filtering, as it can slow or kill the wild yeasts in the starter.
- If you have mold allergies or a weakened immune system, handle starters with extra care and consider using commercial yeast instead of wild culture due to potential exposure risks.
Was this guide helpful?
More Food & Entertaining guides
How to make stovetop shakshuka with tender eggs and balanced tomato sauce
Shakshuka is a comforting North African–style skillet of eggs poached in a spiced tomato sauce. This guide walks you through building a balanced sauce and gently cooking tender eggs on the stovetop so yolks stay silky while the sauce is bright and flavorful.
How to make homemade sourdough starter and maintain regular feedings
Making a sourdough starter is a simple, rewarding kitchen project that captures wild yeast and beneficial bacteria to leaven bread. With just flour, water, and a little patience you can build a lively culture and keep it healthy with regular feedings. Follow the step-by-step routine below to create and maintain a starter that will power many loaves.
How to assemble and store layered salads so they don’t get soggy before eating
Layered salads are a colorful, make-ahead way to serve a crowd, but soggy ingredients can ruin the texture. With a few simple construction and storage strategies you can keep greens crisp and dressings separated for 24–72 hours. Follow these steps to assemble jars or bowls that travel well and taste fresh when served.