How to make perfectly crispy bacon in the oven
Crispy oven-baked bacon is hands-off, even, and less messy than pan-frying. With a few simple tools and precise timing you’ll get perfectly crisp strips every time without flipping. Follow these steps and adjust slightly for thickness and personal crunch preference.
Step 1: Choose the right bacon
Select bacon slices 1/16–1/8 inch thick for classic crispiness; thicker slabs (1/4 inch) need longer time and will be chewier in the center. Look for evenly marbled pieces so fat renders predictably. Cold bacon straight from the fridge slices more cleanly.

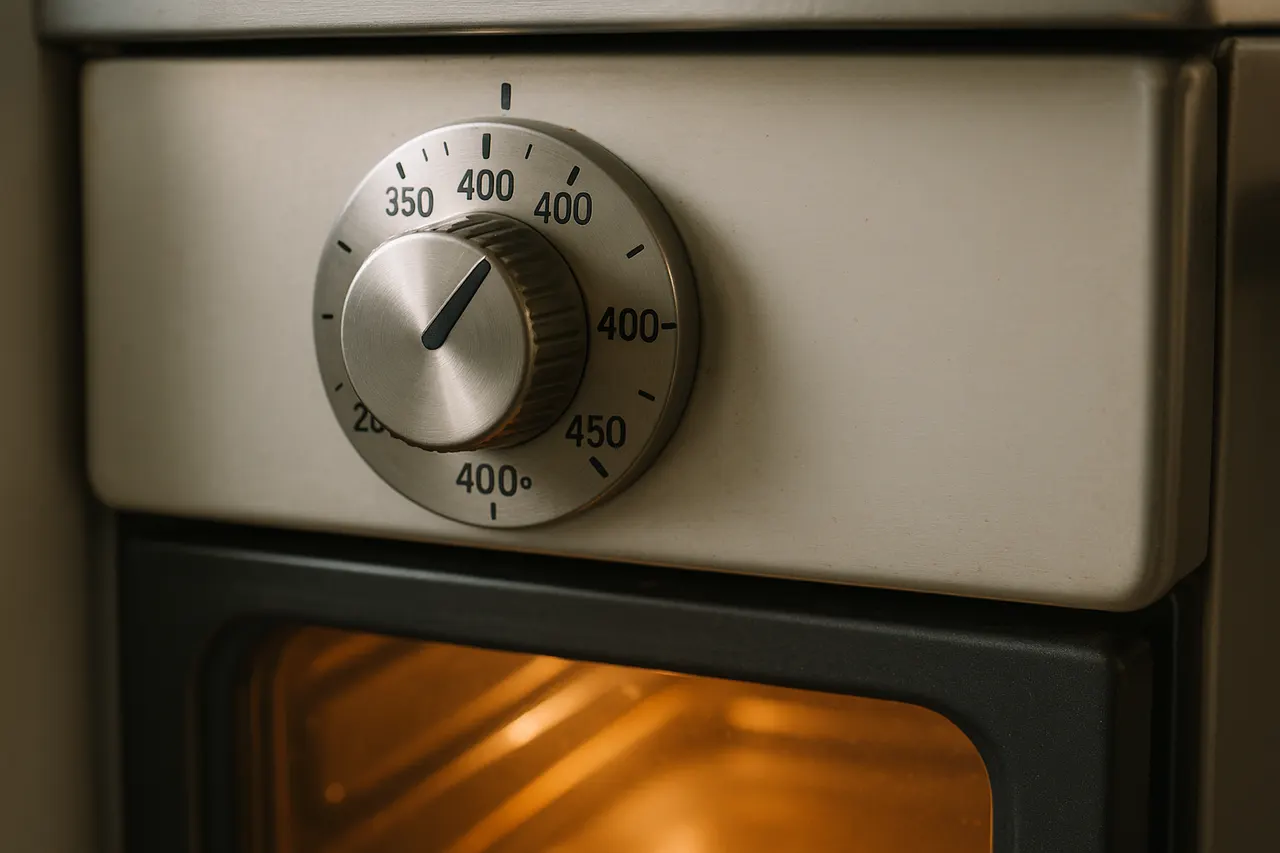
Step 2: Preheat the oven
Set oven to 400°F (200°C) for regular slices; for extra-thin bacon use 425°F (220°C), for very thick slabs use 375°F (190°C). Preheating ensures even rendering of fat and prevents steaming. Allow 10–15 minutes for full oven heat-up if you do not have an instant-read oven thermometer.
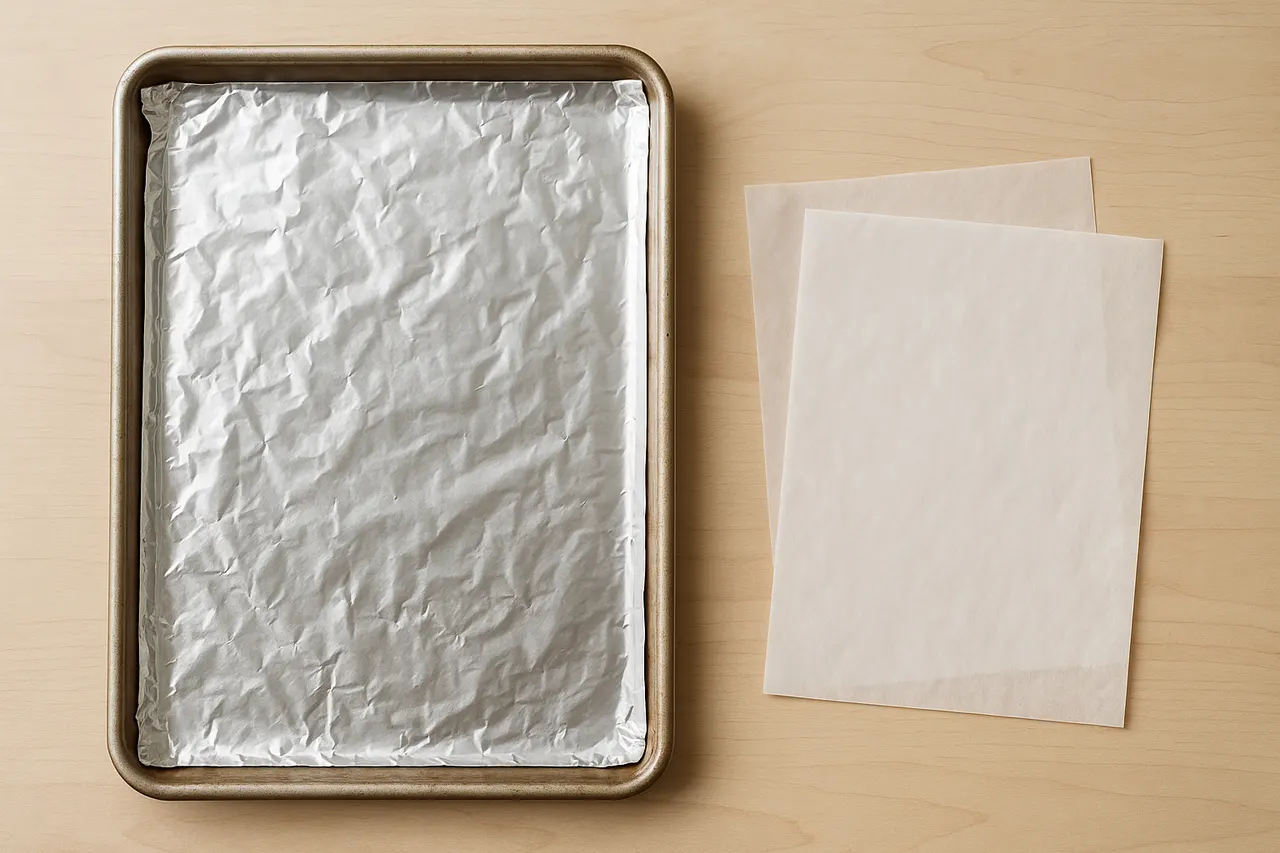
Step 3: Line a sheet pan
Use a large rimmed baking sheet lined with aluminum foil or parchment paper for easy cleanup; foil conducts heat slightly faster. If you want super-crispy bottom sides, place bacon directly on foil; for minimal sticking use parchment and accept slightly less bottom crunch. Spray foil lightly with neutral oil only if bacon is very lean.
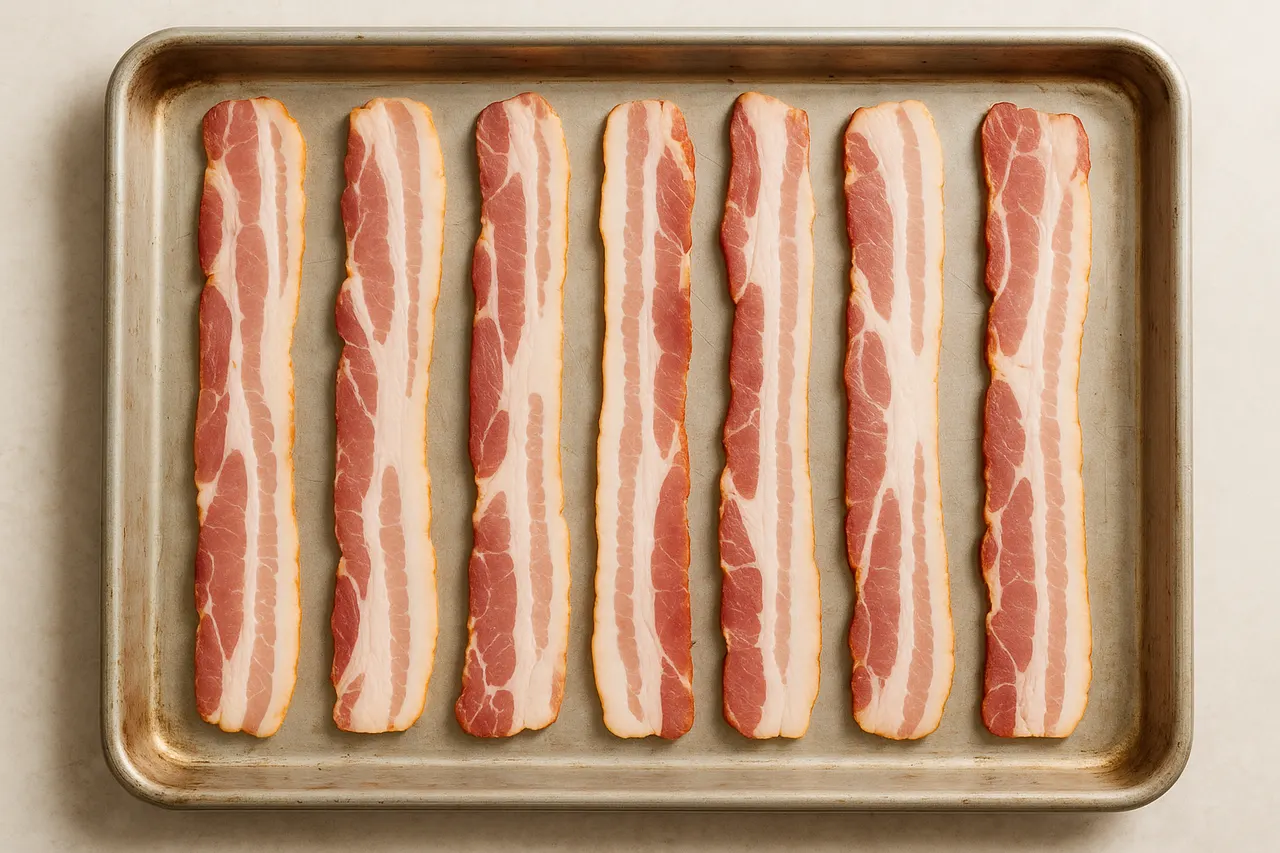
Step 4: Arrange bacon in a single layer
Lay strips side by side without overlapping; leave 1/4–1/2 inch gaps to let air circulate and fat render. Overlapping causes uneven cooking and chewy spots. For many slices, use two pans rather than crowding one pan to maintain crispness.
Step 5: Optional: use a wire rack
Place a wire cooling rack on the sheet pan and arrange bacon on the rack to allow airflow underneath for all-around crispiness. This takes 3–5 minutes longer than directly on foil but reduces grease contact. Use a rack rated for oven use and ensure it sits flush inside the pan.
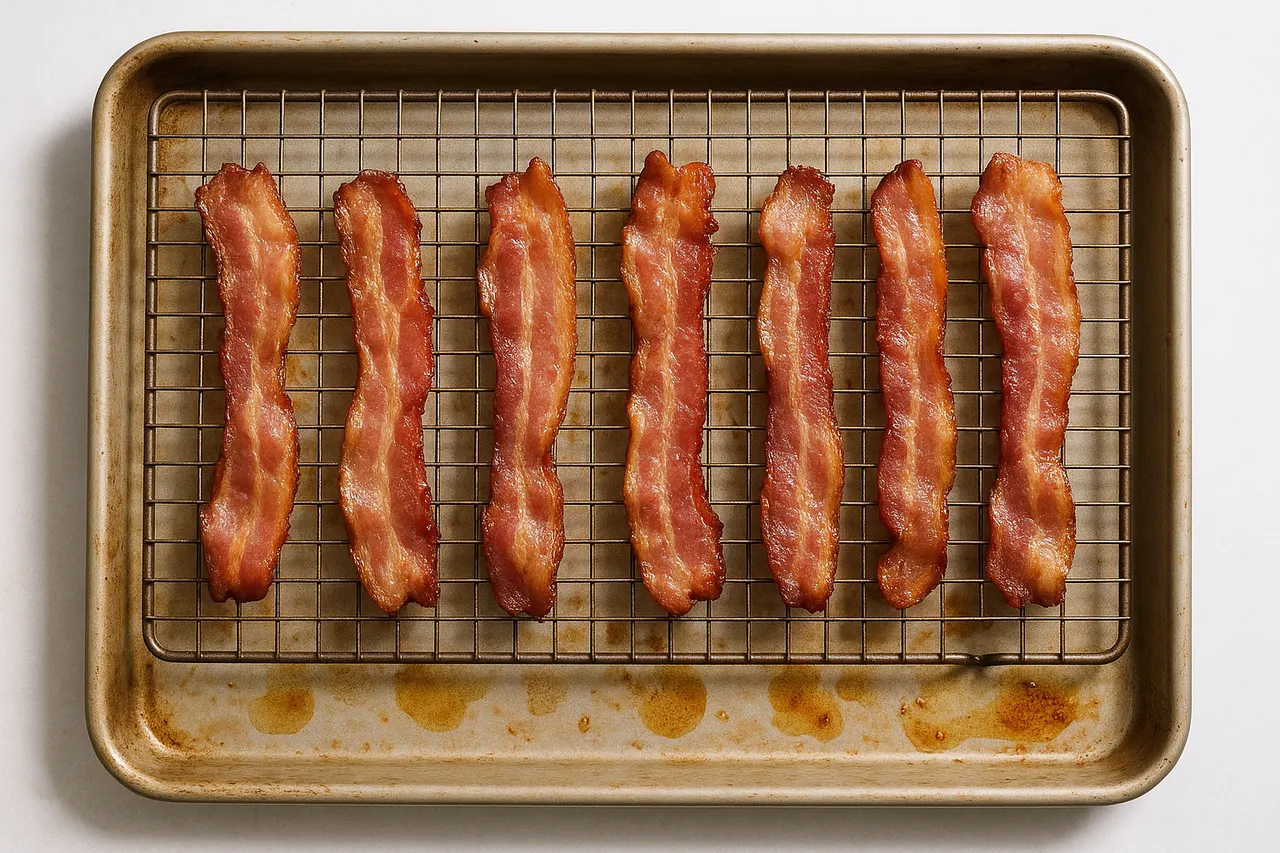
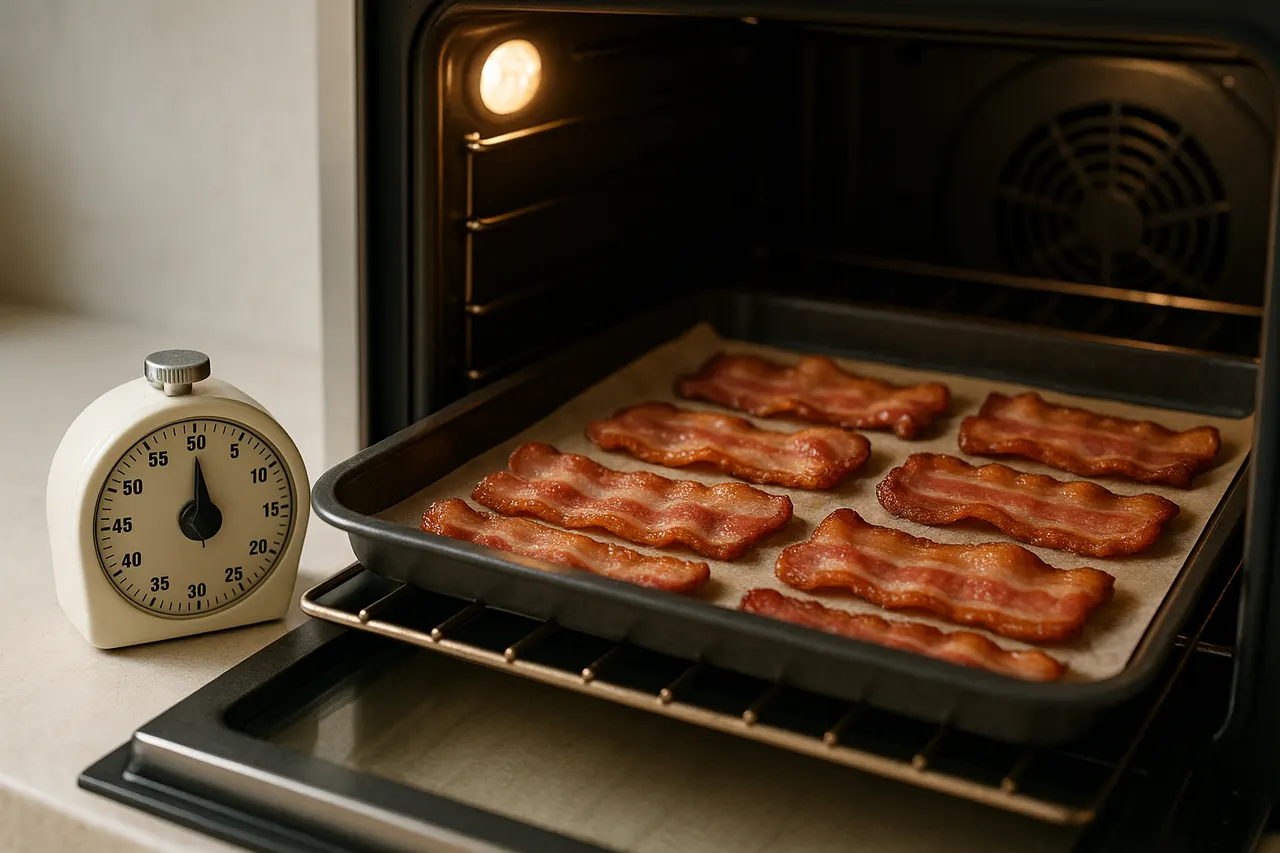
Step 6: Bake and monitor time
Bake 12–20 minutes depending on thickness: thin 12–15 minutes, regular 15–18 minutes, thick 18–22 minutes. Start checking at the lower end of the range and rotate the pan once halfway through for even browning. Remove when edges are deep golden brown and centers have the desired snap; they crisp more as they cool.
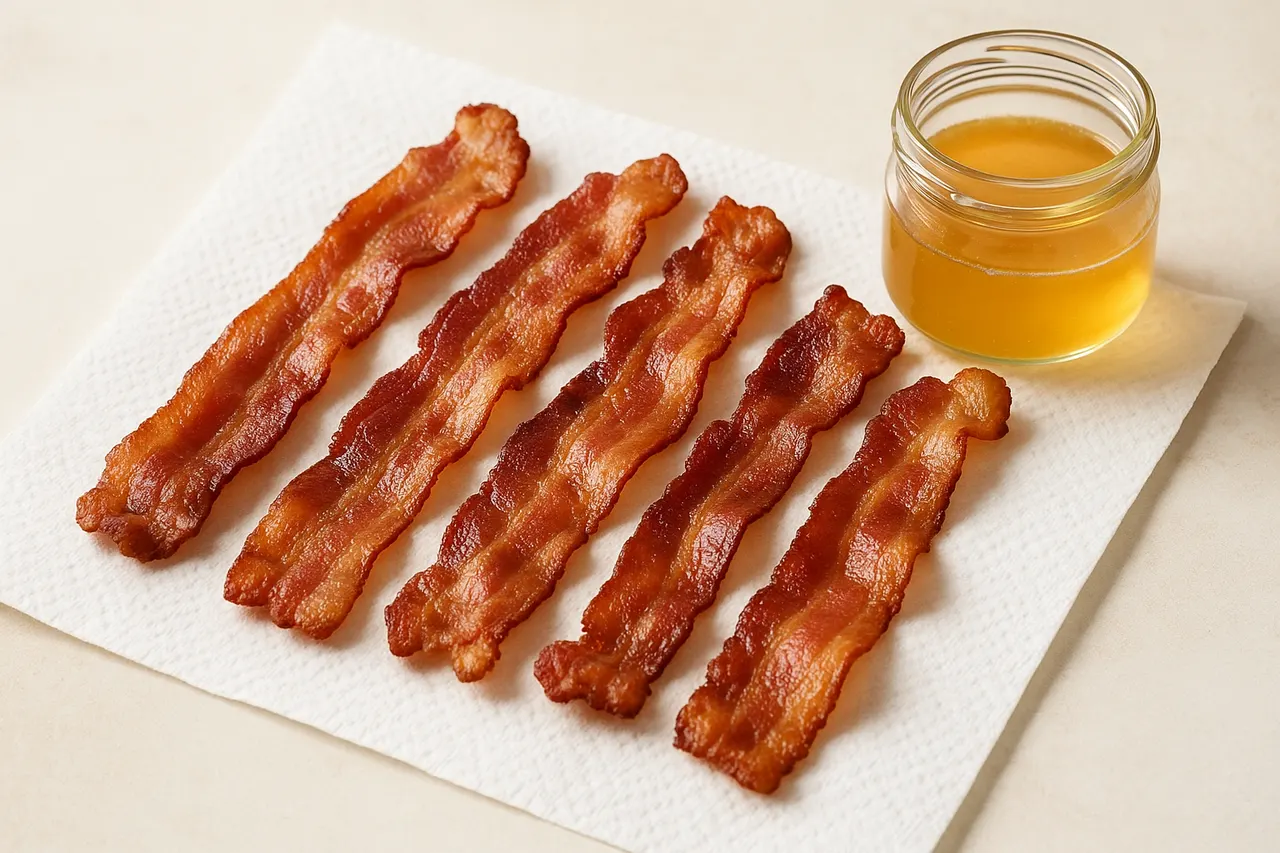
Step 7: Drain and cool briefly
Transfer cooked bacon to a plate lined with paper towels or a cooling rack for 2–3 minutes to drain excess grease and finish crisping. Don’t stack strips while hot or steam will soften them. Save rendered bacon fat by pouring it into a heatproof jar after straining for future cooking uses.
- For evenly sized results, use bacon slicer or buy uniform-packaged slices.
- Pat slices dry with paper towel before baking if they are damp from packaging; excess moisture slows crisping.
- If oven hotspots are an issue, rotate the pan 180° at the 10-minute mark for uniform color.
- For candied bacon, sprinkle 1–2 teaspoons brown sugar or a small brush of maple syrup during the last 3 minutes of baking.
- Keep a close eye during the final 2 minutes — bacon goes from perfect to burned very quickly.
- To re-crisp leftover bacon, bake at 375°F (190°C) on a wire rack for 3–5 minutes.
- Rendered bacon fat and foil will be very hot; let the pan cool briefly and handle with oven mitts to avoid burns.
- Do not leave the oven unattended during the last 5 minutes of cooking; bacon can burn fast and produce smoke.
- Avoid putting bacon in a crowded pan; overlapping causes uneven cooking and increases risk of undercooked centers and grease splatter.
- Cool and store bacon fat safely in a sealed jar in the fridge and discard if it develops an off smell or mold.
Was this guide helpful?
More Food & Entertaining guides
How to make stovetop shakshuka with tender eggs and balanced tomato sauce
Shakshuka is a comforting North African–style skillet of eggs poached in a spiced tomato sauce. This guide walks you through building a balanced sauce and gently cooking tender eggs on the stovetop so yolks stay silky while the sauce is bright and flavorful.
How to make homemade sourdough starter and maintain regular feedings
Making a sourdough starter is a simple, rewarding kitchen project that captures wild yeast and beneficial bacteria to leaven bread. With just flour, water, and a little patience you can build a lively culture and keep it healthy with regular feedings. Follow the step-by-step routine below to create and maintain a starter that will power many loaves.
How to assemble and store layered salads so they don’t get soggy before eating
Layered salads are a colorful, make-ahead way to serve a crowd, but soggy ingredients can ruin the texture. With a few simple construction and storage strategies you can keep greens crisp and dressings separated for 24–72 hours. Follow these steps to assemble jars or bowls that travel well and taste fresh when served.