How to make vegetable or chicken stock from kitchen scraps
Making stock from kitchen scraps is an easy, frugal way to boost flavor and reduce waste. Whether you save vegetable peelings or leftover chicken bones, a little planning yields rich, homemade stock you can use in soups, sauces, and grains. Below are clear, practical steps to turn scraps into delicious stock.
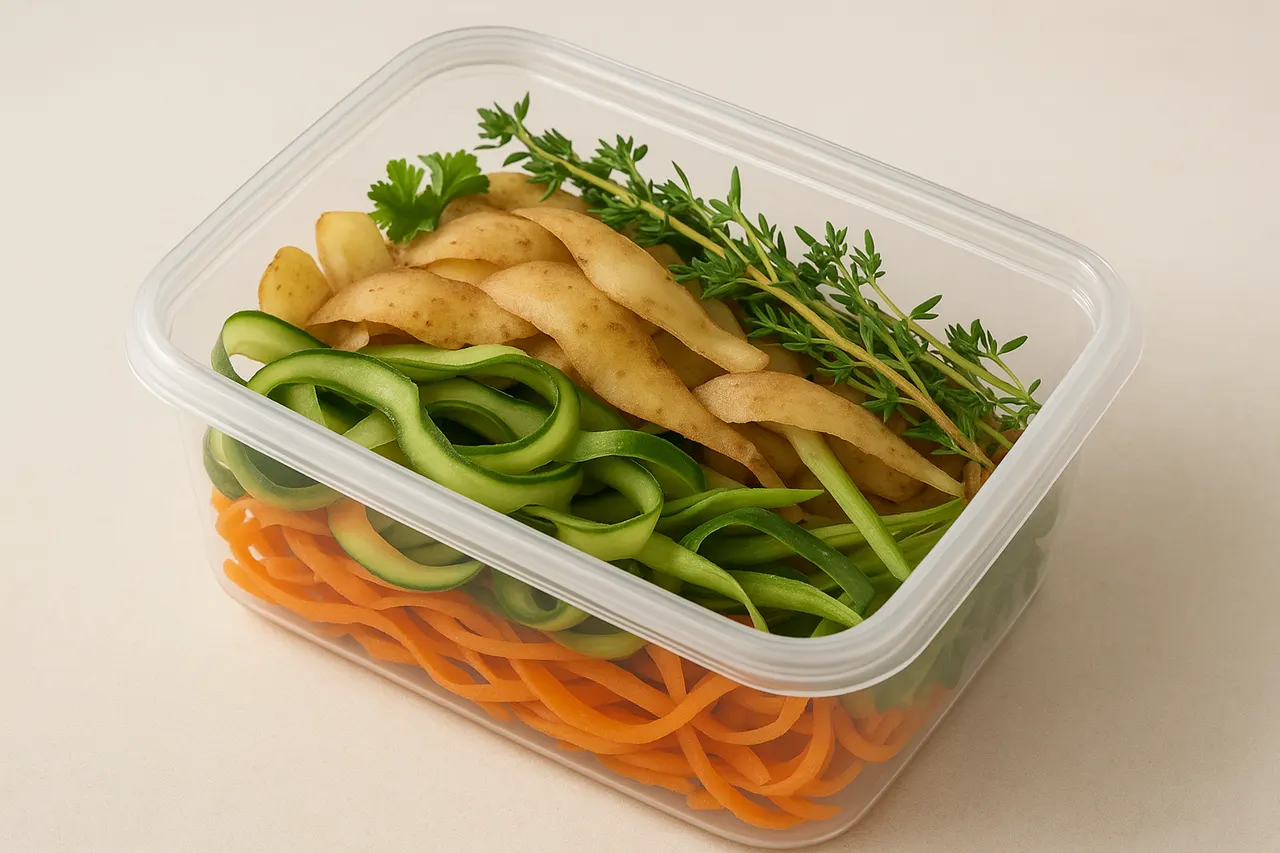
Step 1: Collect and store scraps
Save vegetable peels, tops, ends, and herb stems in a sealed bag or container in the freezer; for chicken stock, save roasted or raw bones and any trimmings. Aim for 4–8 cups of scraps or about 1–2 pounds of bones per batch to make roughly 8 cups (2 liters) of stock. Freezing keeps scraps safe and concentrates flavor over time.
Step 2: Decide vegetable or chicken stock
Choose vegetable stock when you have mostly produce scraps; choose chicken stock when you have bones or carcass plus vegetables. Vegetable stock is lighter and vegetarian; chicken gives deeper body and gel-like mouthfeel when simmered long enough. Decide now to adjust cooking time and seasoning later.

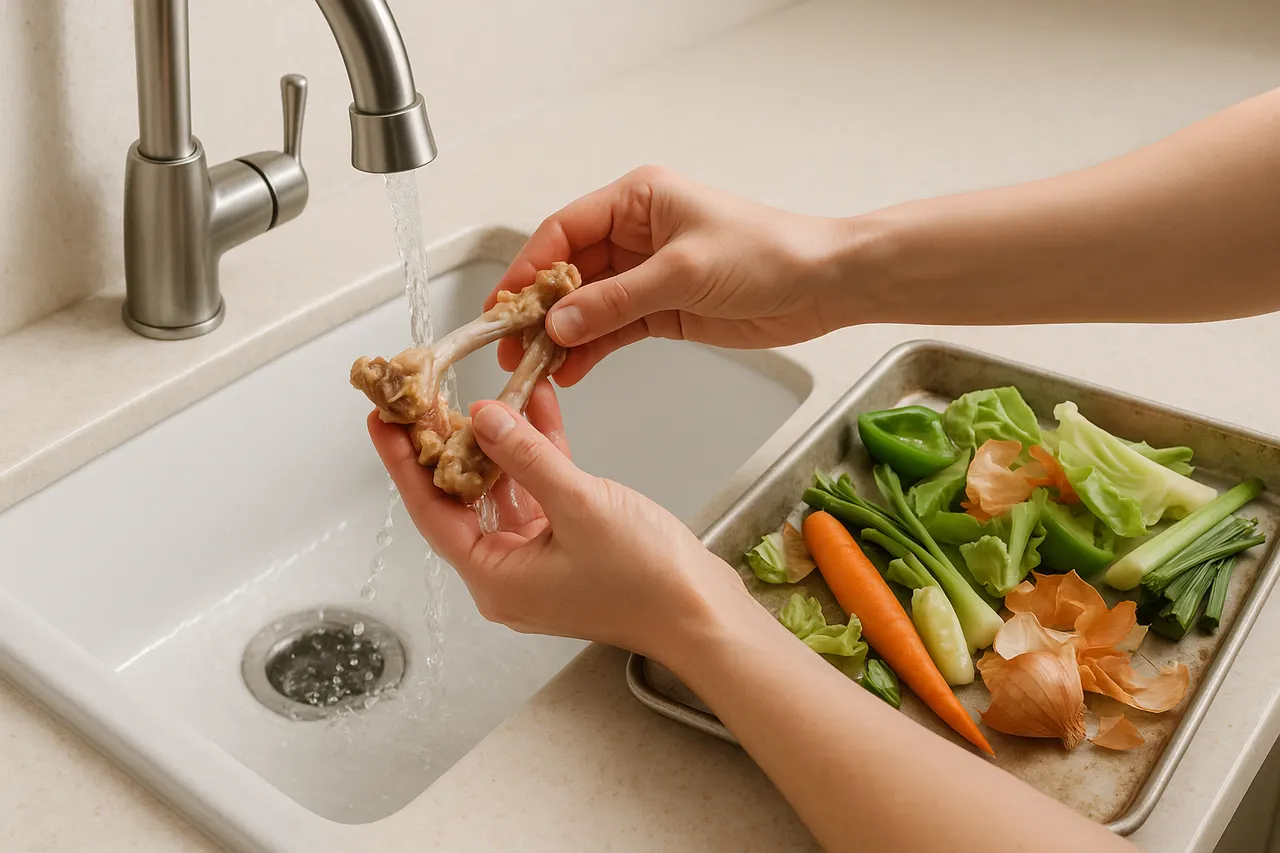
Step 3: Rinse bones and trim soggy scraps
Quickly rinse bones to remove excess blood and discard any slimy or moldy scraps. For vegetables, remove bitter items like large amounts of raw broccoli florets or too much cabbage, which can overpower flavor. This keeps the final stock clean-tasting and prevents off flavors.
Step 4: Fill pot and add cold water
Place scraps or bones in a large stockpot and cover with cold water leaving 1–2 inches headspace; use about 10–12 cups (2.5–3 liters) of water for 1–2 pounds of bones or 4–8 cups of vegetable scraps. Starting with cold water helps extract collagen and flavor evenly from bones and vegetables.
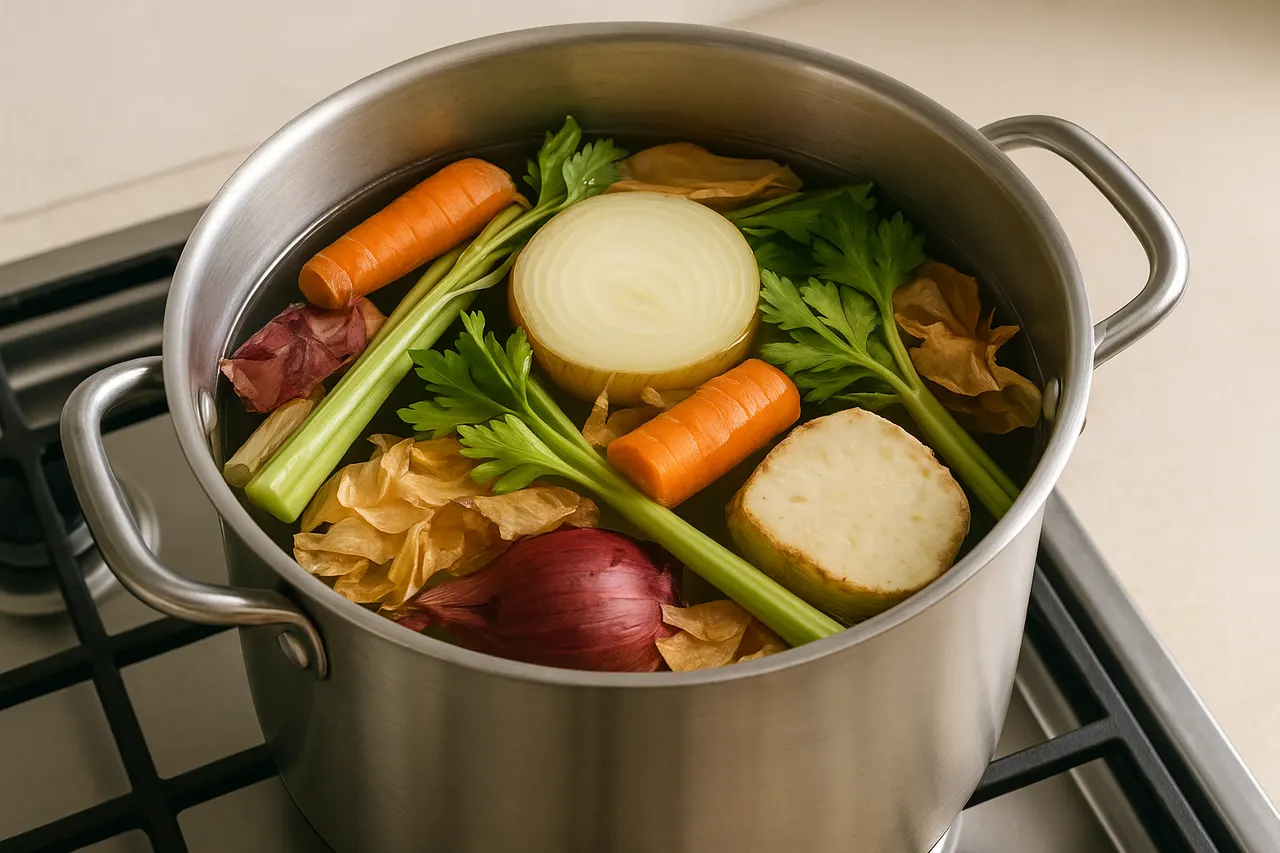
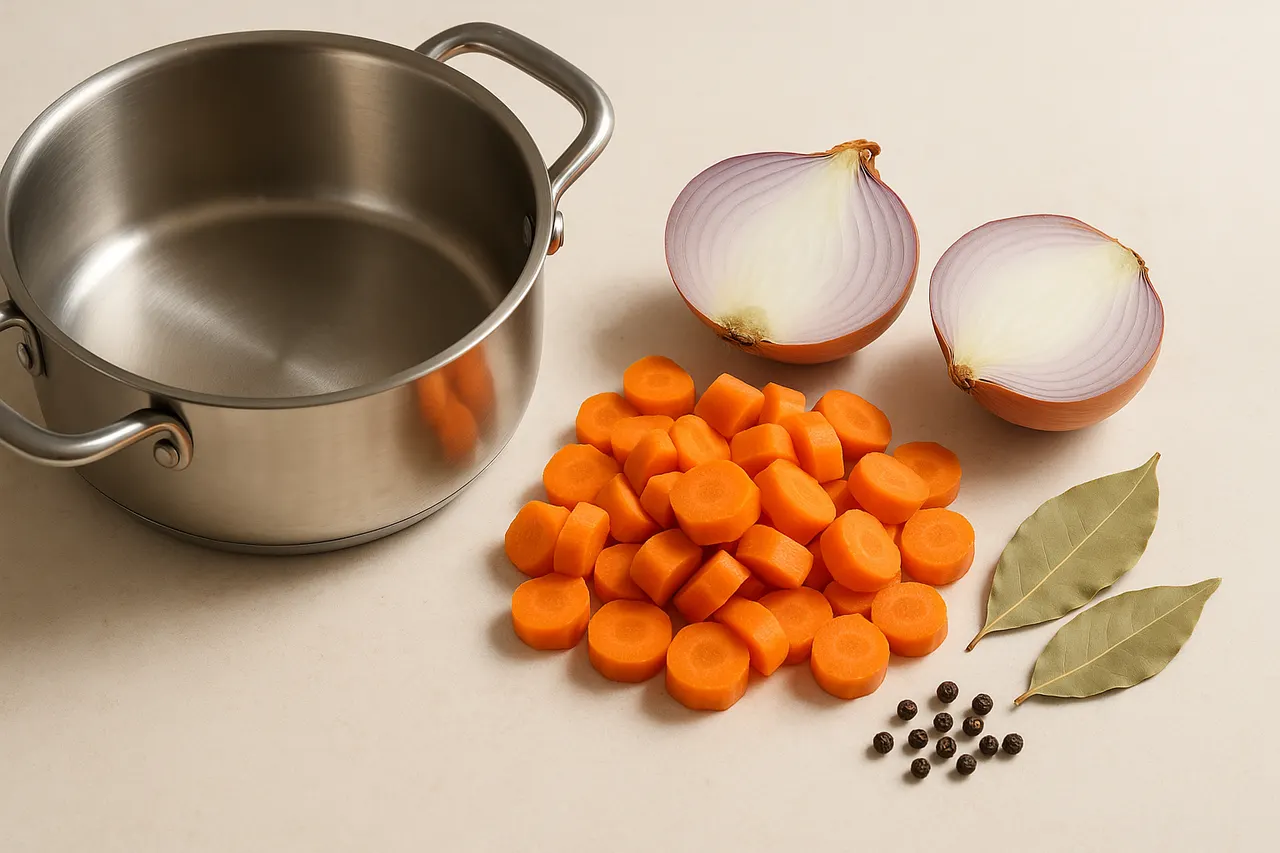
Step 5: Add aromatics and light seasoning
Add 1–2 carrots, 1 onion (halved), 2–3 celery stalks, 1–2 bay leaves, 6–8 peppercorns, and a handful of parsley stems. For chicken stock add 1 teaspoon salt to start; for vegetable stock start with no more than 1/2 teaspoon and adjust later. These aromatics create balanced flavor without overpowering the base ingredients.
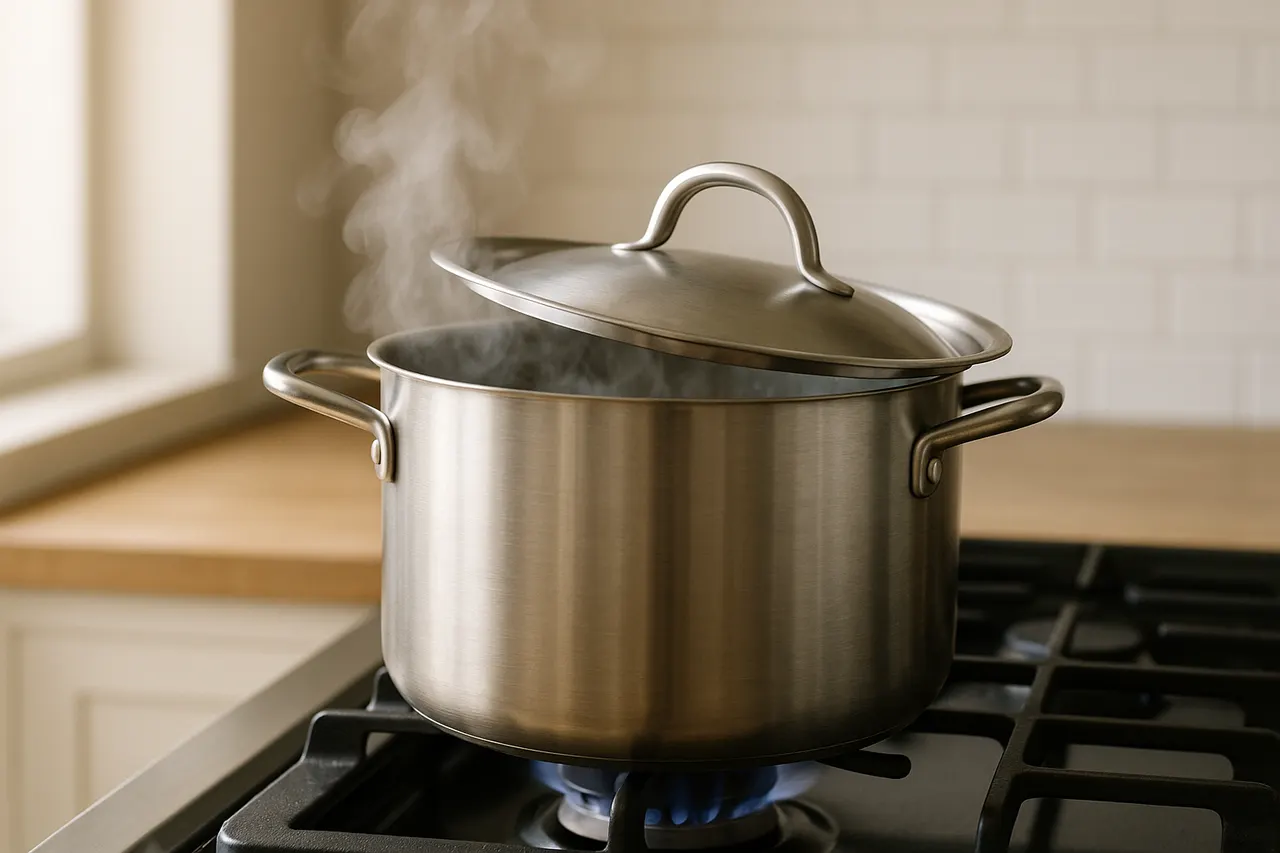
Step 6: Simmer gently for correct time
Bring to a gentle simmer over medium heat, then lower to maintain light simmer. Simmer vegetable stock 45–60 minutes; simmer chicken bone stock 3–4 hours (or 8–12 hours for maximum gelatin if using a slow cooker). Avoid vigorous boiling which clouds the stock and emulsifies fat.
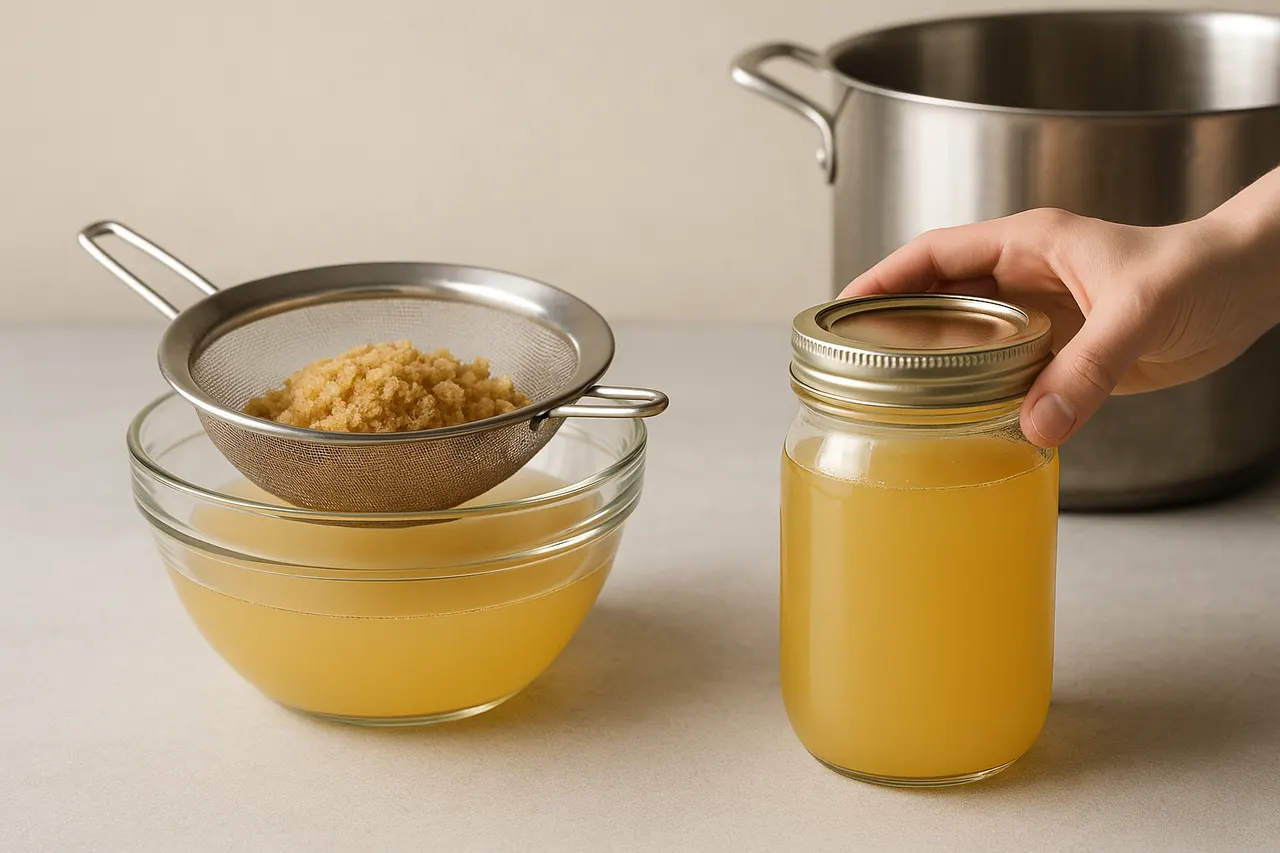
Step 7: Strain, cool, and store
Strain through a fine-mesh sieve or cheesecloth into a clean container, pressing solids lightly to extract liquid. Cool quickly in an ice bath or fridge within 2 hours, then refrigerate up to 4 days or freeze in 1–2 cup portions for up to 3 months. Label with date and type so you can use it confidently later.
- Freeze scraps in 1–2 cup portions so you can pull exact amounts for batches and reduce waste.
- Roast bones and vegetable trimmings at 425°F (220°C) for 20–30 minutes for deeper flavor before simmering (optional).
- Skim foam with a slotted spoon in the first 15–30 minutes of simmering for a cleaner stock.
- Keep salt low during stock-making; adjust salt when using stock in specific recipes to avoid over-salting.
- Use acidic splash (1 tablespoon vinegar or lemon juice) with bones to help extract minerals and collagen during the first 30 minutes of simmering.
- Label frozen containers with date and contents and freeze flat in zip-top bags to save space and thaw faster.
- Do not use scraps that are moldy, rotten, or slimy; discard them to avoid foodborne illness.
- Avoid adding strong-flavored vegetables in large amounts (like too much celery leaves, broccoli, or cabbage) which can create bitter or unpleasant stock.
- Always cool stock to room temperature and refrigerate within 2 hours to prevent bacterial growth.
- If you store bones in the refrigerator before cooking, use them within 1–2 days or otherwise freeze; do not keep raw bones at room temperature.
Was this guide helpful?
More Food & Entertaining guides
How to make stovetop shakshuka with tender eggs and balanced tomato sauce
Shakshuka is a comforting North African–style skillet of eggs poached in a spiced tomato sauce. This guide walks you through building a balanced sauce and gently cooking tender eggs on the stovetop so yolks stay silky while the sauce is bright and flavorful.
How to make homemade sourdough starter and maintain regular feedings
Making a sourdough starter is a simple, rewarding kitchen project that captures wild yeast and beneficial bacteria to leaven bread. With just flour, water, and a little patience you can build a lively culture and keep it healthy with regular feedings. Follow the step-by-step routine below to create and maintain a starter that will power many loaves.
How to assemble and store layered salads so they don’t get soggy before eating
Layered salads are a colorful, make-ahead way to serve a crowd, but soggy ingredients can ruin the texture. With a few simple construction and storage strategies you can keep greens crisp and dressings separated for 24–72 hours. Follow these steps to assemble jars or bowls that travel well and taste fresh when served.