How to poach an egg with a runny yolk
Poaching an egg gives you a silky white and a lusciously runny yolk perfect for toast, salads, or eggs Benedict. With a few simple techniques—fresh eggs, gentle simmer, and a timer—you can reliably make a perfect poached egg at home. This guide walks you through each step with concrete times and small tricks to improve consistency.
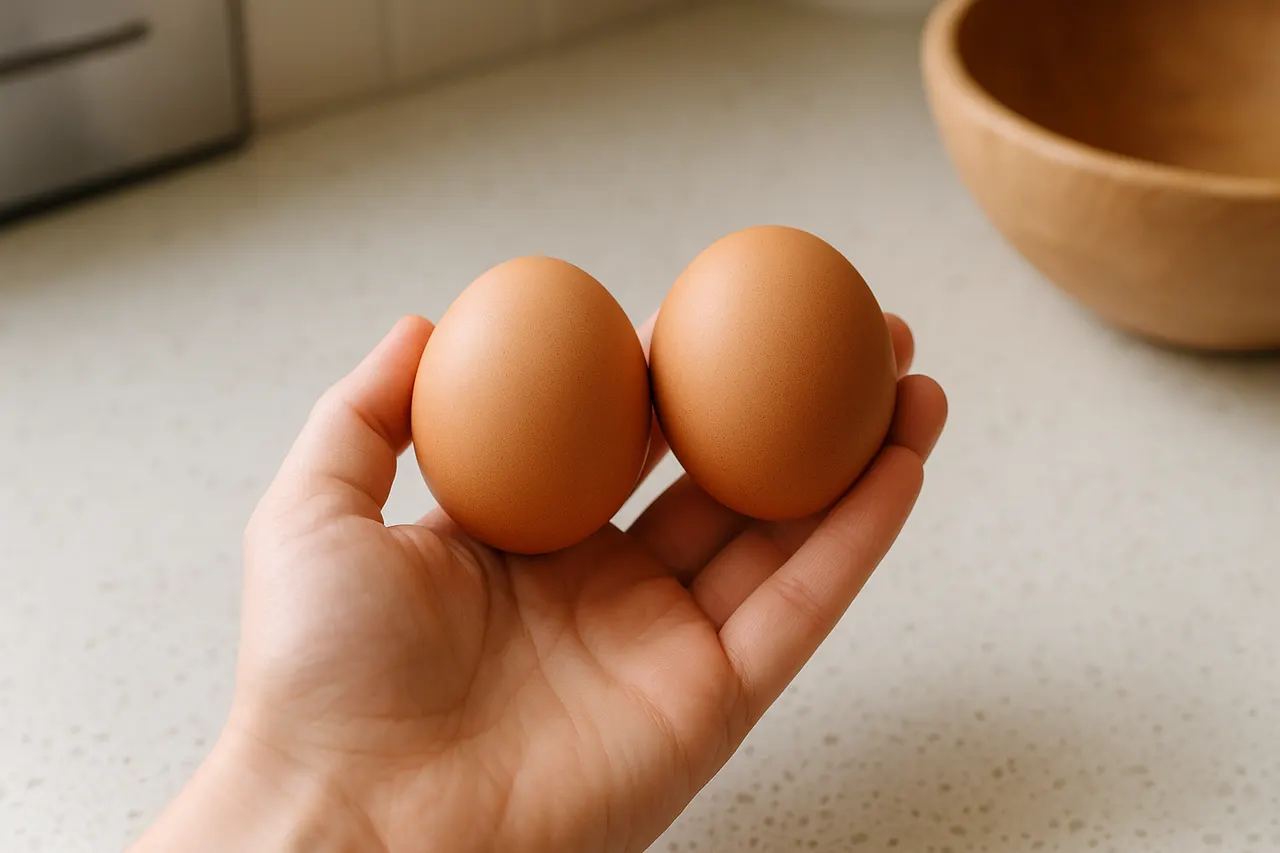
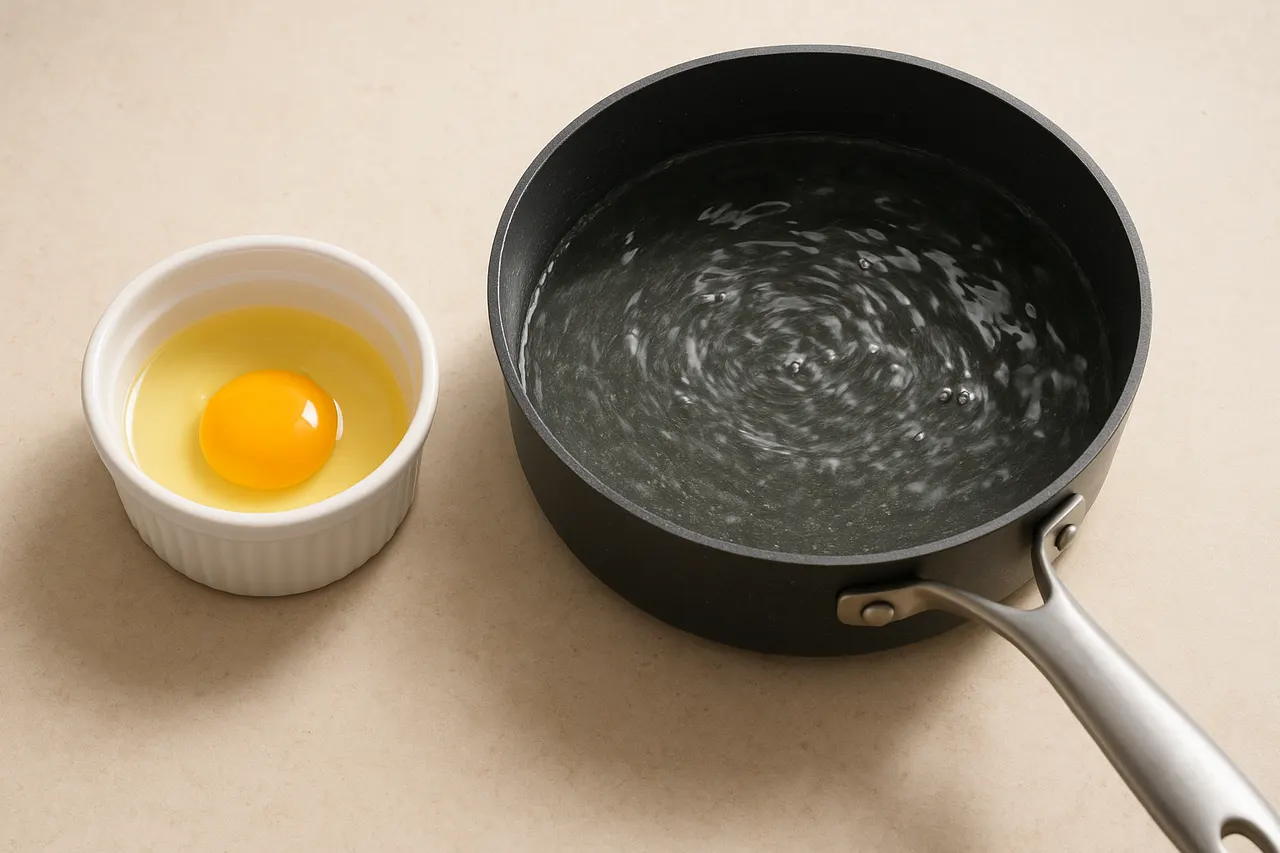
Step 1: Choose very fresh eggs
Use eggs laid within 7 days if possible; fresher whites hold together better and form a tighter sac around the yolk. If you only have older eggs, use slightly cooler water (about 75–80°C) to reduce spreading.
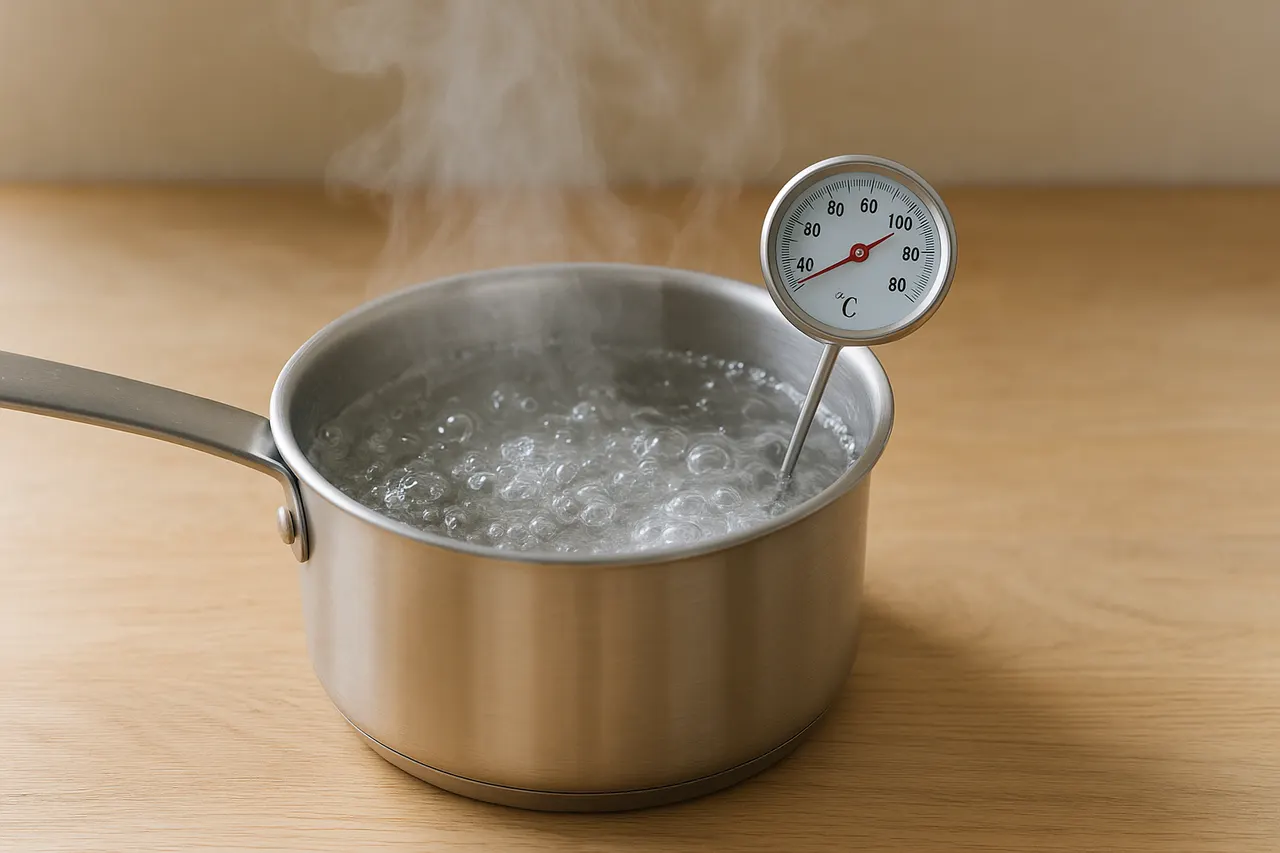
Step 2: Bring water to a gentle simmer
Fill a shallow pan with 4–6 cm of water and heat to a gentle simmer, about 85–90°C (small bubbles around the edges, not a rolling boil). High heat will shred the white and overcook the yolk.
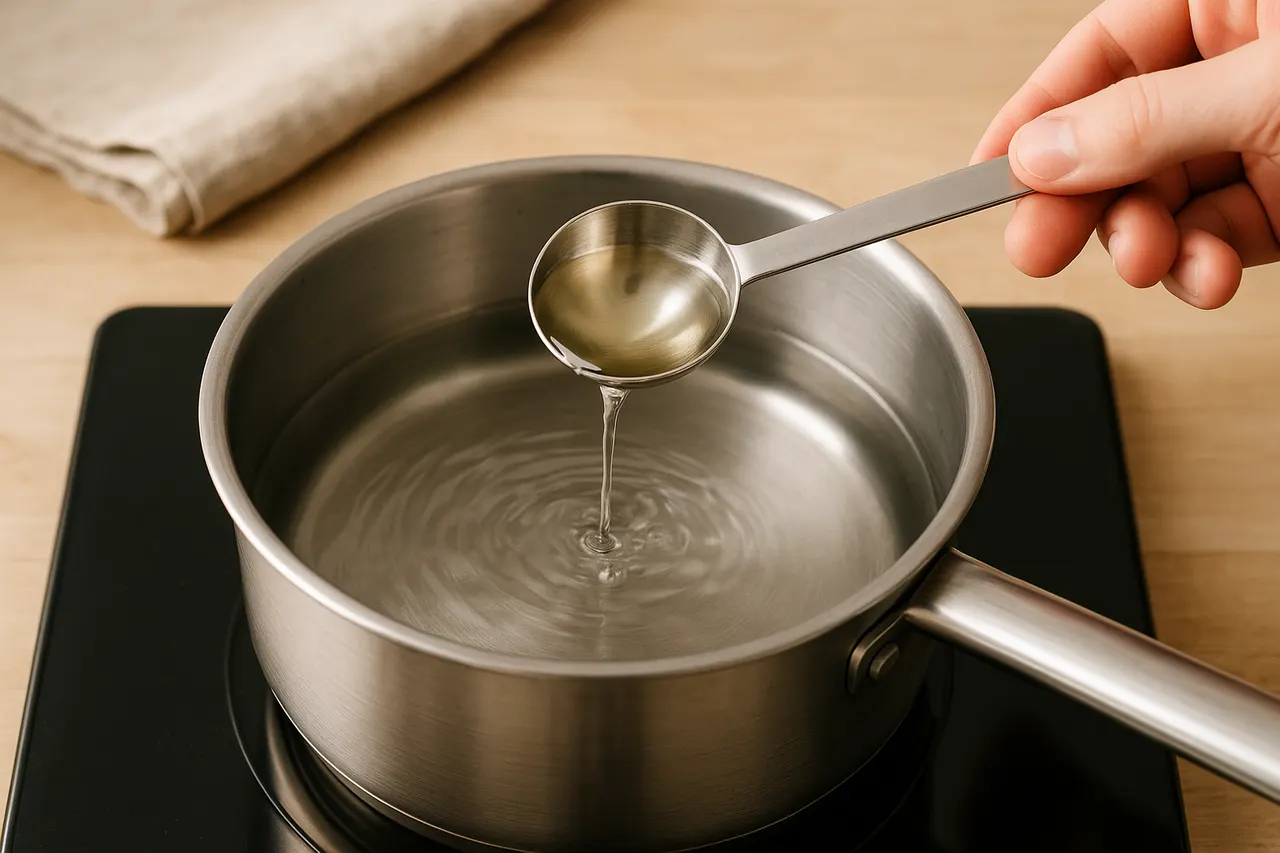
Step 3: Add vinegar to stabilize
Stir in 1 tablespoon of white or apple cider vinegar per liter of water to help coagulate the white quickly without flavoring the egg. Vinegar is optional but increases the chance of a tidy poach.
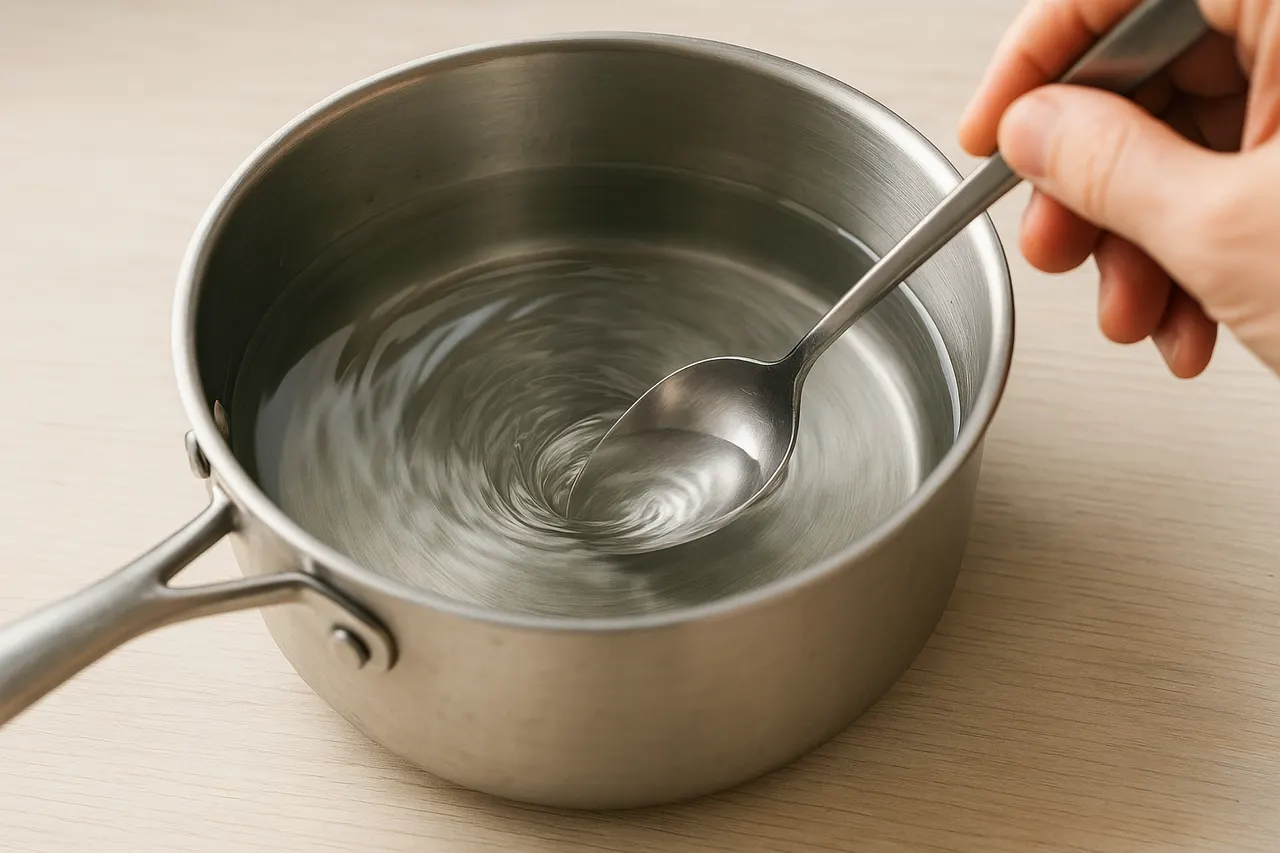
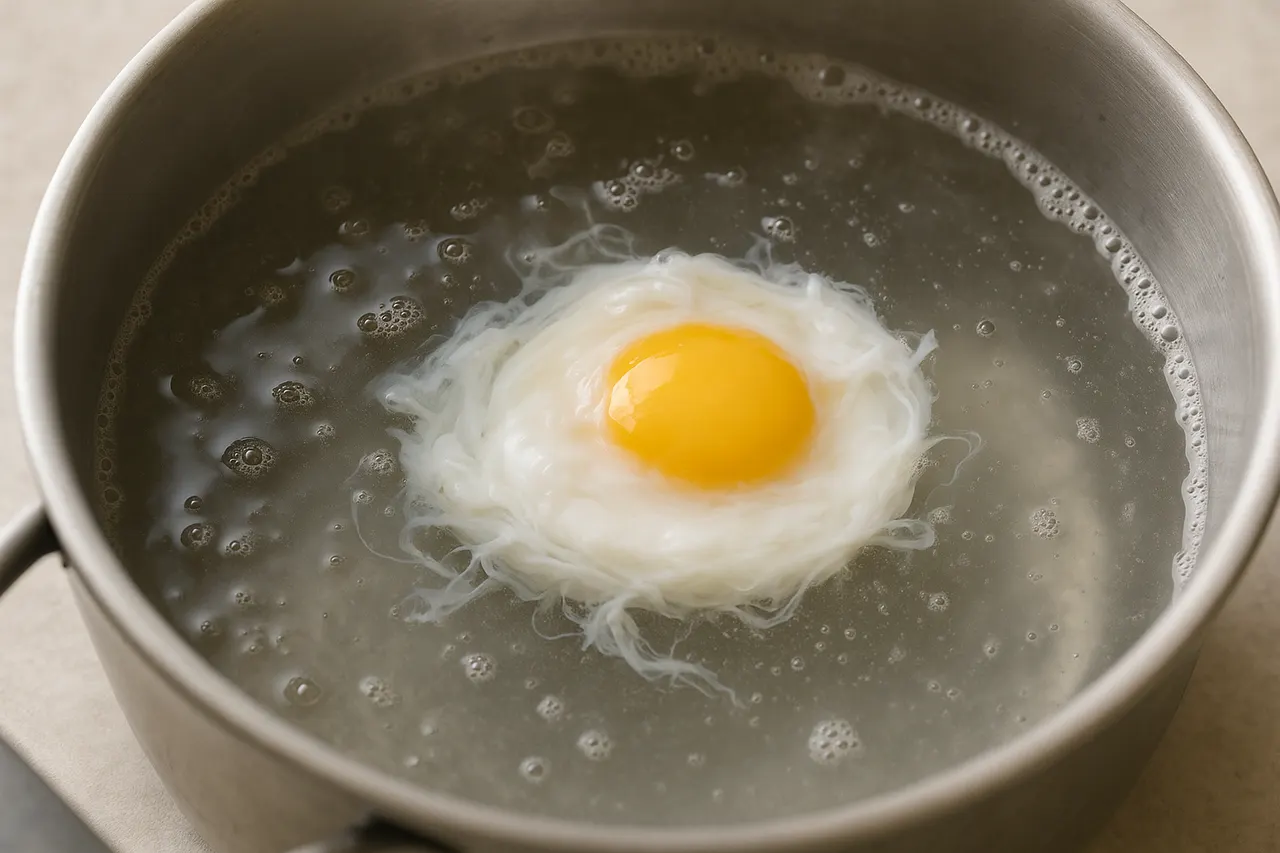
Step 4: Create a gentle vortex
Use a spoon to stir the water in one direction until a soft whirlpool forms in the center. The vortex helps the white wrap around the yolk for a compact shape, especially useful for very fresh eggs.
Step 5: Crack into a ramekin then slip in
Crack the egg into a small ramekin or cup to inspect and remove any shell pieces; lowering from a ramekin reduces impact and keeps the yolk intact. Hold the ramekin just above the water and gently tip the egg into the center of the vortex.
Step 6: Cook 3 minutes for runny yolk
Let the egg poach undisturbed for 3 minutes for a runny yolk and set white. If you prefer slightly firmer yolk, increase to 3:30–4:00 minutes. Keep the water at a gentle simmer; adjust heat to maintain temperature.
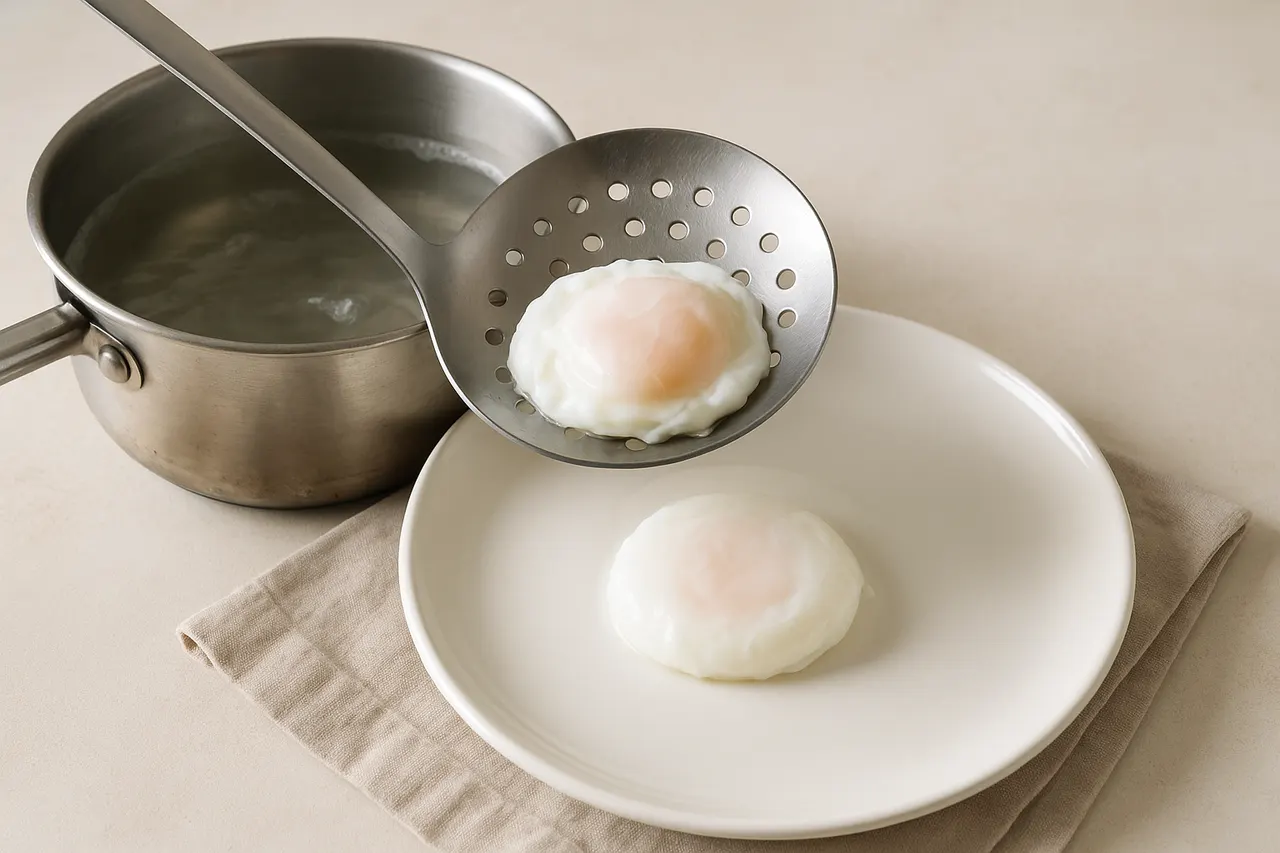
Step 7: Remove and drain carefully
Use a slotted spoon to lift the egg, briefly blot underpaper or on a kitchen towel to remove excess water, then place on toast or serving dish. A quick 5–10 second rest on the spoon helps the white finish setting without overcooking the yolk.
- Use one egg per liter of water to avoid crowding and temperature drops.
- If poaching several eggs, poach two at a time in a wide shallow pan to maintain gentle heat.
- You can trim any ragged white with kitchen scissors after cooking for a neater appearance.
- Serve immediately for best texture; yolk will thicken as it sits—plan to serve within 5 minutes.
- To reheat, gently steam or place in 70–80°C water for 30–60 seconds—not microwave.
- If water temperature falls below 80°C, extend cook time by 30 seconds and watch texture closely.
- Do not let the water boil vigorously; boiling breaks the white and overcooks the yolk.
- Avoid adding salt to the poaching water—it can cause the white to disperse more.
- Handle hot pans and water carefully to prevent burns when using a slotted spoon or moving the pan.
- If an egg smells off or looks discolored before cracking, discard it to avoid foodborne illness.
Was this guide helpful?
More Food & Entertaining guides
How to make stovetop shakshuka with tender eggs and balanced tomato sauce
Shakshuka is a comforting North African–style skillet of eggs poached in a spiced tomato sauce. This guide walks you through building a balanced sauce and gently cooking tender eggs on the stovetop so yolks stay silky while the sauce is bright and flavorful.
How to make homemade sourdough starter and maintain regular feedings
Making a sourdough starter is a simple, rewarding kitchen project that captures wild yeast and beneficial bacteria to leaven bread. With just flour, water, and a little patience you can build a lively culture and keep it healthy with regular feedings. Follow the step-by-step routine below to create and maintain a starter that will power many loaves.
How to assemble and store layered salads so they don’t get soggy before eating
Layered salads are a colorful, make-ahead way to serve a crowd, but soggy ingredients can ruin the texture. With a few simple construction and storage strategies you can keep greens crisp and dressings separated for 24–72 hours. Follow these steps to assemble jars or bowls that travel well and taste fresh when served.