How to prevent rice from sticking to the pot
Sticking rice is a common kitchen frustration, but with a few simple habits you can get fluffy, separate grains every time. This guide gives practical, repeatable steps that work for most white and long-grain rices, plus adjustments for short-grain or brown rice. Follow the sequence and use the timing and water-ratio cues to prevent rice from clinging to the pot.
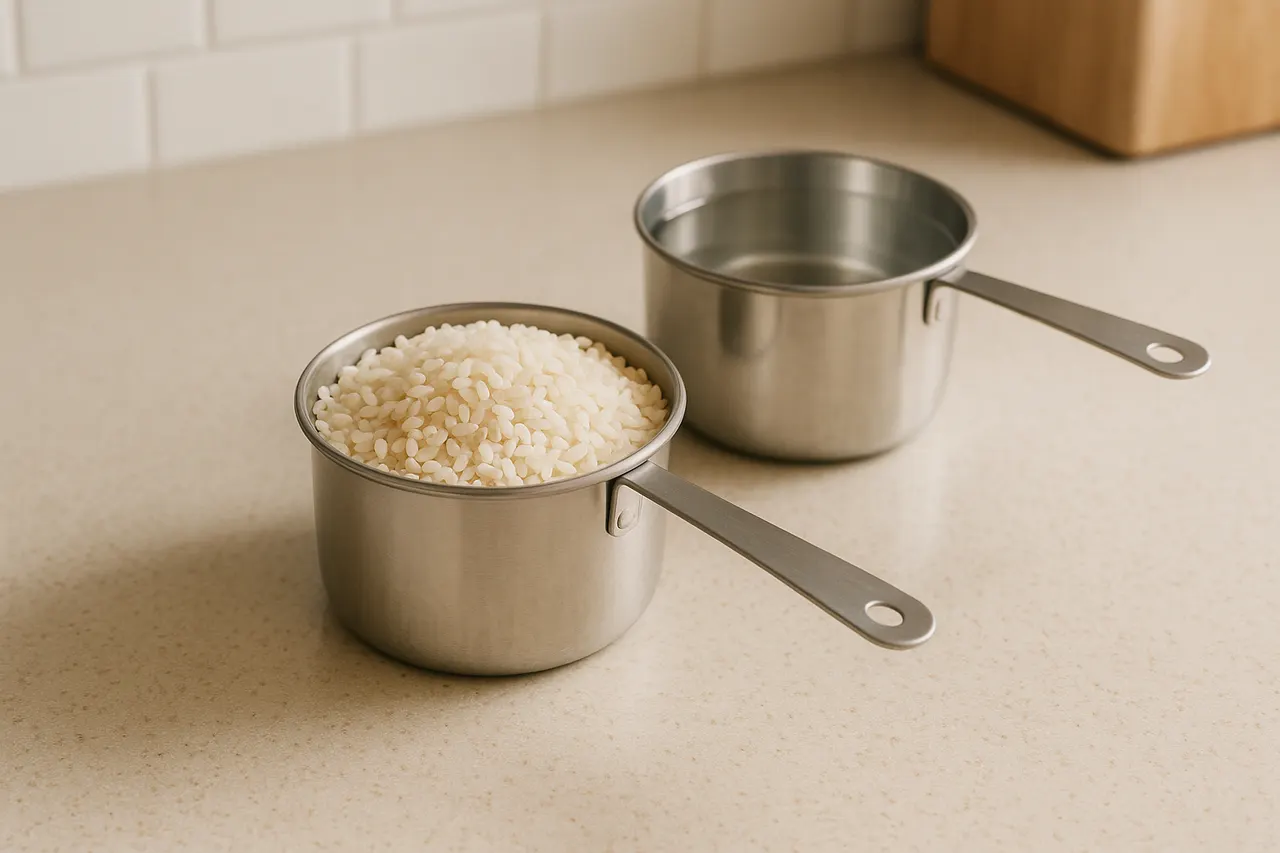
Step 1: Measure rice and water accurately
Use a dry measuring cup to portion rice and a liquid measuring cup for water. For most long-grain white rice use a 1:1.5 ratio (1 cup rice to 1.5 cups water); short-grain rice often needs 1:1.25 and brown rice 1:2. Adjust slightly for brand and age of rice if needed.
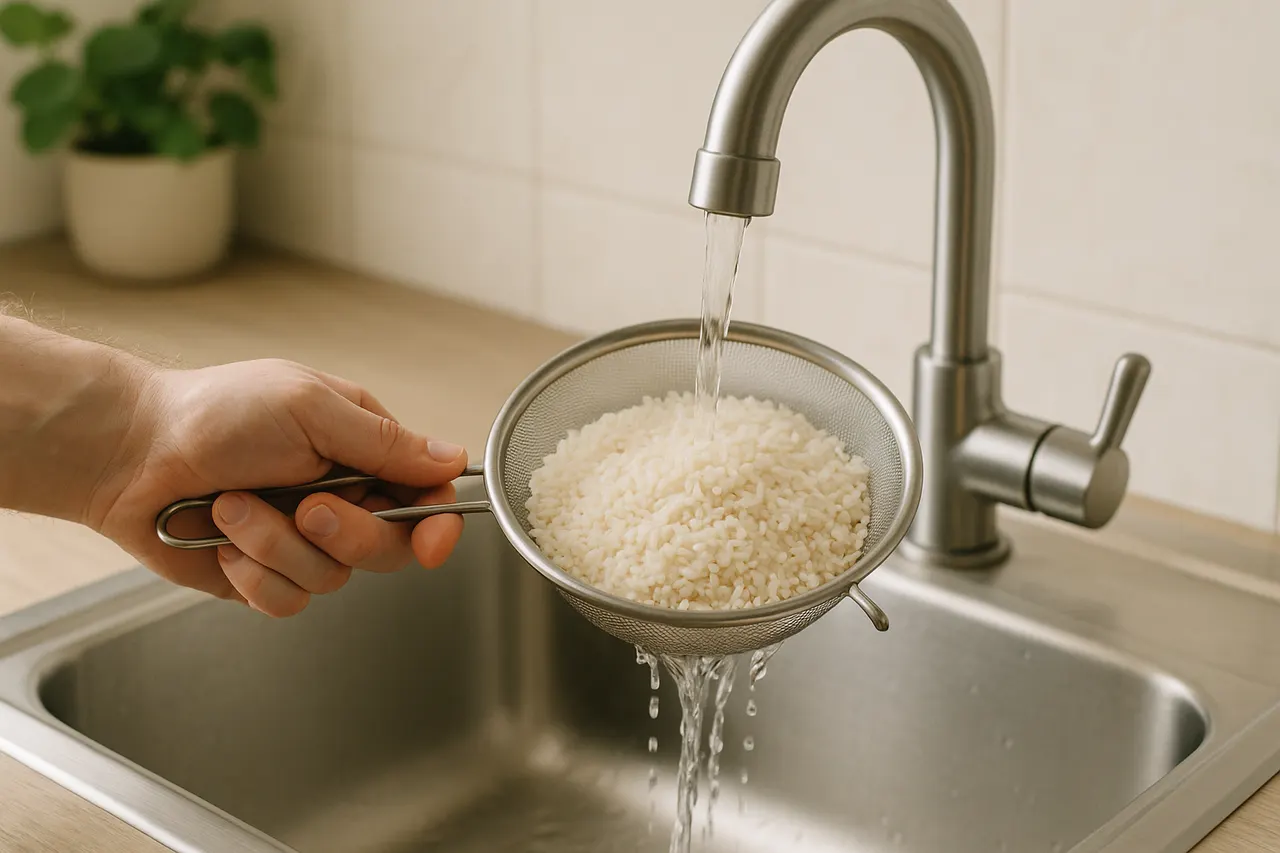
Step 2: Rinse the rice thoroughly
Place rice in a fine-mesh sieve or bowl and rinse under cold running water until the water runs almost clear, about 30–60 seconds. Rinsing removes excess surface starch that causes clumping and sticking.
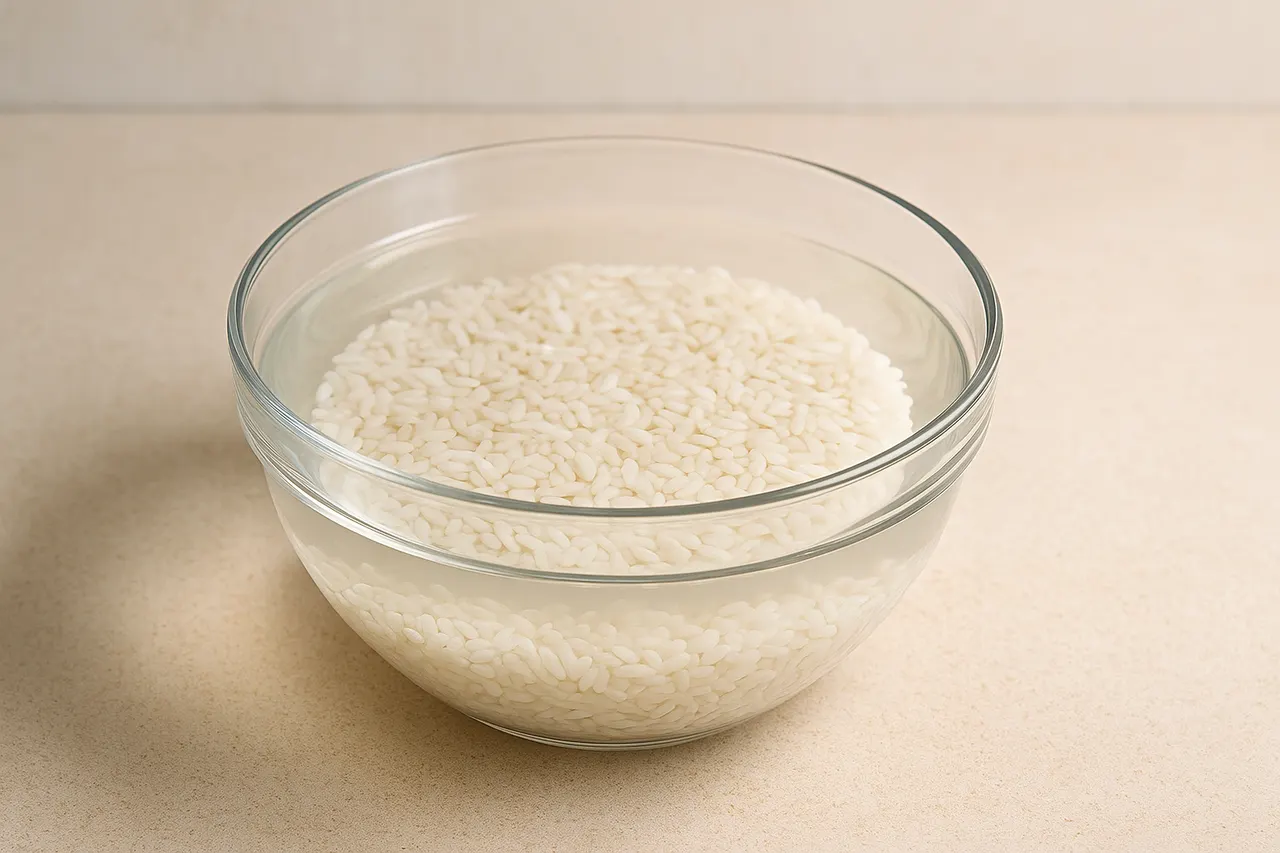
Step 3: Soak briefly when appropriate
Soak short-grain or older long-grain rice for 15–30 minutes in cold water before cooking to hydrate grains evenly and shorten cooking time, which reduces breakdown and sticking. Skip soaking for most quick-cook white rices.
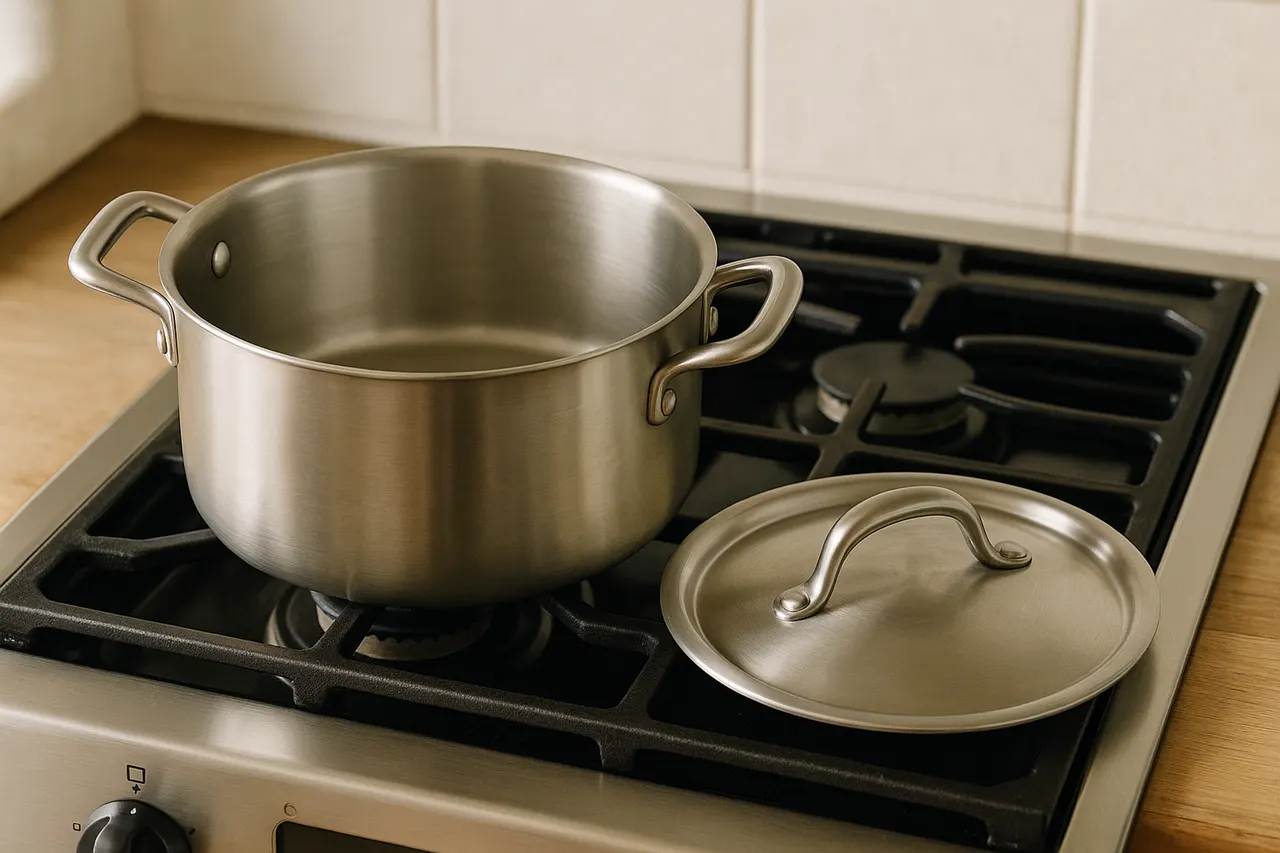
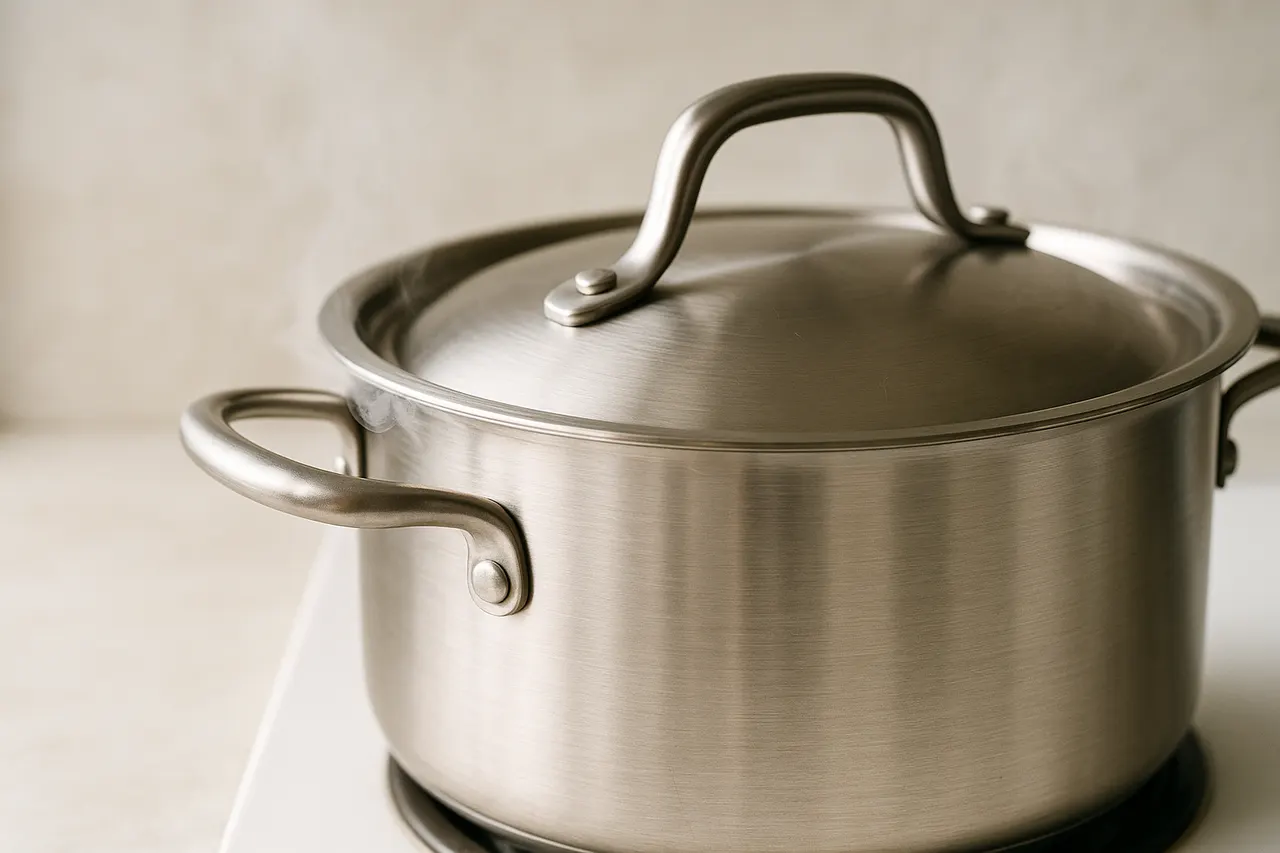
Step 4: Choose the right pot and heat
Use a heavy-bottomed pot with a tight-fitting lid to distribute heat evenly and prevent hot spots that burn rice. Preheat the empty pot on medium-low for 1 minute before adding oil or water to create a stable cooking environment.
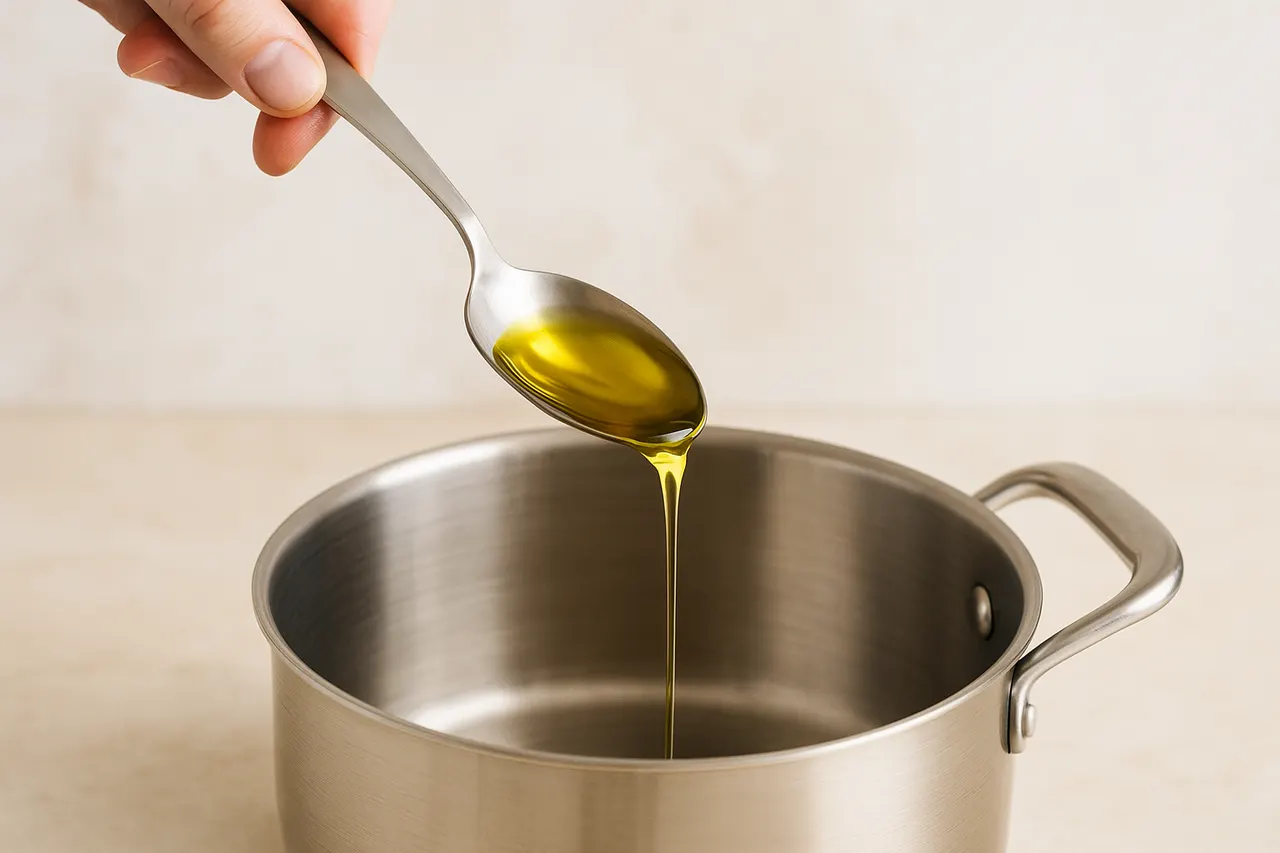
Step 5: Add a bit of fat or oil
Stir 1 teaspoon of neutral oil or 1 tablespoon of butter into the pot per 1 cup of dry rice before adding water. Fat creates a thin barrier between grains and the pot, reducing adhesion and improving flavor and texture.
Step 6: Bring to a gentle simmer, then reduce
Cover and bring to a simmer over medium heat; once you see small, steady bubbles (2–4 minutes), immediately lower to the lowest heat and cook undisturbed. Vigorous boiling agitates grains and increases starch release that causes sticking.
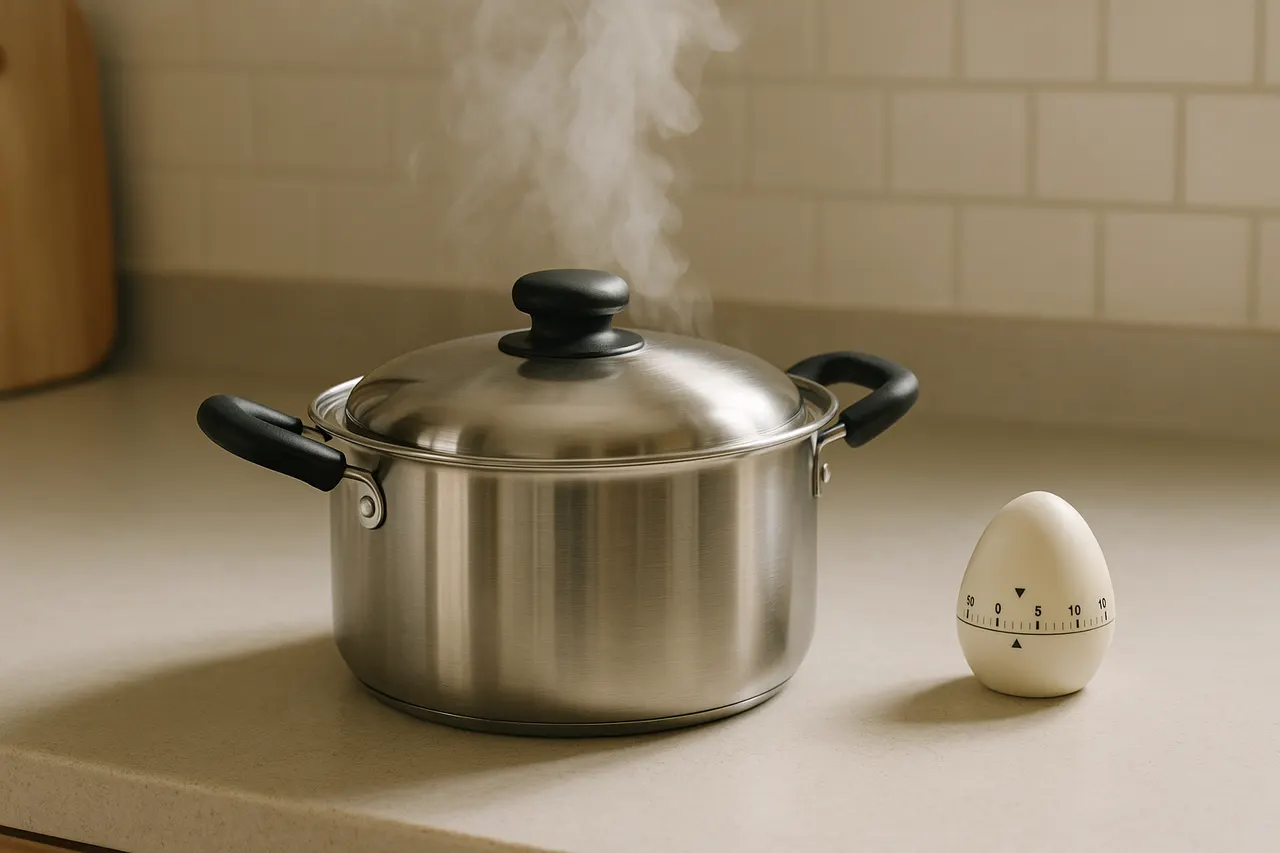
Step 7: Steam with minimal lid lifting
After the water is absorbed (about 12–15 minutes for white rice, 35–45 minutes for brown rice), turn off the heat and let rice steam undisturbed for 10 minutes with the lid on. This resting step firms grains and prevents them from breaking and sticking when stirred.
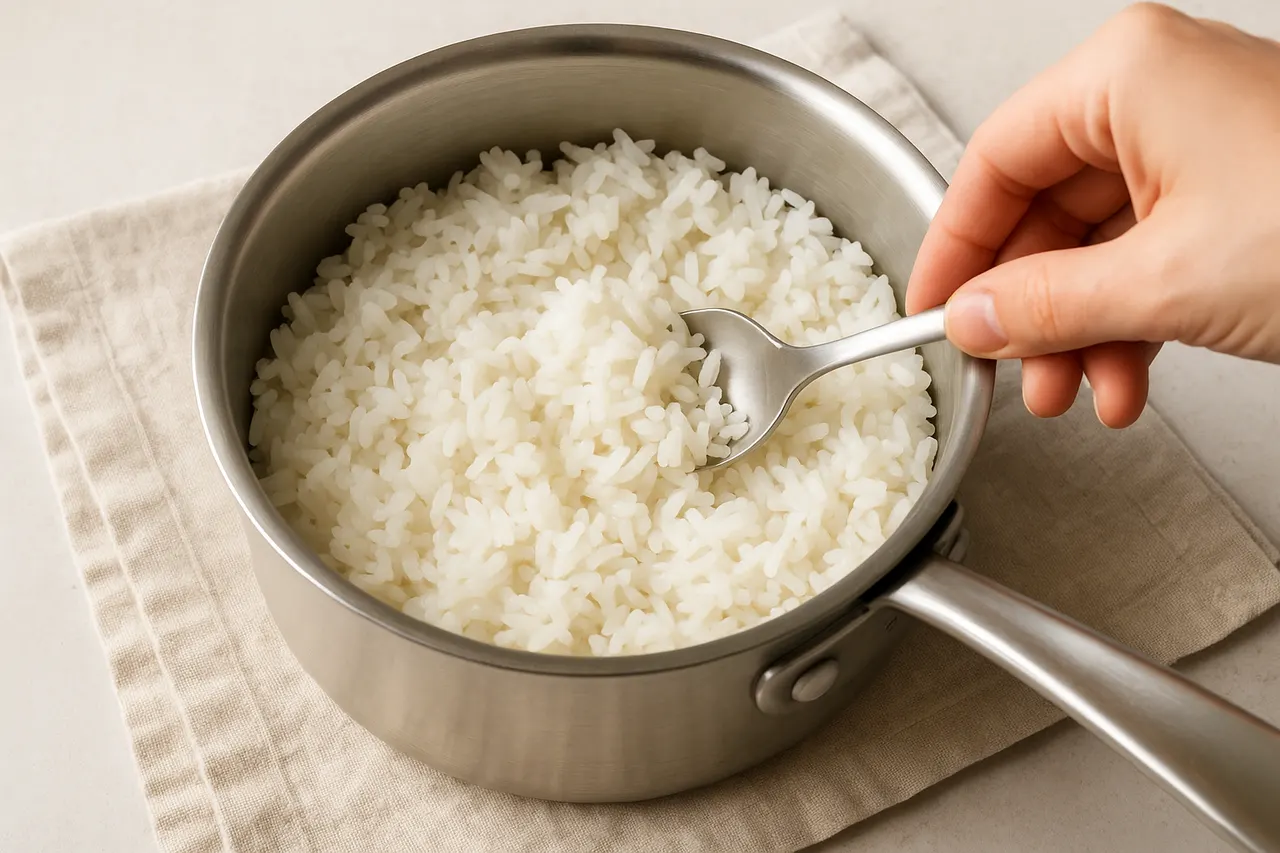
Step 8: Fluff gently and serve
Use a fork or rice paddle to gently fluff the rice from the bottom up, separating grains without mashing. Serve immediately or transfer to a warm serving dish; leaving rice in a hot pot on the heat promotes sticking at the base.
- Use a nonstick or well-seasoned pot if you cook rice frequently; it helps when you’re in a hurry.
- If rice still sticks, add 1–2 tablespoons of hot water, cover, and steam for 5 more minutes to loosen the bottom layer.
- For rice cookers follow the same rinse and soak rules; use the cooker’s water marks as a starting guideline.
- Freshly milled rice absorbs less water; if rice is very fresh, reduce water by about 10%.
- When reheating leftover rice, sprinkle 1–2 tablespoons of water per cup and cover tightly to create steam and loosen grains.
- Avoid stirring rice during the initial 10–12 minutes of cooking to limit surface starch release and grain damage.
- Never lift the lid repeatedly while rice is absorbing water; heat loss causes uneven cooking and more sticking.
- Do not use excessive water thinking it prevents sticking; it can make rice gummy and promote breakdown that obeys the pot surface.
- Be cautious lowering heat too far; if simmer stops completely before water is absorbed, quickly raise heat just enough to maintain a gentle simmer.
- Avoid scraping a burned bottom; instead gently lift unaffected rice with a spoon and discard scorched portion to prevent bitter flavor.
Was this guide helpful?
More Food & Entertaining guides
How to make stovetop shakshuka with tender eggs and balanced tomato sauce
Shakshuka is a comforting North African–style skillet of eggs poached in a spiced tomato sauce. This guide walks you through building a balanced sauce and gently cooking tender eggs on the stovetop so yolks stay silky while the sauce is bright and flavorful.
How to make homemade sourdough starter and maintain regular feedings
Making a sourdough starter is a simple, rewarding kitchen project that captures wild yeast and beneficial bacteria to leaven bread. With just flour, water, and a little patience you can build a lively culture and keep it healthy with regular feedings. Follow the step-by-step routine below to create and maintain a starter that will power many loaves.
How to assemble and store layered salads so they don’t get soggy before eating
Layered salads are a colorful, make-ahead way to serve a crowd, but soggy ingredients can ruin the texture. With a few simple construction and storage strategies you can keep greens crisp and dressings separated for 24–72 hours. Follow these steps to assemble jars or bowls that travel well and taste fresh when served.