How to reheat pizza so the crust stays crispy
Reheating pizza to revive that fresh-crisp crust is totally doable with simple tools and a little patience. This guide walks you through reliable methods that return a crunchy bottom and melty top without making slices soggy or rubbery. Follow the steps below and pick the approach that fits the equipment you have.
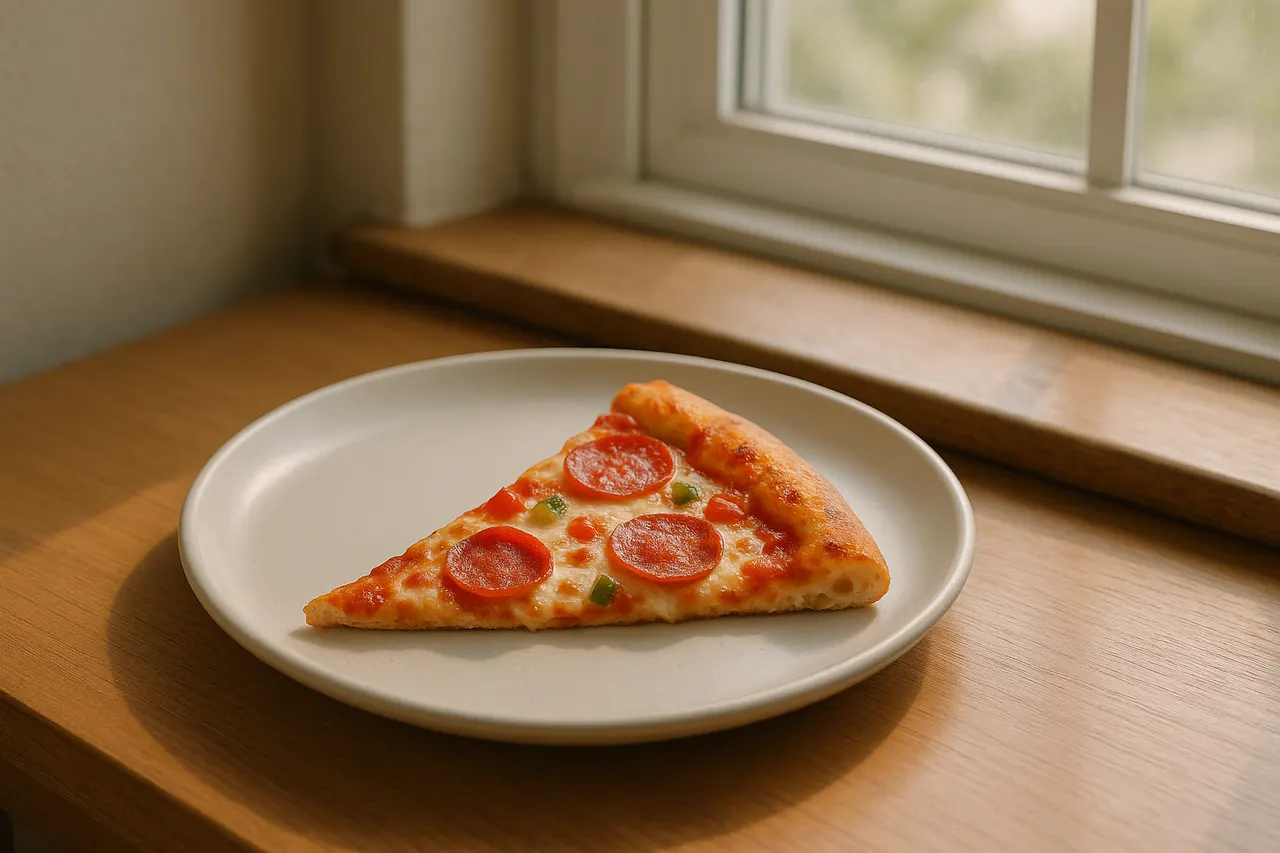
Step 1: Bring slice to room temperature
Remove pizza from the fridge and let it sit uncovered for 10–15 minutes. Warming the slice slightly helps toppings and cheese reheat evenly and reduces time needed in the hot pan or oven, which prevents over-drying.
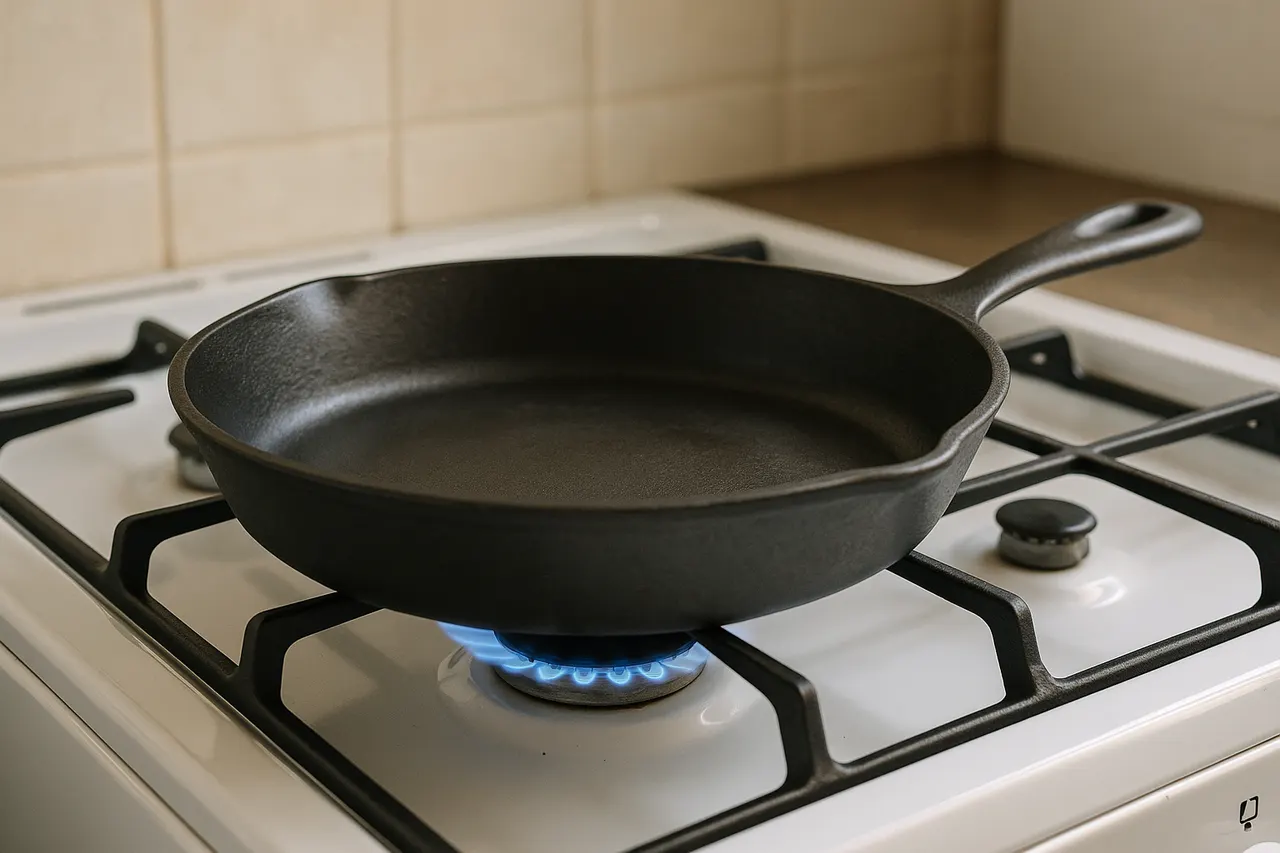
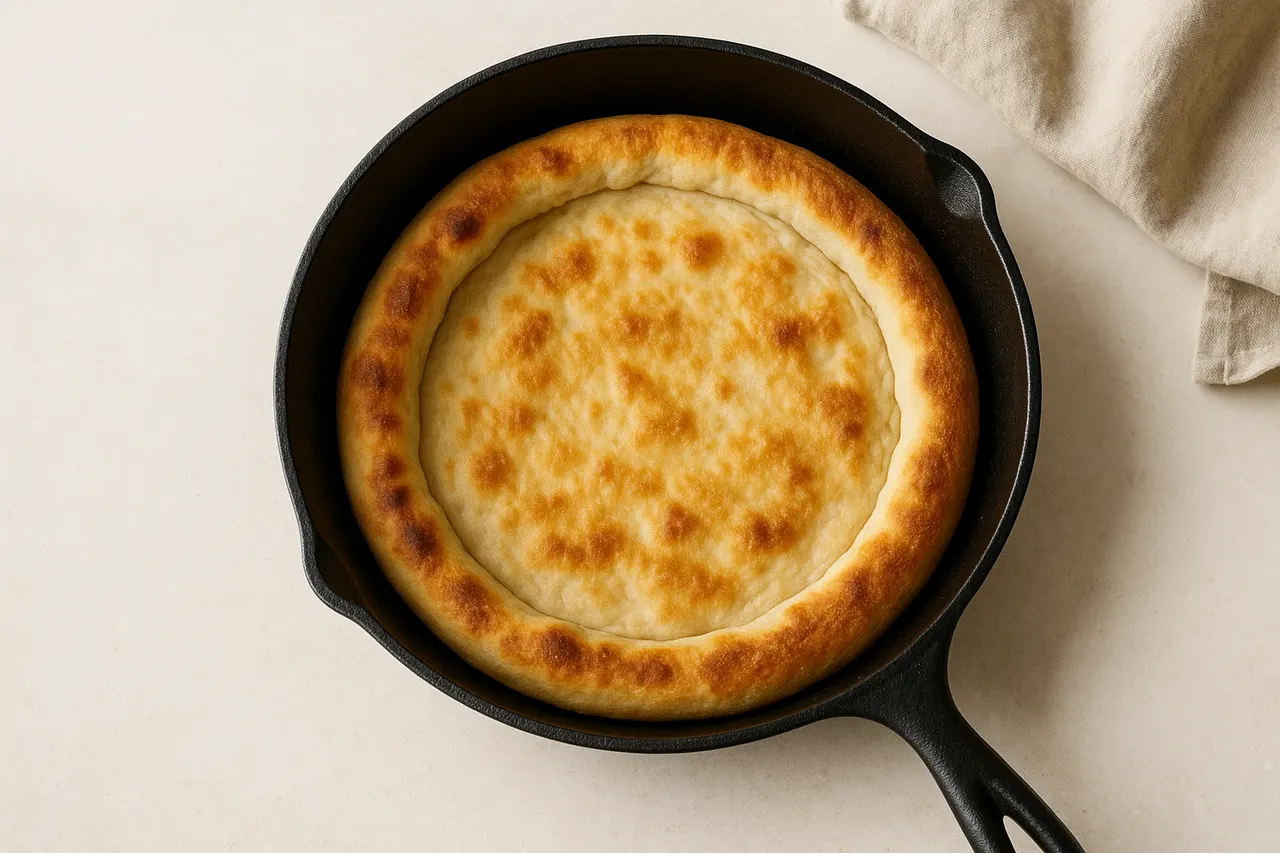
Step 2: Preheat a skillet or frying pan
Place a nonstick or cast-iron skillet on medium-low heat for 2–3 minutes until evenly warm. Moderate heat crisps the crust without burning it and gives you control over how quickly the slice reheats.
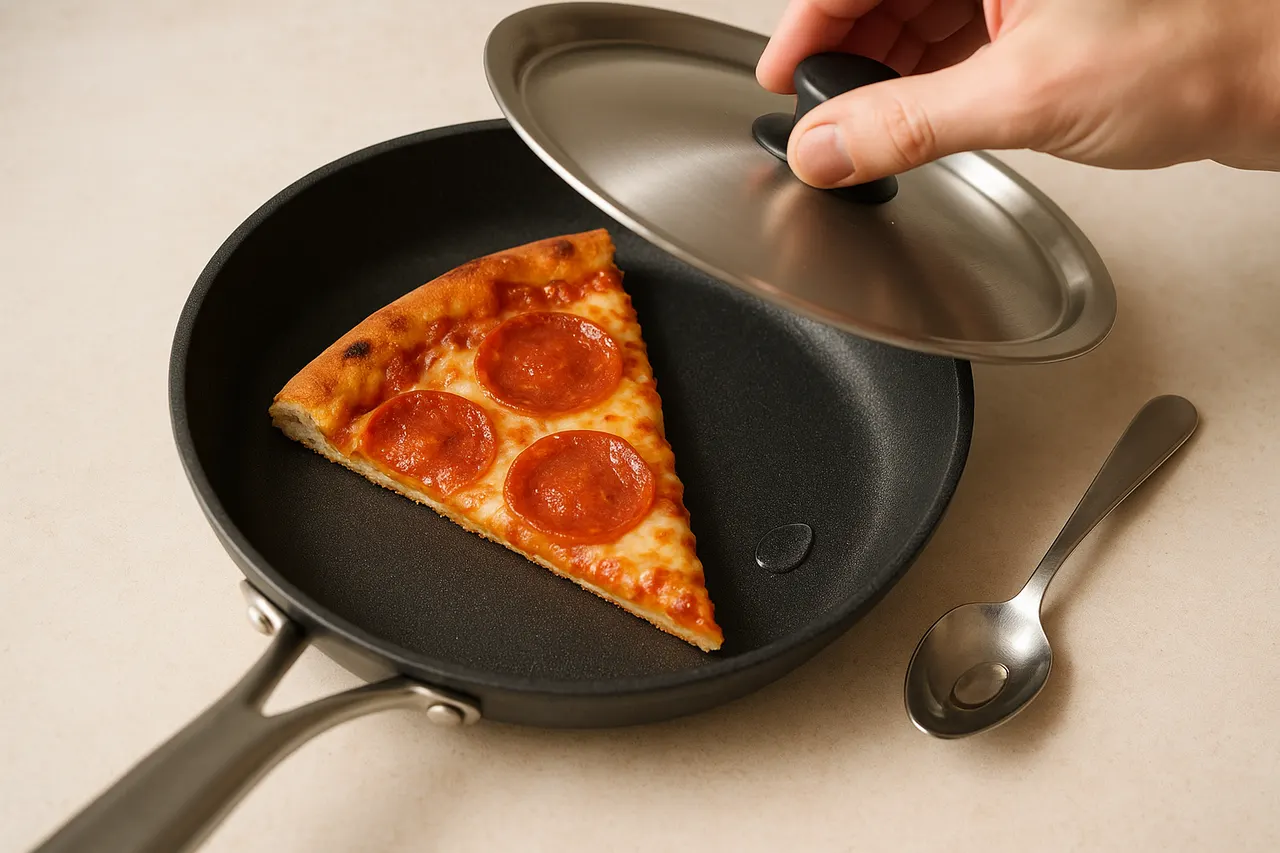
Step 3: Add a few drops of water
Put the slice crust-down in the dry pan, then add 1–2 teaspoons of water to the empty area of the pan and quickly cover with a lid. The steam from the small amount of water melts the cheese and heats toppings while the direct pan contact keeps the crust crispy.
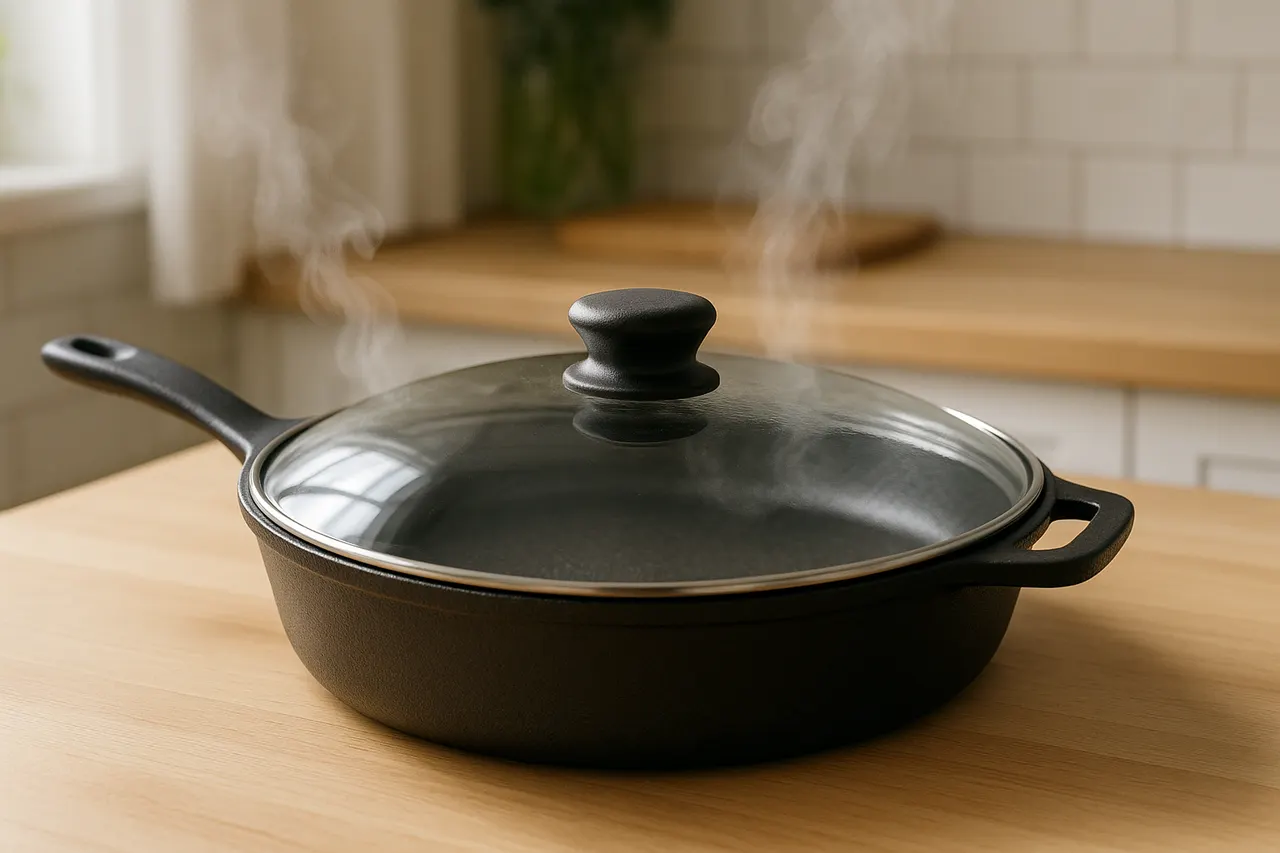
Step 4: Reheat covered for short time
Keep the pan covered and cook for 1.5–3 minutes depending on thickness; check at 90 seconds. The cover traps steam to warm the top gently while the pan crisps the bottom; remove lid when cheese looks melty.
Step 5: Finish uncovered for extra crisp
After the cheese is melted, remove the lid and cook uncovered for 30–60 seconds to firm up the crust. This final dry-heat step removes any surface moisture and deepens the crunch without overcooking toppings.
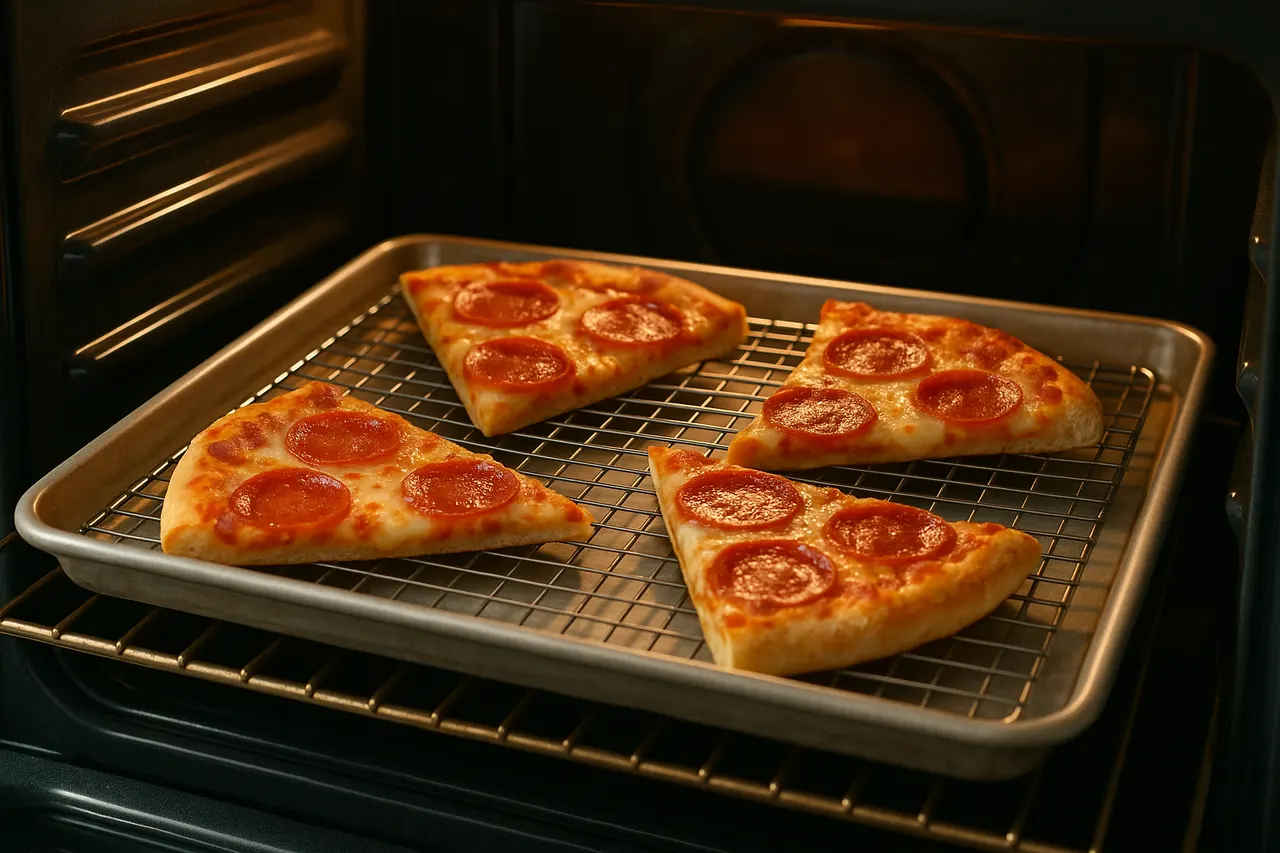
Step 6: Use oven method for multiple slices
For several slices, preheat oven to 375°F (190°C), place slices on a wire rack over a baking sheet, and bake 6–8 minutes. The rack allows airflow under the crust so all bottoms crisp evenly; rotate once if necessary.
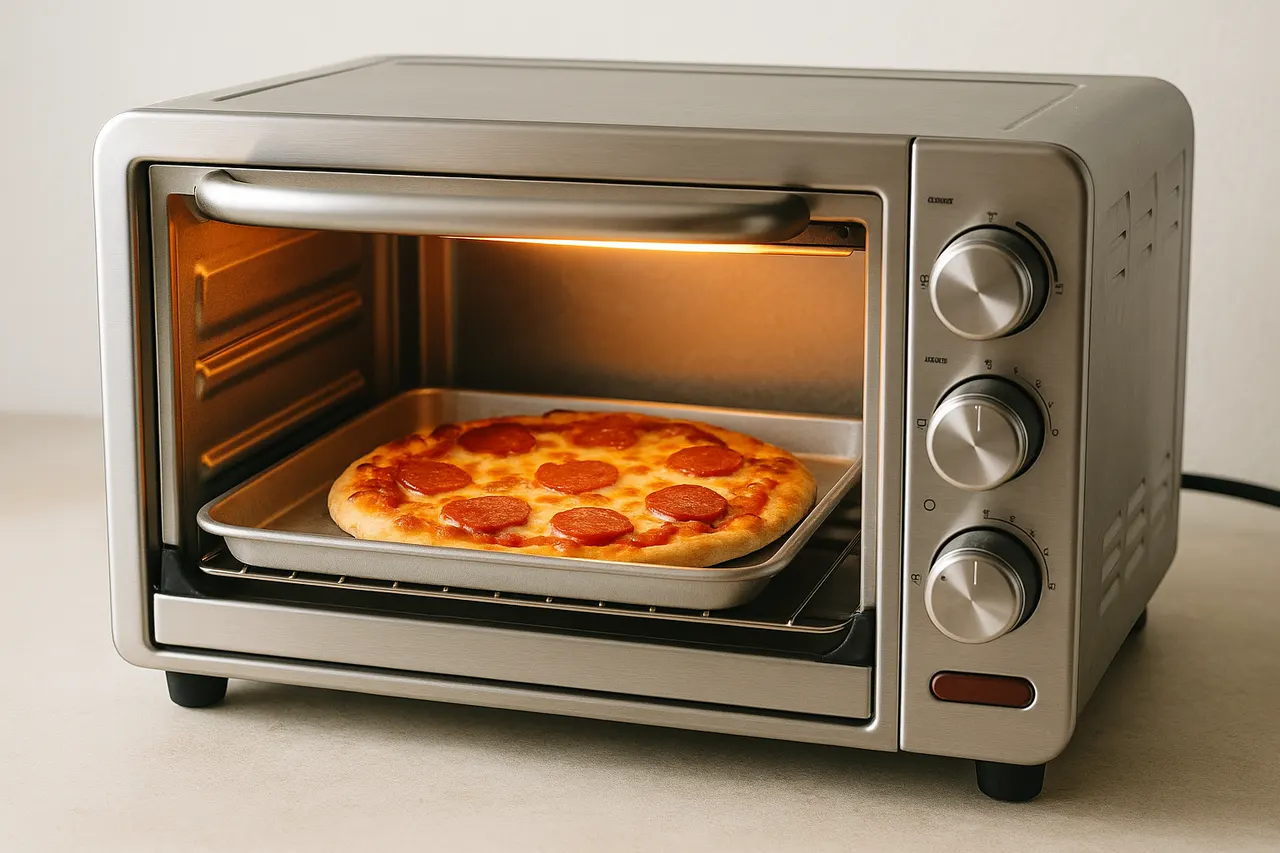
Step 7: Try toaster oven or broiler for quick fix
For 1–2 slices, heat toaster oven to 350–400°F (175–205°C) for 4–6 minutes, or use the broiler for 30–60 seconds—watch closely to avoid burning. These methods combine top and bottom heat for fast reheating while preserving texture.
- Use a cold pan for frozen slices and add an extra minute of covered cooking to avoid soggy centers.
- If crust is thin and already crisp, reduce covered time by 30–45 seconds to prevent drying the toppings.
- Sprinkle a few drops of olive oil on the crust before pan heating for extra flavor and crunch.
- For very cheesy pizza, let the slice stand 1 minute after reheating so the cheese firms slightly and doesn’t slide.
- Avoid microwaving alone; if you must, place pizza on a microwave-safe plate and use 20–30 second bursts, then finish in a hot pan for 30–60 seconds.
- Store leftover pizza on a wire rack in the fridge rather than wrapped tightly to keep the crust from absorbing moisture.
- Reheat only once; repeated reheating degrades crust texture and flavor.
- Do not leave skillet unattended on medium-high heat; pans can scorch the crust or start a grease fire.
- Avoid adding too much water (more than 1–2 teaspoons) under the slice—excess steam will make the crust soggy.
- When using a broiler, stand nearby and watch constantly; broilers can burn toppings in seconds.
- Do not put a cold glass or ceramic plate under a very hot pizza in the oven or toaster oven to avoid thermal shock and cracking.
Was this guide helpful?
More Food & Entertaining guides
How to make stovetop shakshuka with tender eggs and balanced tomato sauce
Shakshuka is a comforting North African–style skillet of eggs poached in a spiced tomato sauce. This guide walks you through building a balanced sauce and gently cooking tender eggs on the stovetop so yolks stay silky while the sauce is bright and flavorful.
How to make homemade sourdough starter and maintain regular feedings
Making a sourdough starter is a simple, rewarding kitchen project that captures wild yeast and beneficial bacteria to leaven bread. With just flour, water, and a little patience you can build a lively culture and keep it healthy with regular feedings. Follow the step-by-step routine below to create and maintain a starter that will power many loaves.
How to assemble and store layered salads so they don’t get soggy before eating
Layered salads are a colorful, make-ahead way to serve a crowd, but soggy ingredients can ruin the texture. With a few simple construction and storage strategies you can keep greens crisp and dressings separated for 24–72 hours. Follow these steps to assemble jars or bowls that travel well and taste fresh when served.