How to scale and fillet a whole fish
Scaling and filleting a whole fish is a rewarding kitchen skill that saves money and gives you control over freshness and cuts. With a few simple tools and a little practice, you can turn a whole fish into clean fillets in 15–25 minutes. Follow these steps for safe, efficient results and better-tasting meals.
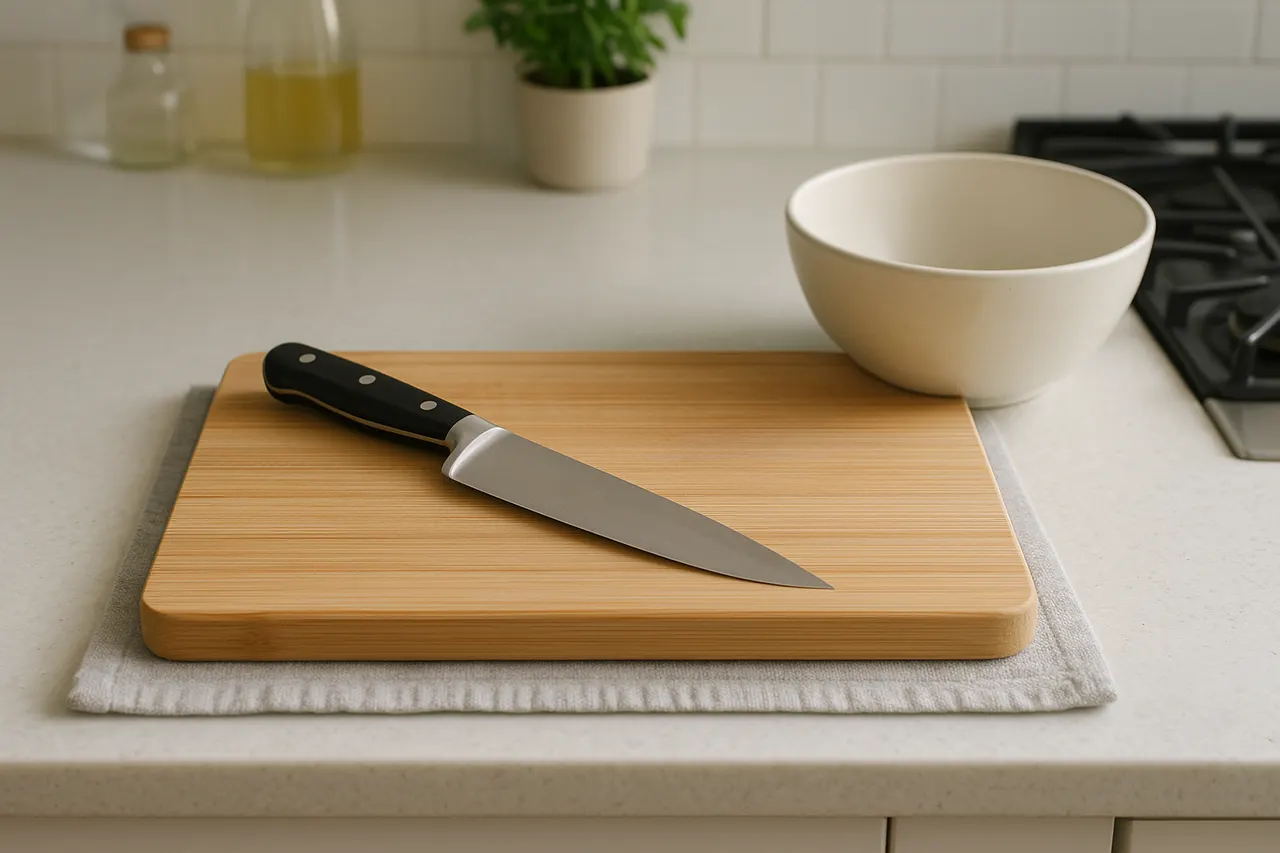
Step 1: Prepare your workspace
Clear a stable counter and place a damp towel under a cutting board to prevent slipping. Have a sharp fillet or chef’s knife, kitchen shears, a spoon or scaler, paper towels, and a bowl for scraps within reach so the process stays smooth and sanitary.
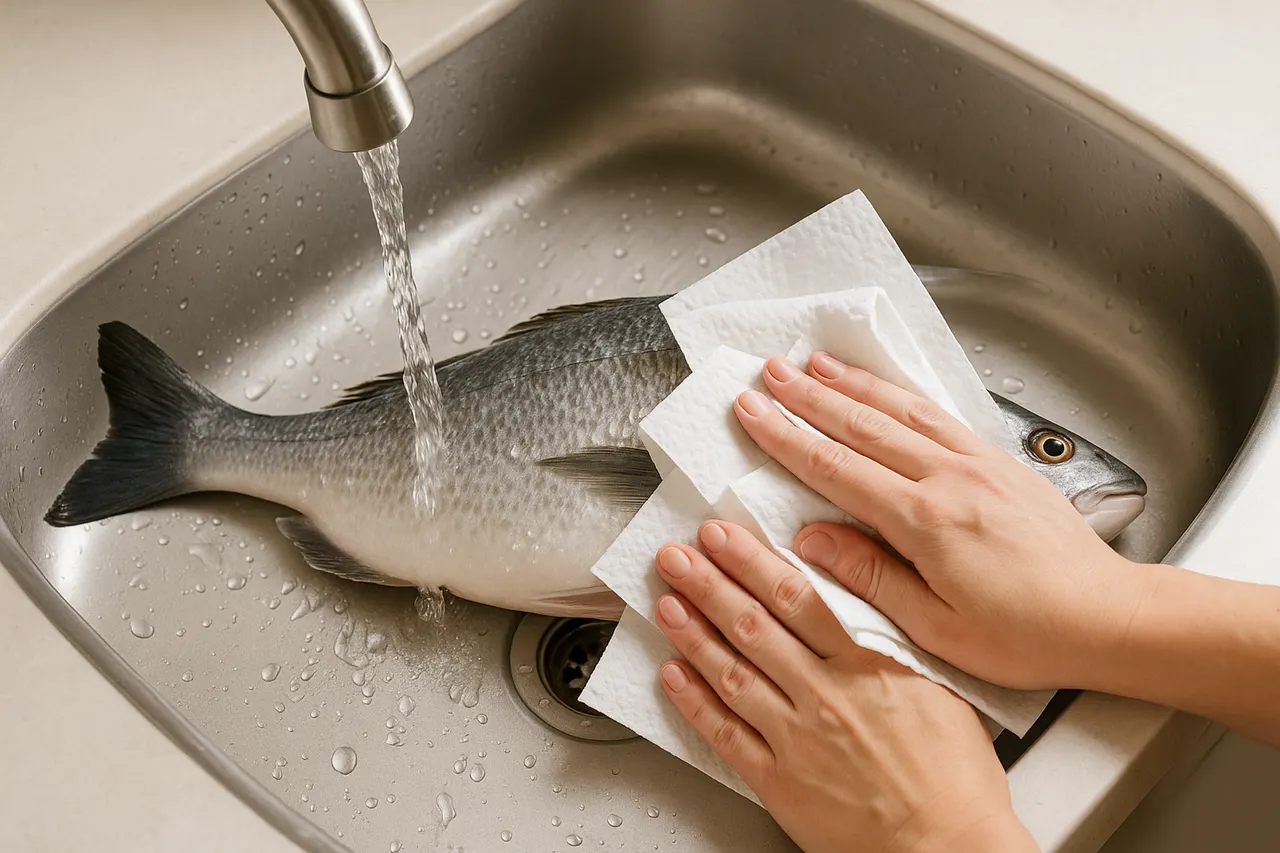
Step 2: Rinse and pat dry
Rinse the fish under cold running water to remove slime and loose scales, then pat completely dry with paper towels. Drying improves grip and helps the knife and scaler work more predictably, reducing slips and tearing the skin.
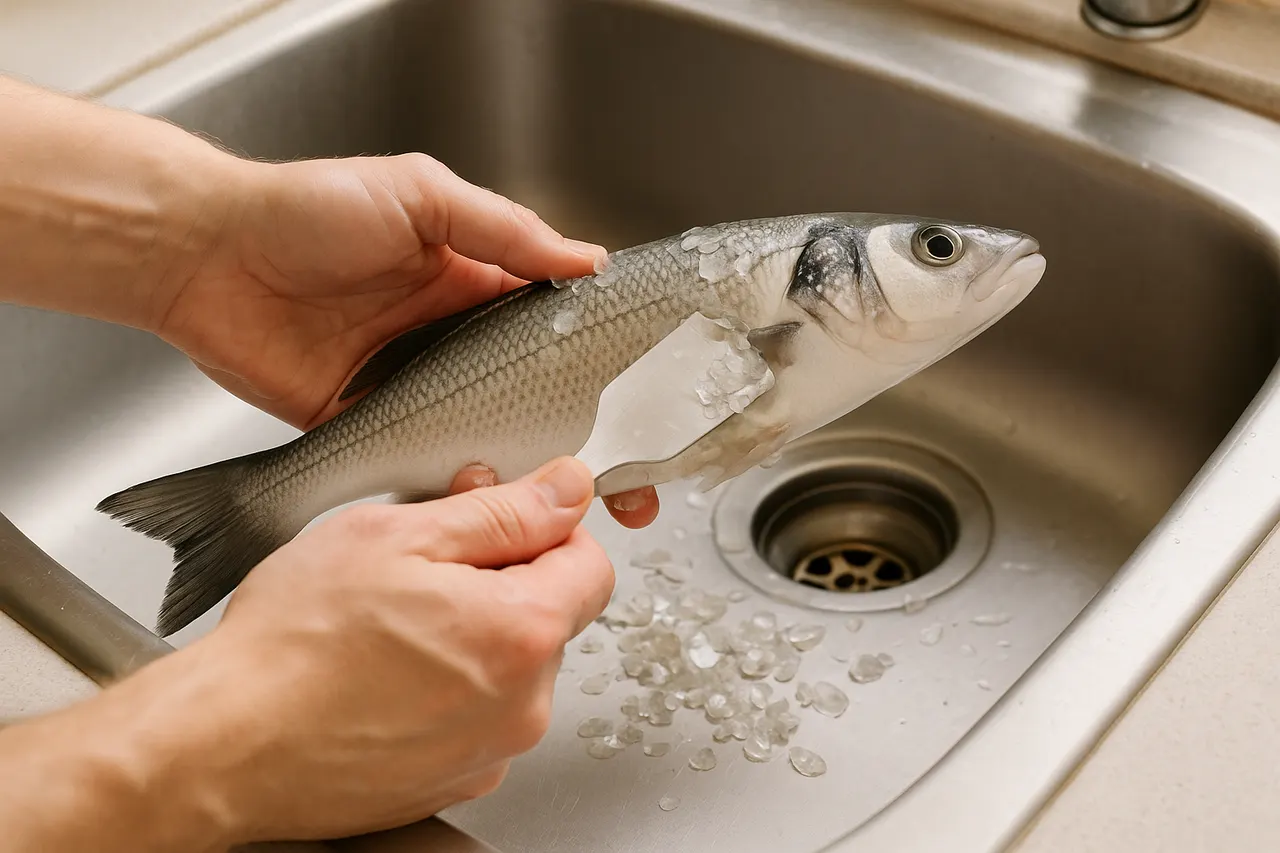
Step 3: Remove the scales
Lay the fish on its side and hold the tail. Using the back of a knife or a fish scaler, scrape from tail toward head in short, firm strokes at a 45-degree angle until scales are gone; repeat on the other side. Rinse away loose scales; this prevents gritty texture and helps the skin crisp if cooking whole.
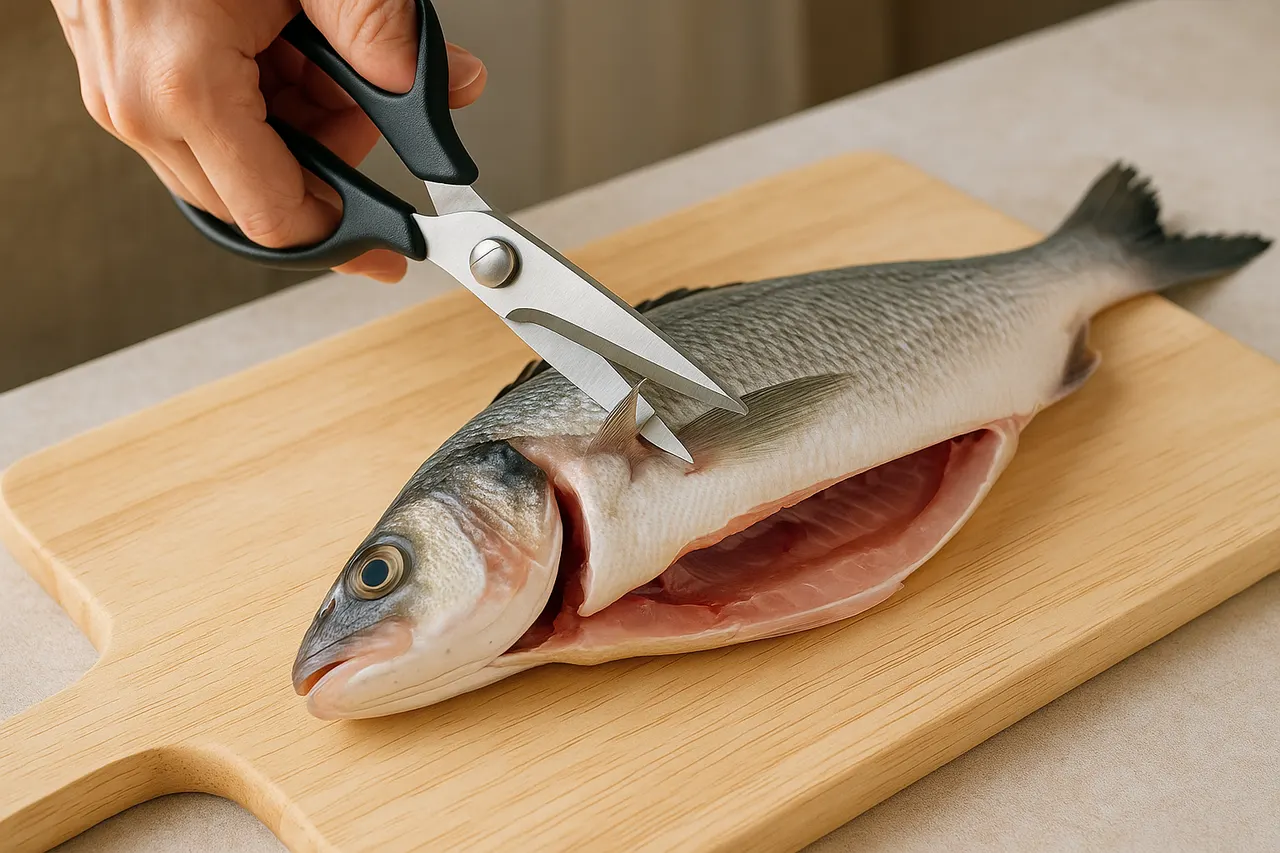
Step 4: Trim fins and open cavity
Use kitchen shears to snip off dorsal, pectoral, and ventral fins, then insert your finger into the vent and pull out any residual guts and a dark kidney line along the spine. Trimming and cleaning the cavity prevents bitter flavors and ensures safe storage or cooking.
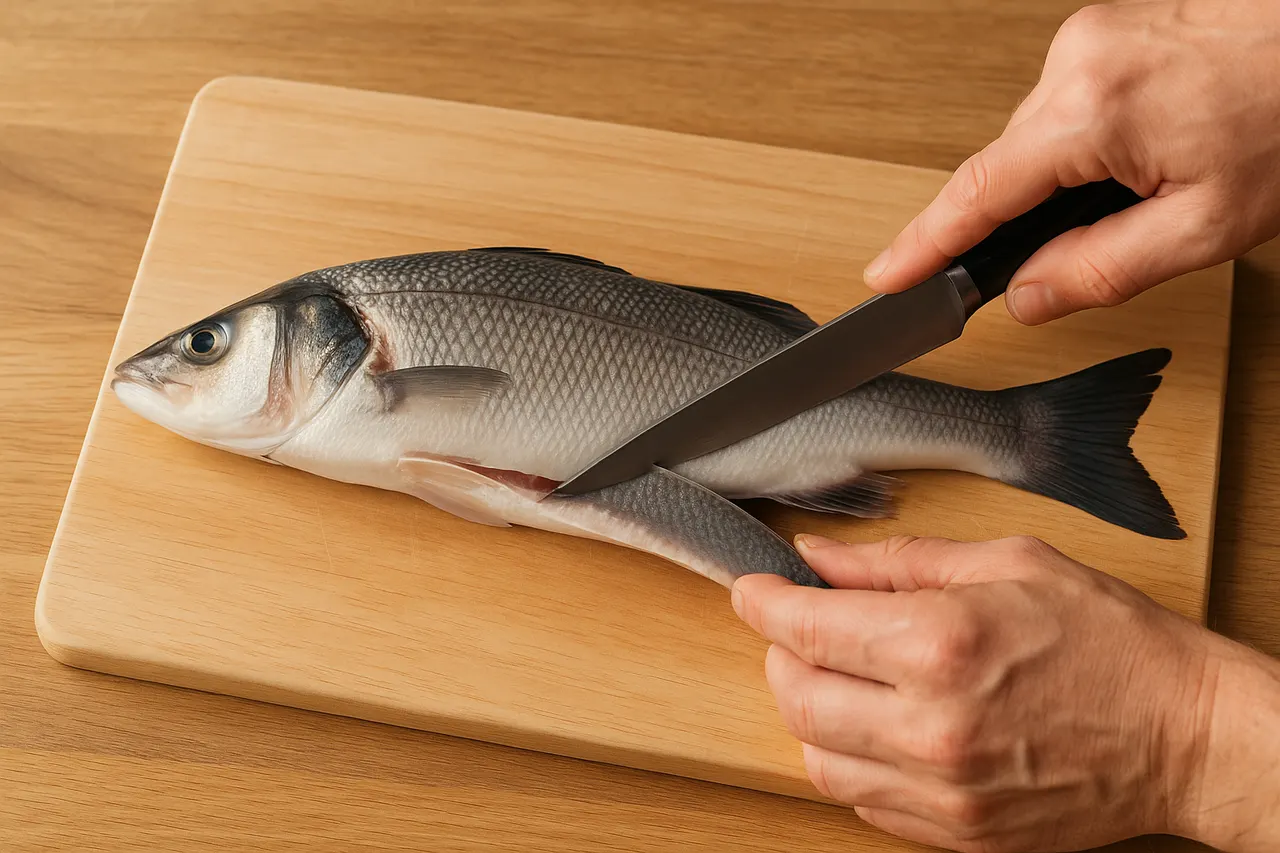
Step 5: Make the initial fillet cut
Place the fish with its backbone towards you. Starting just behind the head, insert the knife blade down to the bone and slice along the top of the ribcage toward the tail using smooth, shallow strokes, keeping the blade angled slightly toward the bone. This follows the natural anatomy and yields a thicker, more uniform fillet.
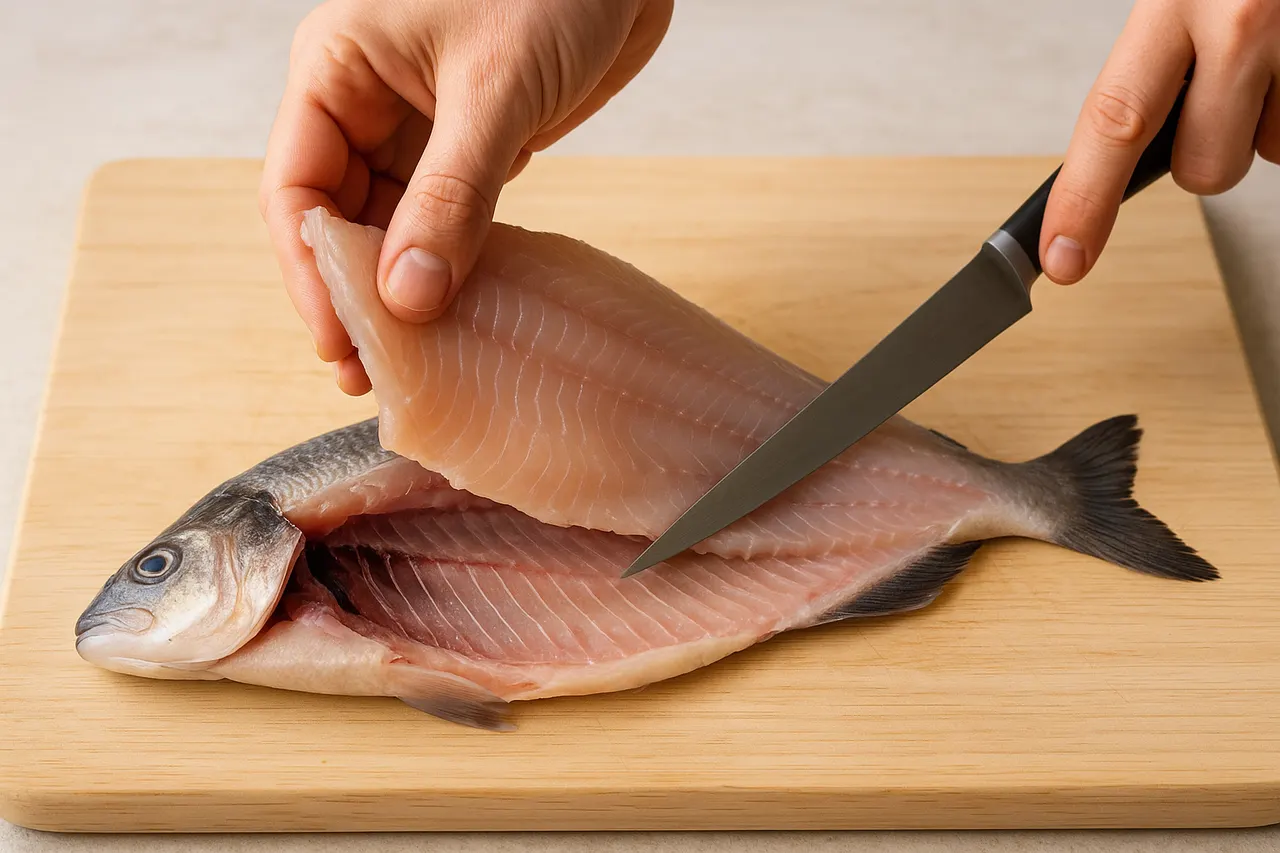
Step 6: Separate fillet from bones
With the first cut guiding you, run the knife along the backbone from head to tail, using the tip to feel for bones and keeping the blade against the bones to remove as much flesh as possible. Lift the fillet away as you go; a steady, light sawing motion prevents ragged edges and maximizes yield.
Step 7: Remove skin if desired
Place the fillet skin-side down and grip the tail end. Hold the skin with a towel and angle the knife slightly downwards, then slice in a smooth motion between skin and flesh while pulling the skin taut. Removing skin is optional; leaving it on helps protect fillet during cooking, while skinless is ready for delicate preparations.
[Illustration: fillet on board being skinned with knife at low angle while skin is pulled taut with cloth]
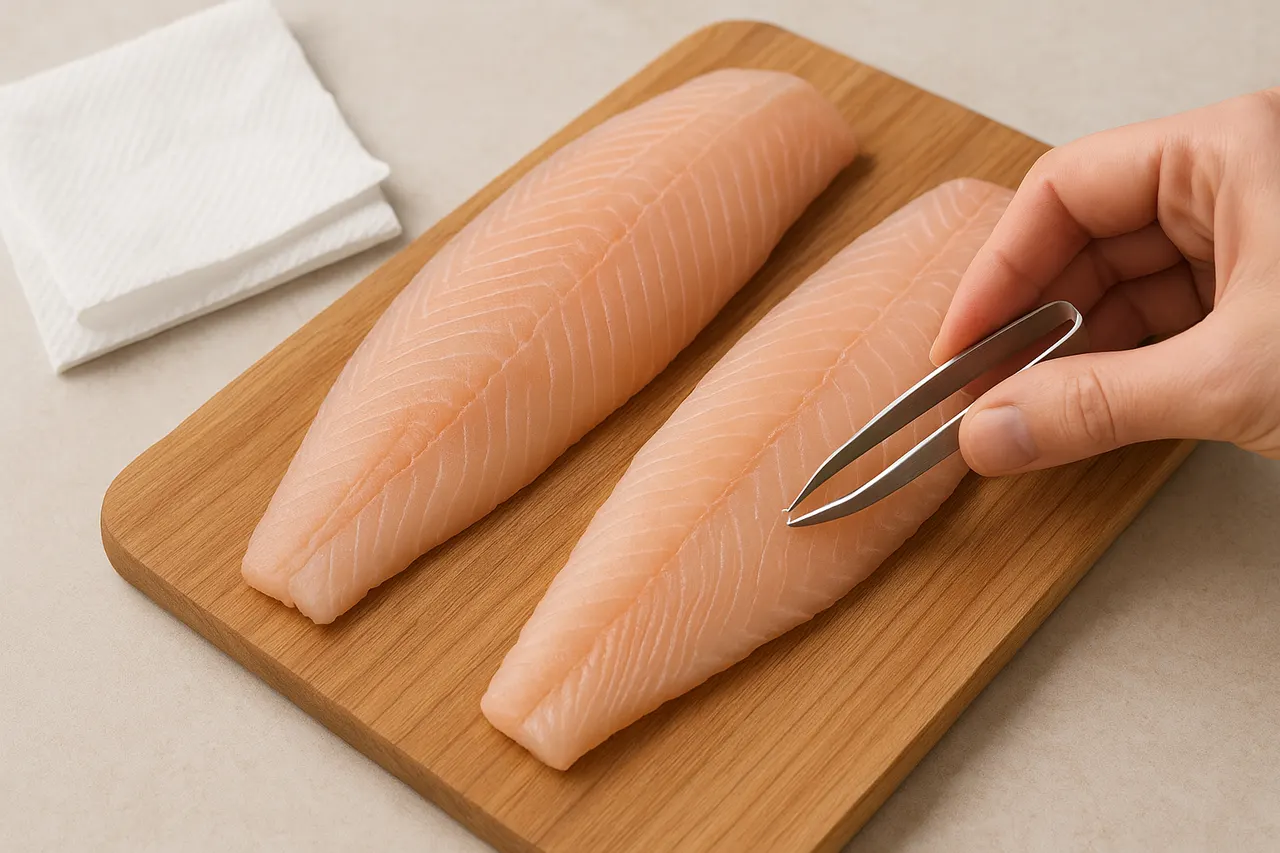
Step 8: Trim and rinse final fillets
Inspect fillets for pin bones and remove any with clean tweezers or pliers; trim ragged edges for even cooking. Rinse briefly, pat dry, and refrigerate in an airtight container for up to 2 days or freeze within 24 hours for longer storage. Proper finishing keeps texture and flavor optimal.
- Use a very sharp, flexible fillet knife for cleaner cuts and fewer scrapes; dull blades increase risk of slips.
- Work with chilled fish (near 32–40°F / 0–4°C) — colder flesh is firmer and fillets more precise.
- If scales fly, scale inside a shallow sink or cover surrounding area with paper towels for easier cleanup.
- When skinning, keep the blade nearly flat against the skin to avoid cutting too much flesh away; small sawing motions help.
- Save bones, head, and trimmings to make fish stock in 45–60 minutes for soups and sauces.
- Practice on larger, thicker fish first (salmon, trout) before attempting small, delicate species; larger fish are more forgiving.
- Always cut away from your body and keep fingers clear of the blade to avoid serious injury.
- Sanitize surfaces and tools after handling raw fish to prevent cross-contamination and raw seafood bacteria. Wash hands for 20 seconds after contact.
- If the fish smells strongly of ammonia or has a sticky, tacky surface, do not use it — that indicates spoilage.
- Beware of small pin bones; remove them carefully to prevent choking hazards, especially when serving children.
Was this guide helpful?
More Food & Entertaining guides
How to make stovetop shakshuka with tender eggs and balanced tomato sauce
Shakshuka is a comforting North African–style skillet of eggs poached in a spiced tomato sauce. This guide walks you through building a balanced sauce and gently cooking tender eggs on the stovetop so yolks stay silky while the sauce is bright and flavorful.
How to make homemade sourdough starter and maintain regular feedings
Making a sourdough starter is a simple, rewarding kitchen project that captures wild yeast and beneficial bacteria to leaven bread. With just flour, water, and a little patience you can build a lively culture and keep it healthy with regular feedings. Follow the step-by-step routine below to create and maintain a starter that will power many loaves.
How to assemble and store layered salads so they don’t get soggy before eating
Layered salads are a colorful, make-ahead way to serve a crowd, but soggy ingredients can ruin the texture. With a few simple construction and storage strategies you can keep greens crisp and dressings separated for 24–72 hours. Follow these steps to assemble jars or bowls that travel well and taste fresh when served.