How to temper chocolate for a glossy, snap finish
Tempering chocolate gives you glossy, crisp bars and perfectly set decorations by aligning the cocoa butter crystals. With a little patience, a kitchen thermometer, and either the seeding or tabling method, you can get professional results at home. Follow clear temperature targets and gentle handling for best results.
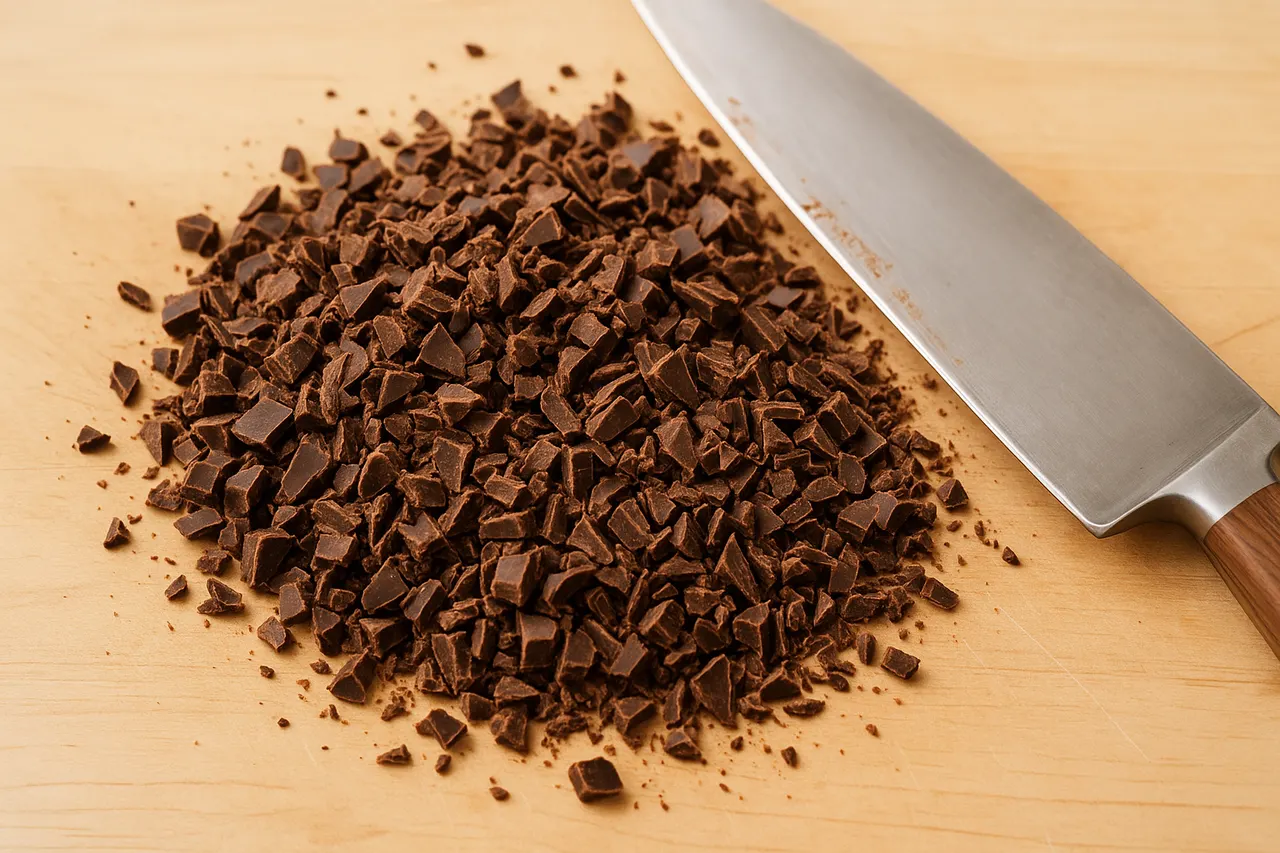
Step 1: Chop chocolate evenly
Cut 300–500 g of chocolate into uniform 5–8 mm pieces so it melts and cools evenly. Smaller, consistent pieces speed melting and reduce hot spots that can break temper.
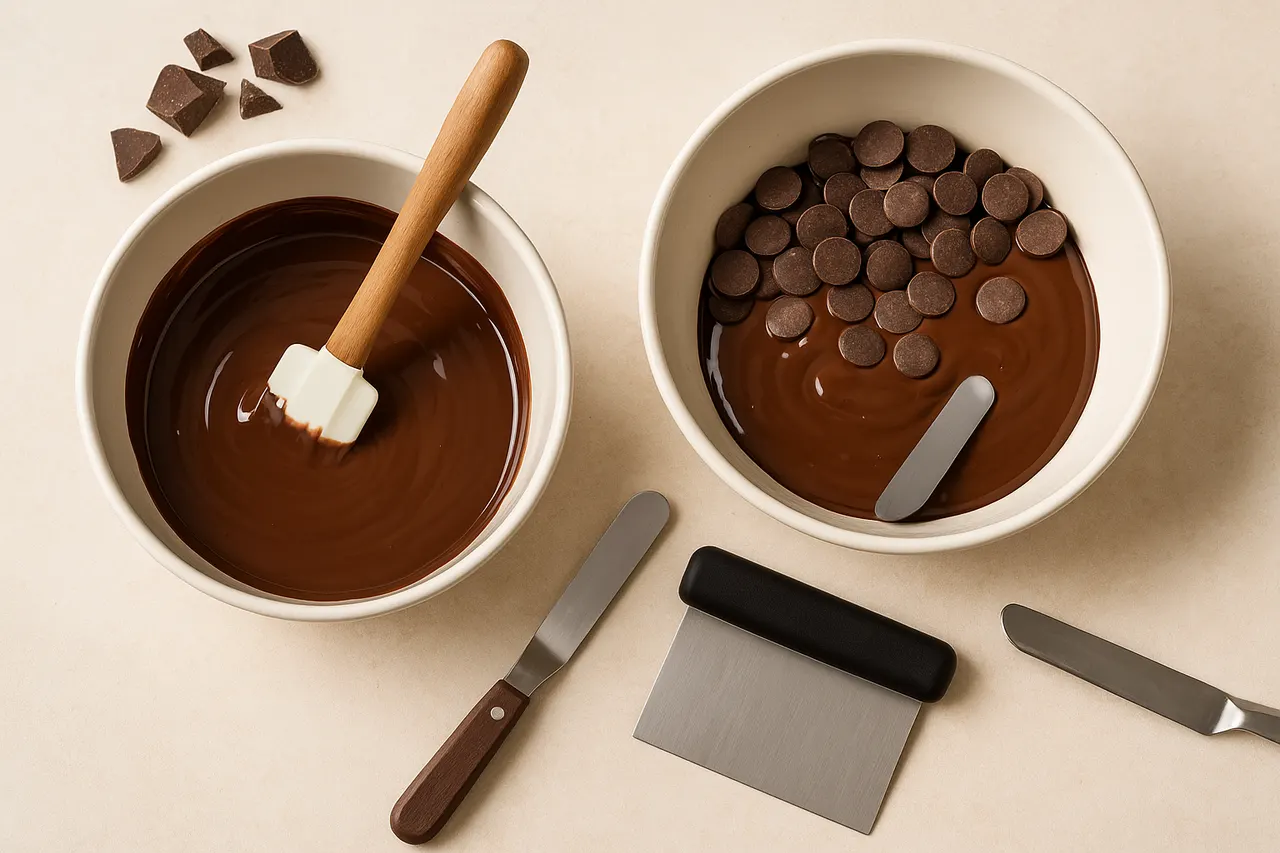
Step 2: Choose a method
Decide between seeding (easier for small batches) or tabling (works well on a cool marble surface). For seeding, reserve 25–30% of the chopped chocolate. For tabling, plan a large cool slab and a bench scraper.
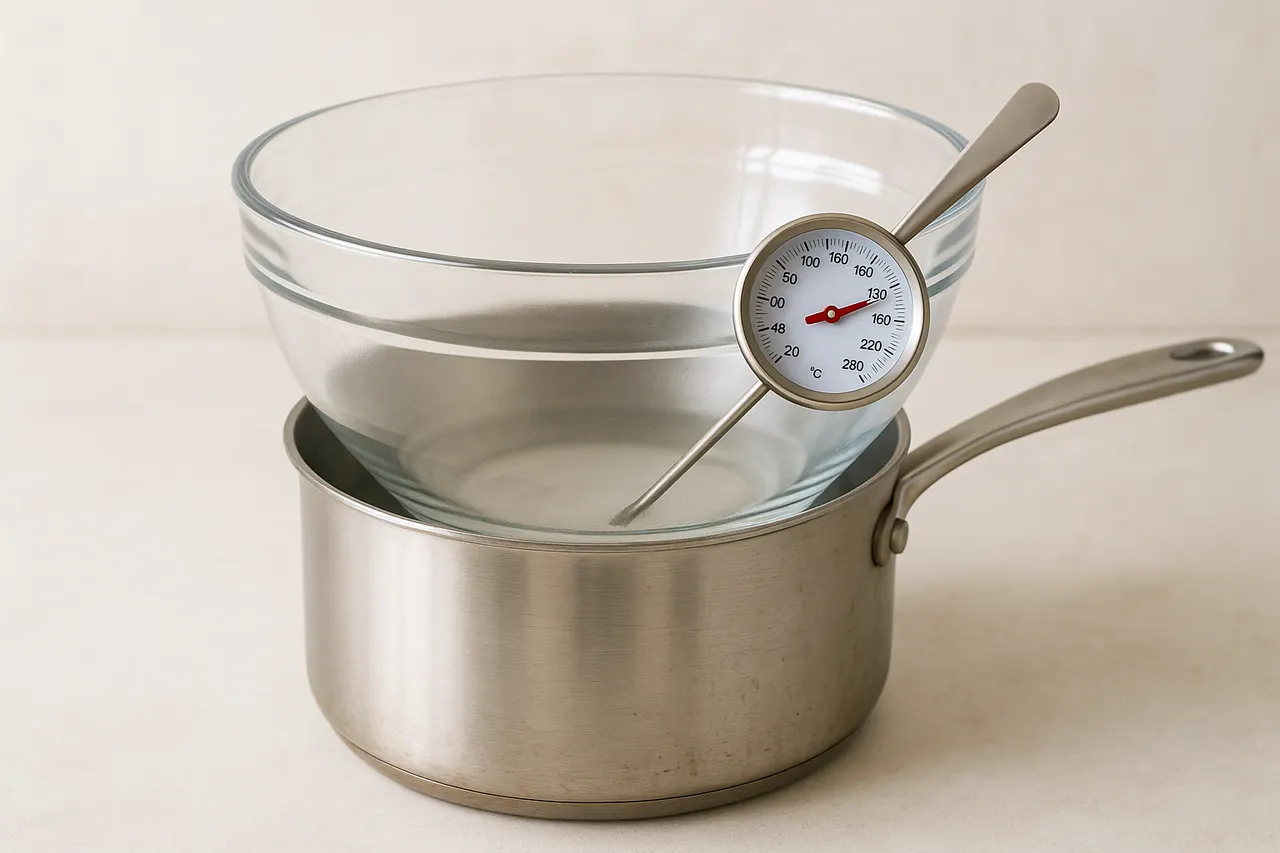
Step 3: Melt chocolate gently
Heat 2/3 of the chocolate in a heatproof bowl over a water bath or in 15–20 second bursts in a microwave at 50% power until it reaches 45–50°C for dark chocolate or 40–43°C for milk/white. Stir frequently to distribute heat and avoid burning.
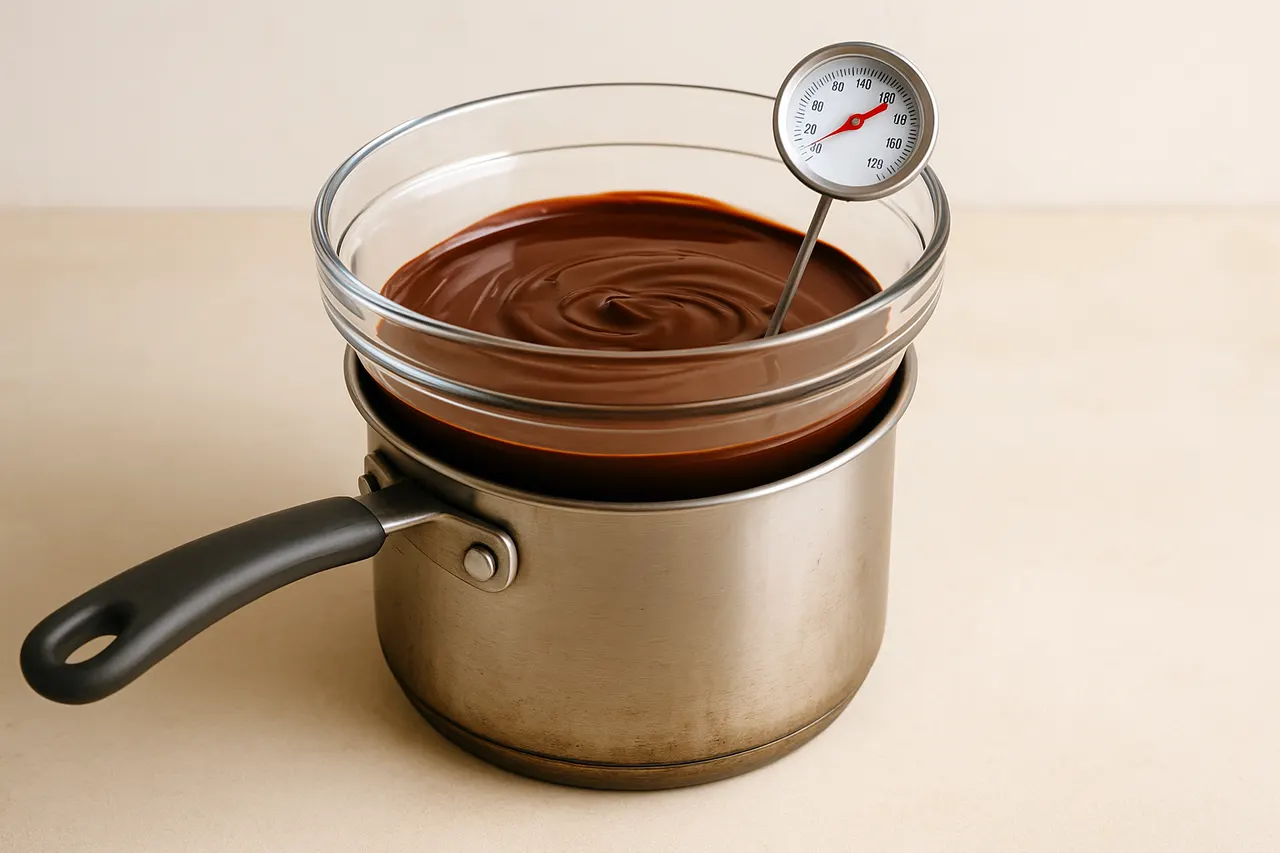
Step 4: Cool to temper range
For seeding: add reserved chocolate and stir until the temperature drops to 31–32°C for dark or 29–30°C for milk/white. For tabling: pour two-thirds onto marble and spread until it cools to the same target, then return to bowl.

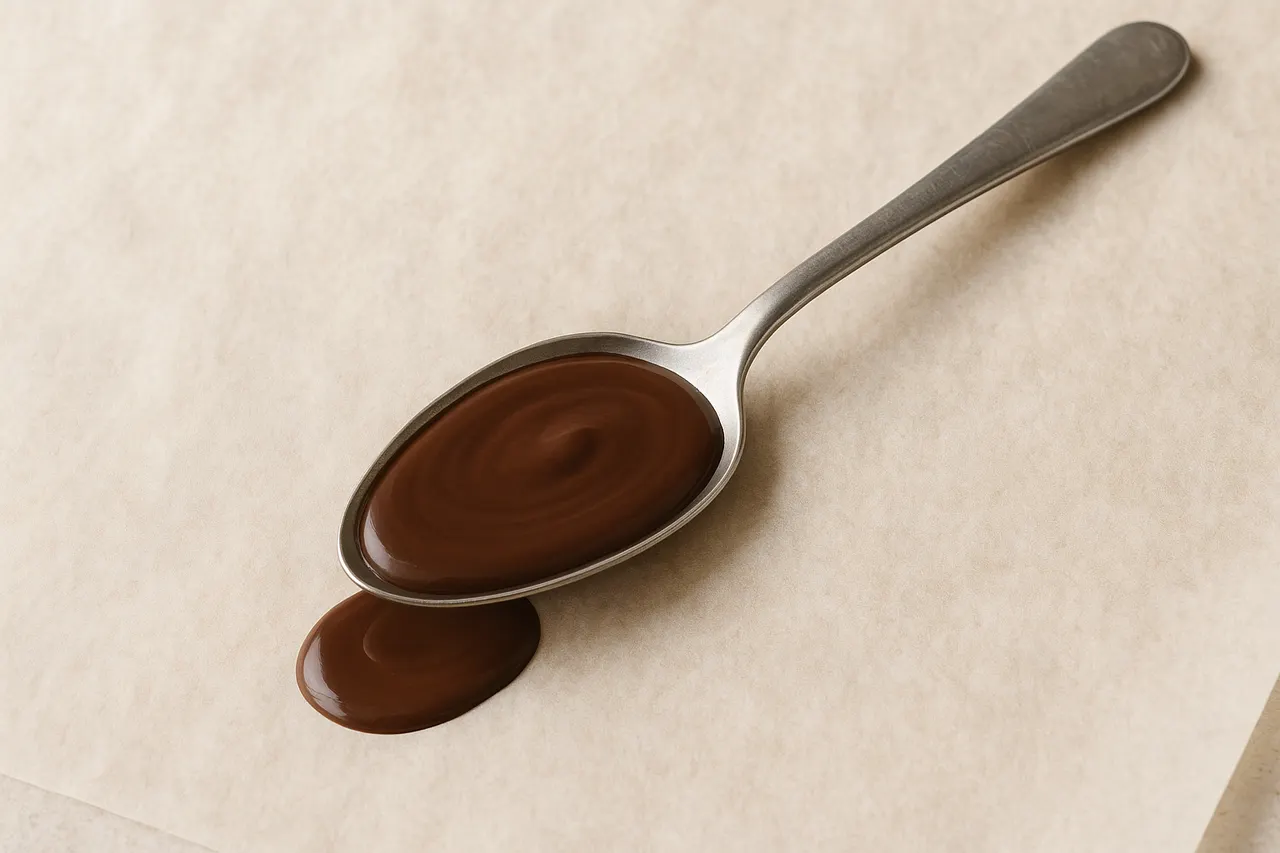
Step 5: Test for temper
Dip a small spoon or knife into the chocolate and let it sit at room temperature for 3–5 minutes; it should set glossy and hard without streaks. If it stays tacky or dull, reheat briefly to 2–3°C below the top melt temp and repeat cooling.
Step 6: Keep at working temperature
Maintain chocolate at 31–32°C for dark or 29–30°C for milk/white while you work, reheating in 5–10 second bursts or over the water bath to avoid exceeding the melt temp. Use a digital thermometer and stir often to prevent hot spots.
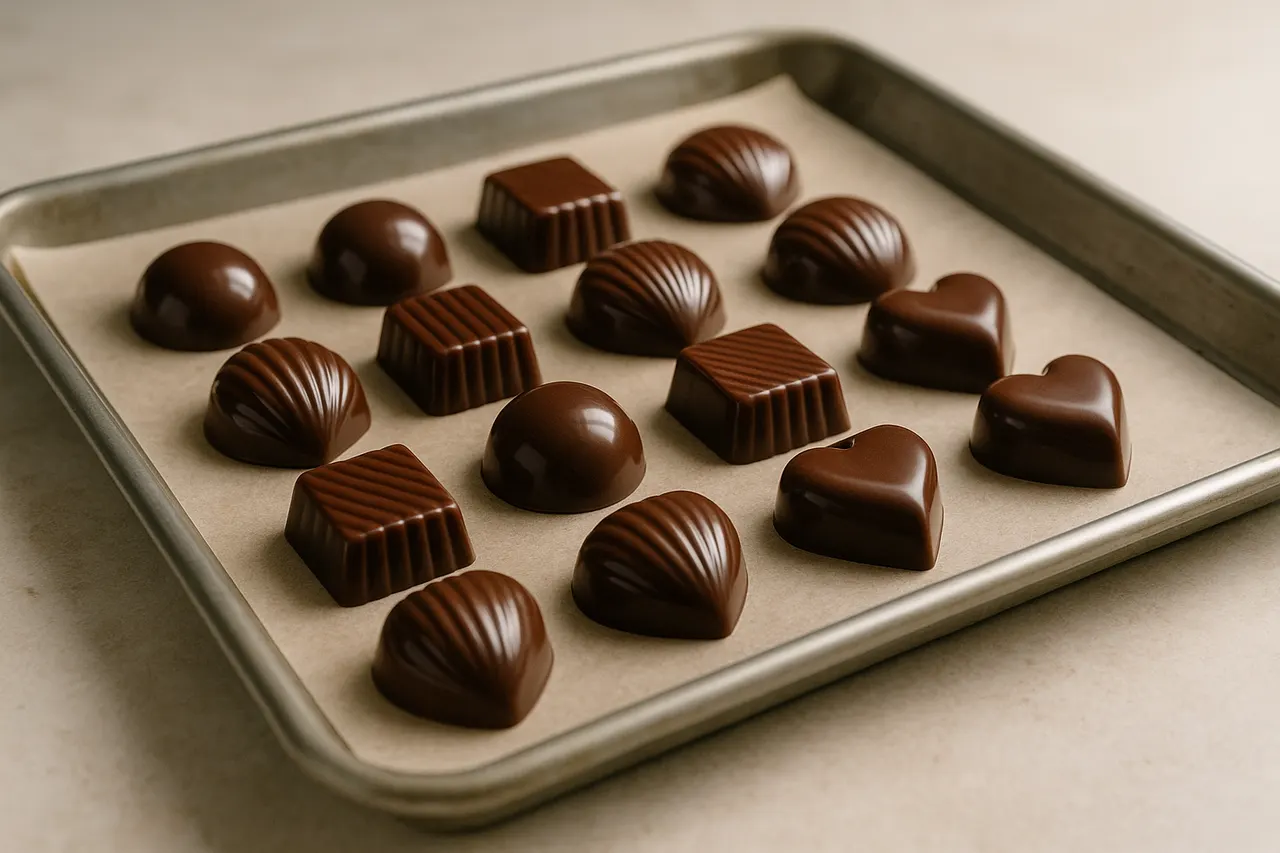
Step 7: Set and store finished pieces
Pour or mold chocolate, tap out air bubbles, and cool at 16–18°C if possible until fully set, about 30–60 minutes. Store finished chocolate in a cool, dry place (16–20°C, 50–60% humidity) to keep the snap and shine intact.
- Use a reliable digital probe thermometer with 0.5°C accuracy for consistent results.
- Work with dry utensils and bowls — even a drop of water will seize chocolate. If seizing occurs, add a teaspoon of neutral oil or warm cream only for some recipes.
- For small batches, the microwave seeding method is the quickest and least equipment-intensive.
- Warm metal tools slightly before dipping to prevent cold spots that can harden the chocolate prematurely.
- If you don’t have marble for tabling, a large stainless steel sheet works as a cooler surface.
- Keep room temperature stable; drafts or warm ovens nearby can interfere with setting.
- Never let chocolate exceed 50°C for dark or 43°C for milk/white — overheating destroys tempering crystals.
- Avoid any contact with water; even a few drops will make chocolate grainy and unusable without corrective steps.
- Do not stir with wet hands or use wet utensils; moisture prompts seizing and spoilage.
- If chocolate becomes dull or develops white streaks (bloom) after setting, it’s still safe to eat but indicates temper was lost or storage conditions were poor.
Was this guide helpful?
More Food & Entertaining guides
How to make stovetop shakshuka with tender eggs and balanced tomato sauce
Shakshuka is a comforting North African–style skillet of eggs poached in a spiced tomato sauce. This guide walks you through building a balanced sauce and gently cooking tender eggs on the stovetop so yolks stay silky while the sauce is bright and flavorful.
How to make homemade sourdough starter and maintain regular feedings
Making a sourdough starter is a simple, rewarding kitchen project that captures wild yeast and beneficial bacteria to leaven bread. With just flour, water, and a little patience you can build a lively culture and keep it healthy with regular feedings. Follow the step-by-step routine below to create and maintain a starter that will power many loaves.
How to assemble and store layered salads so they don’t get soggy before eating
Layered salads are a colorful, make-ahead way to serve a crowd, but soggy ingredients can ruin the texture. With a few simple construction and storage strategies you can keep greens crisp and dressings separated for 24–72 hours. Follow these steps to assemble jars or bowls that travel well and taste fresh when served.