How to thaw frozen meat safely and quickly
Thawing frozen meat safely keeps food tasty and prevents illness, while doing it quickly helps dinner happen on time. This guide gives practical, safe methods you can use depending on how much time you have and what equipment is available.
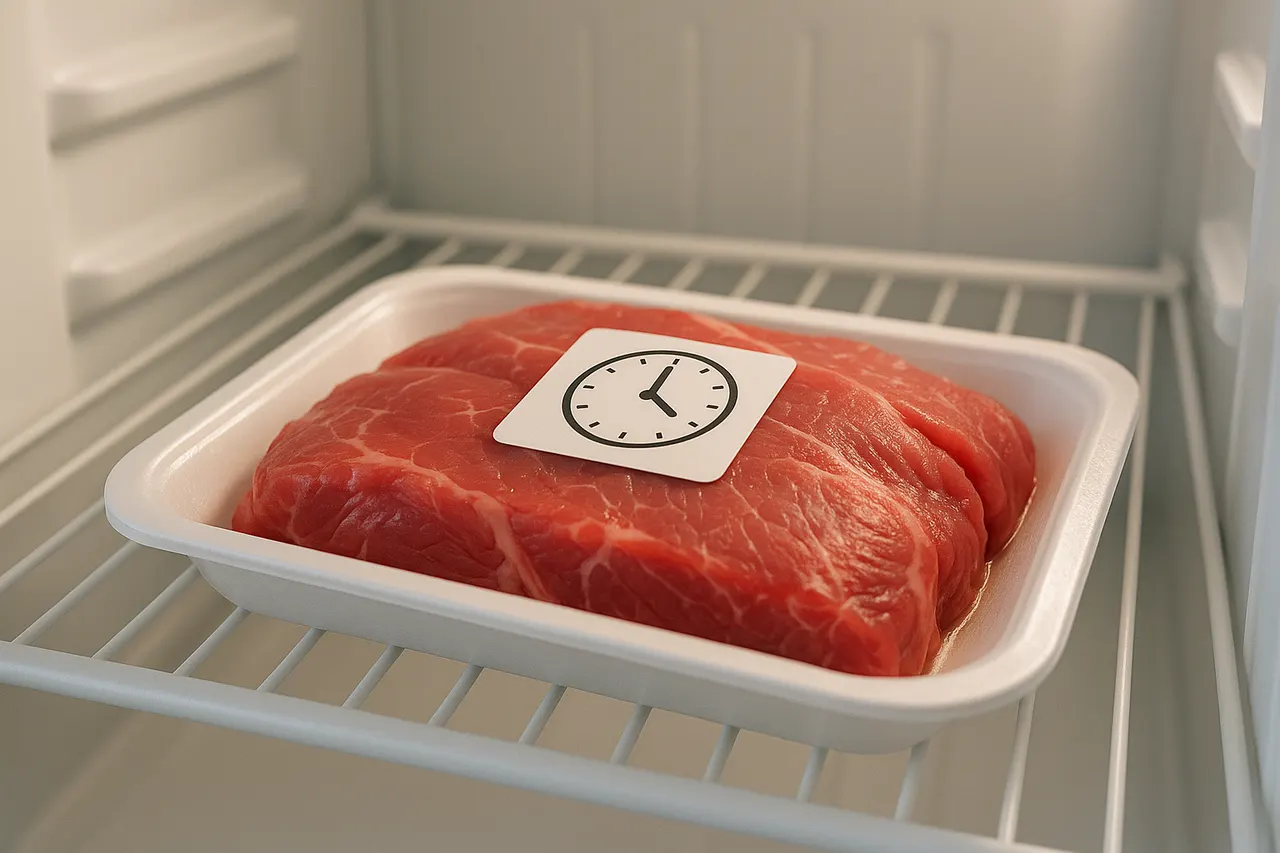
Step 1: Plan ahead with refrigerator thawing
Move frozen meat from the freezer to the refrigerator and place it on a rimmed tray to catch drips. Allow about 24 hours for every 1 to 1.5 pounds (450–700 g) of whole cuts; small packages may thaw overnight, and ground meat often needs 12–24 hours.
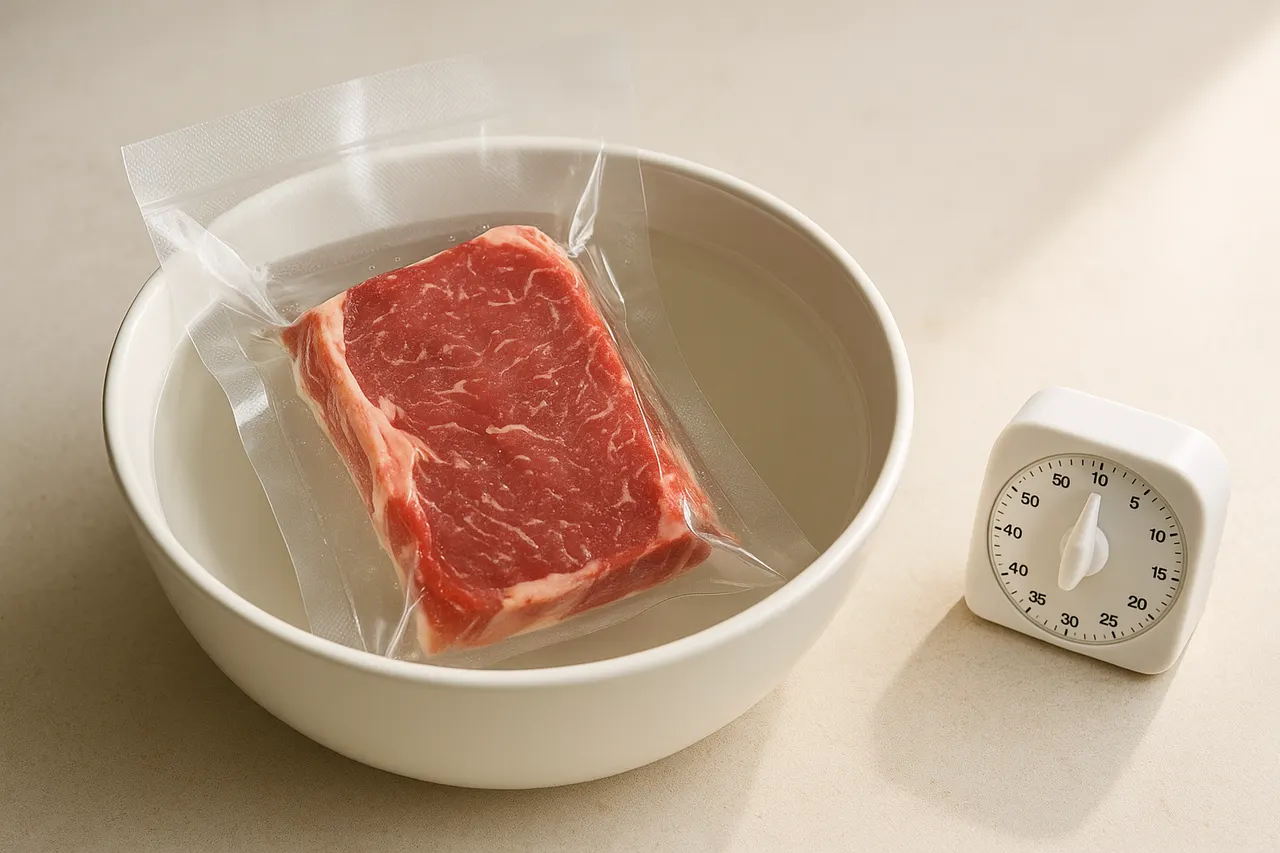
Step 2: Use the cold-water bath method
Seal meat in a leakproof plastic bag and submerge in a bowl or sink of cold water, changing the water every 30 minutes. Expect 1–2 hours for small packages and 2–3 hours for larger roasts; cook immediately after thawing because the meat warms into a danger zone.
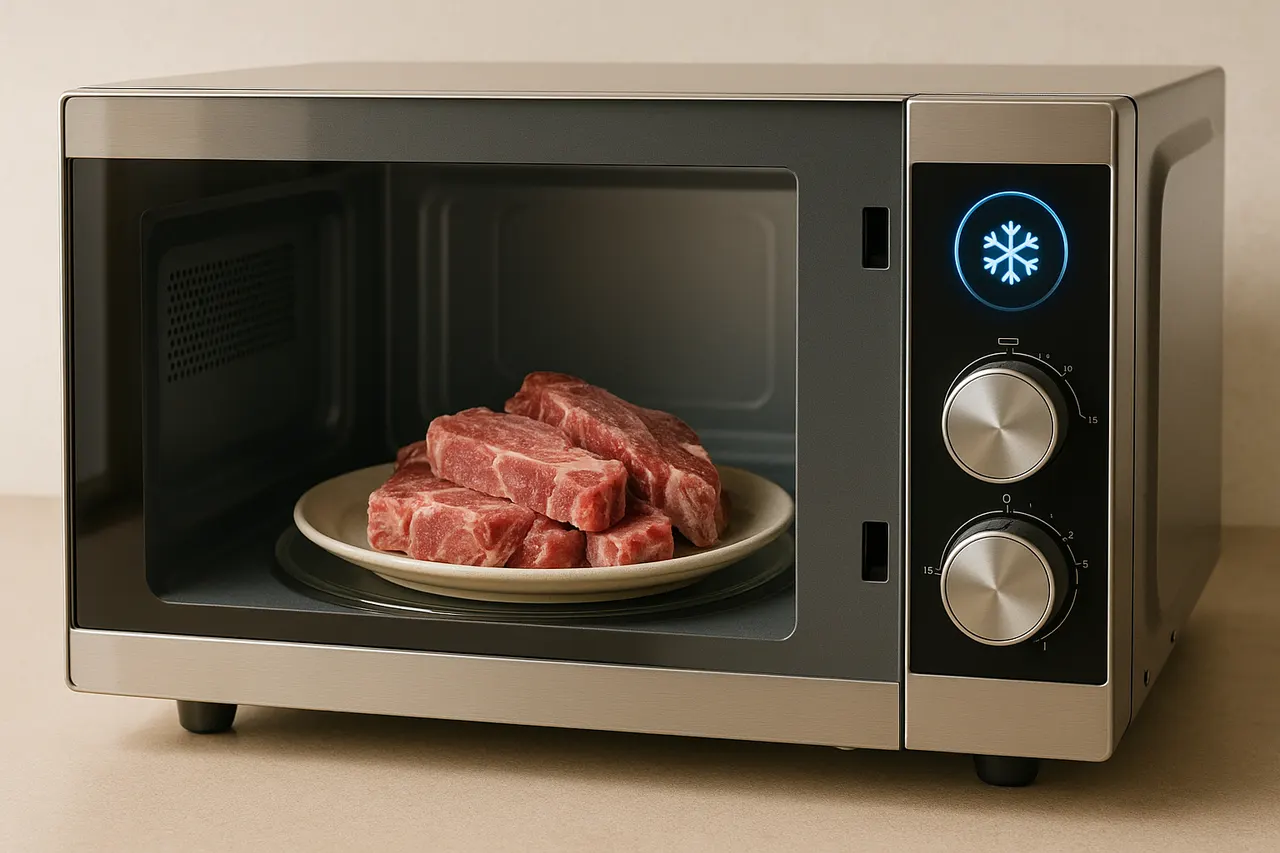
Step 3: Microwave thaw for speed
Use the microwave defrost setting and rotate or flip meat every 1–2 minutes to promote even thawing and prevent partial cooking. Stop when pliable but still slightly icy and cook immediately, since microwave thawing can bring parts of the meat into the 40–140°F (4–60°C) danger zone.
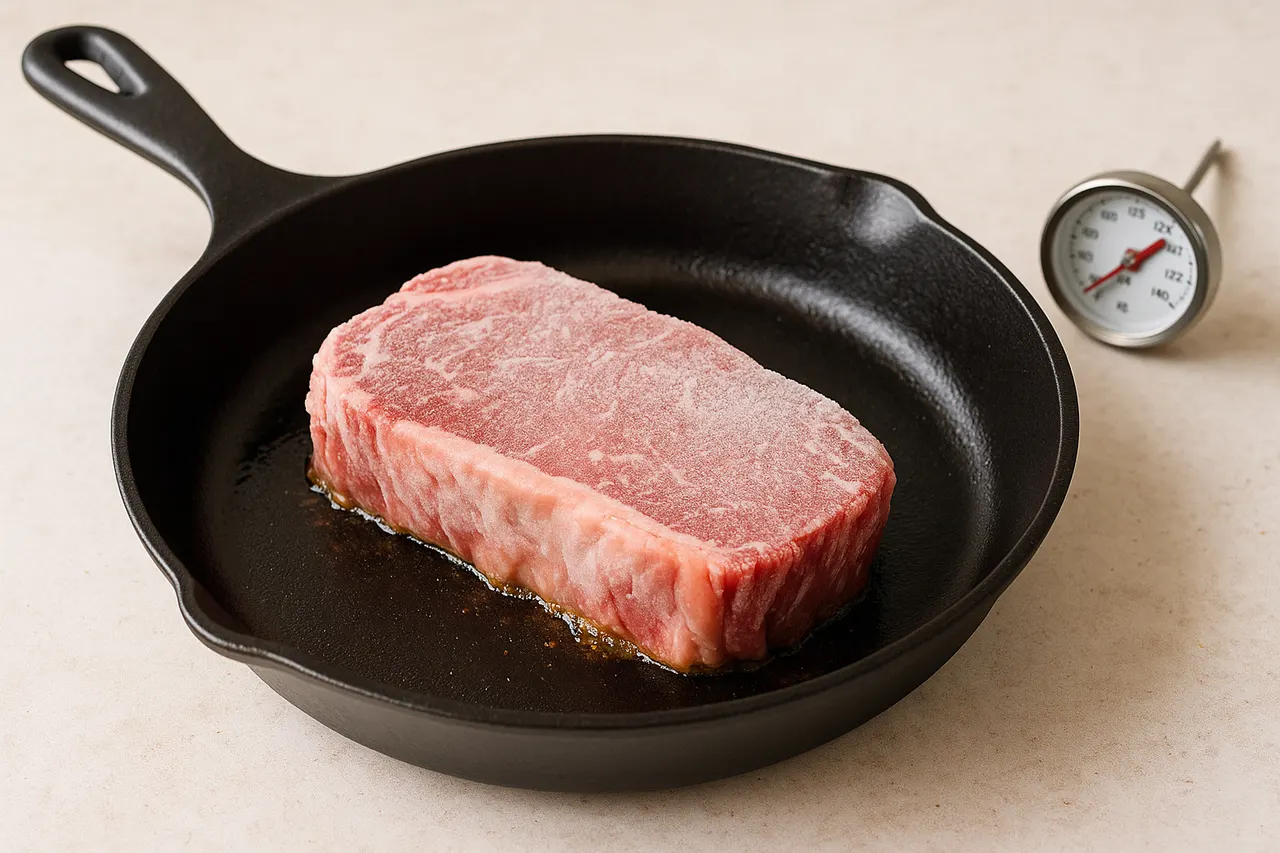
Step 4: Cook from frozen when appropriate
For many items like smaller cuts, thin steaks, or cooked frozen meals, you can cook directly from frozen; increase cooking time by 50% and check internal temperature. This is safe because the meat moves quickly through the danger zone while on high heat.
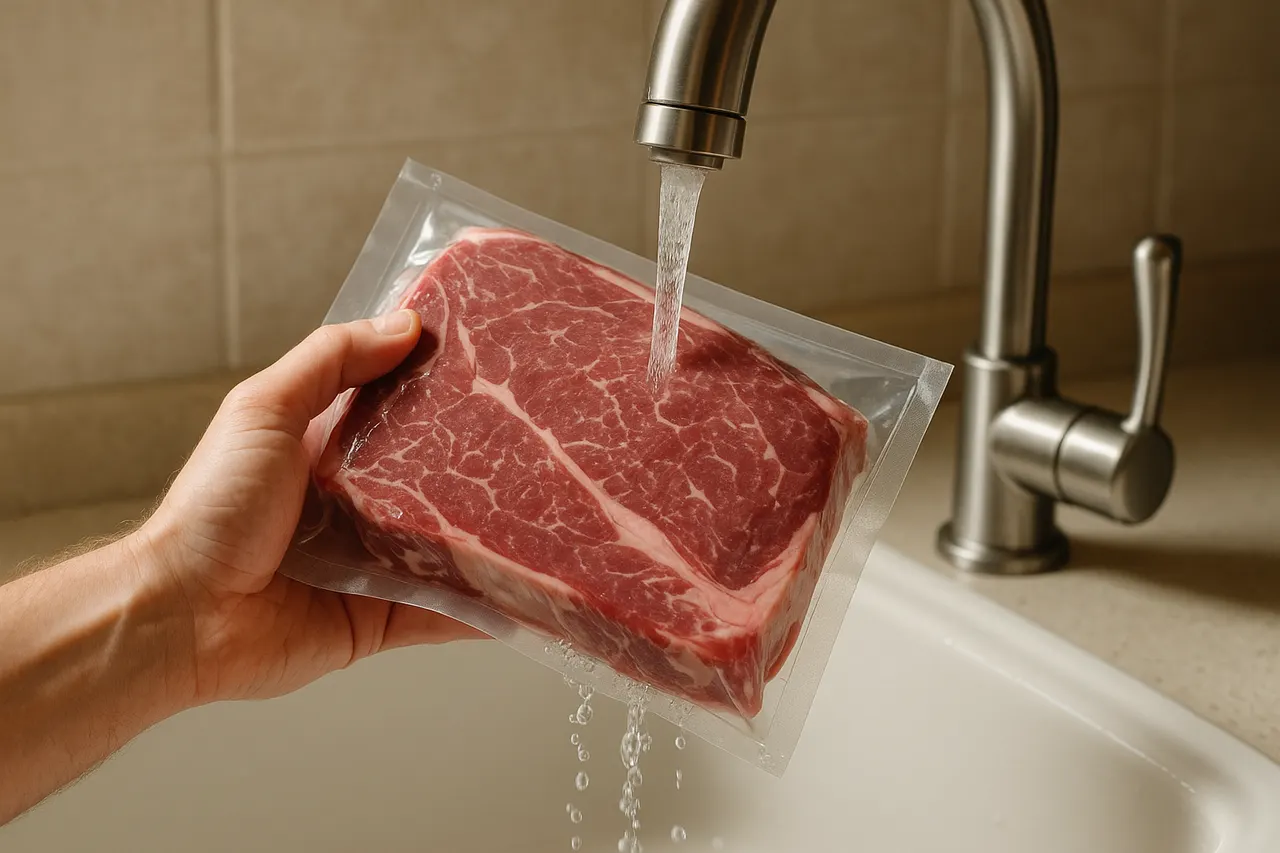
Step 5: Use a cold running water rinse for small cuts
For small portions, hold the sealed bag under cold running water until thawed, which can take 10–30 minutes depending on size. Keep water temperature below 70°F (21°C) and cook immediately after thawing to reduce bacterial growth.
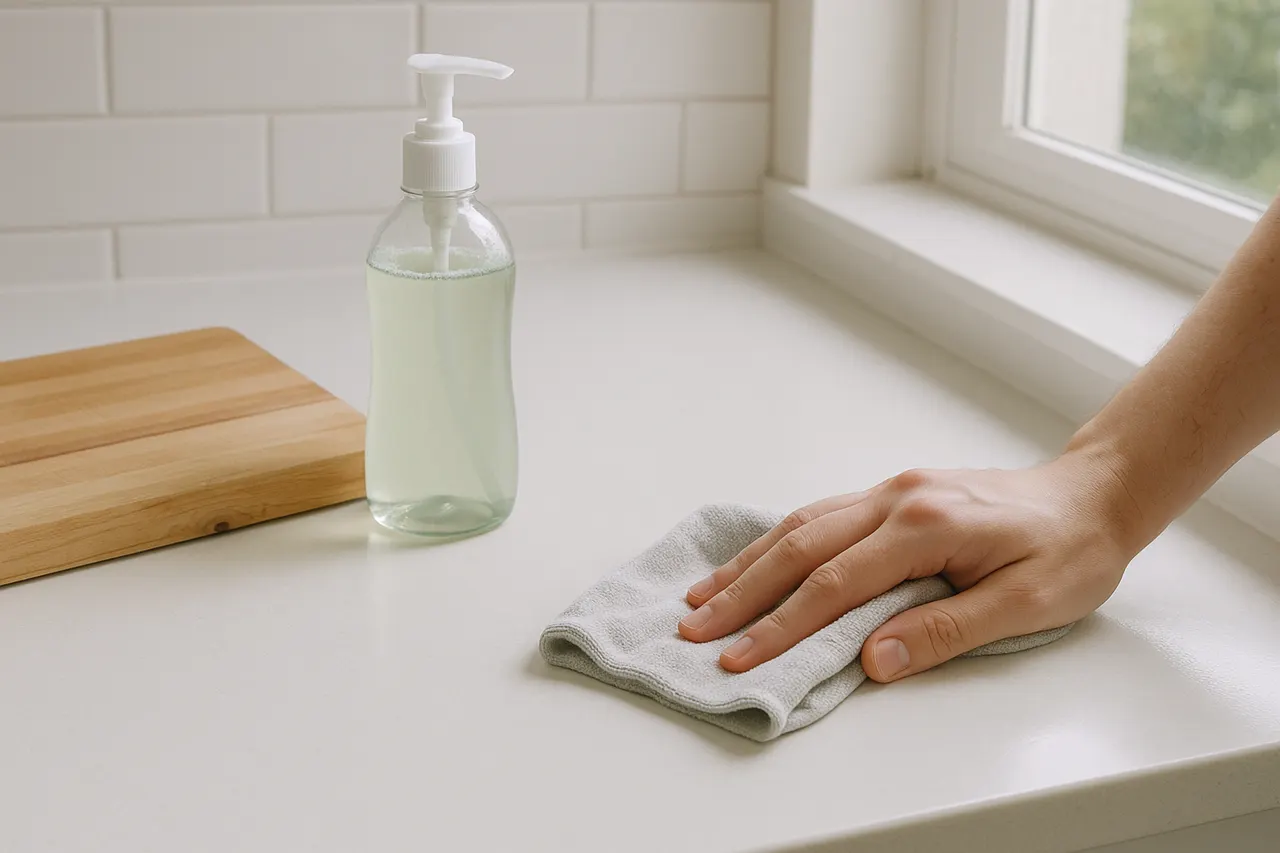
Step 6: Keep workspace and tools sanitary
Sanitize counters, cutting boards, and utensils after contact with raw thawing juices using hot soapy water or a 1 tablespoon bleach per gallon solution. Prevent cross-contamination by using separate boards for thawed meat and produce.
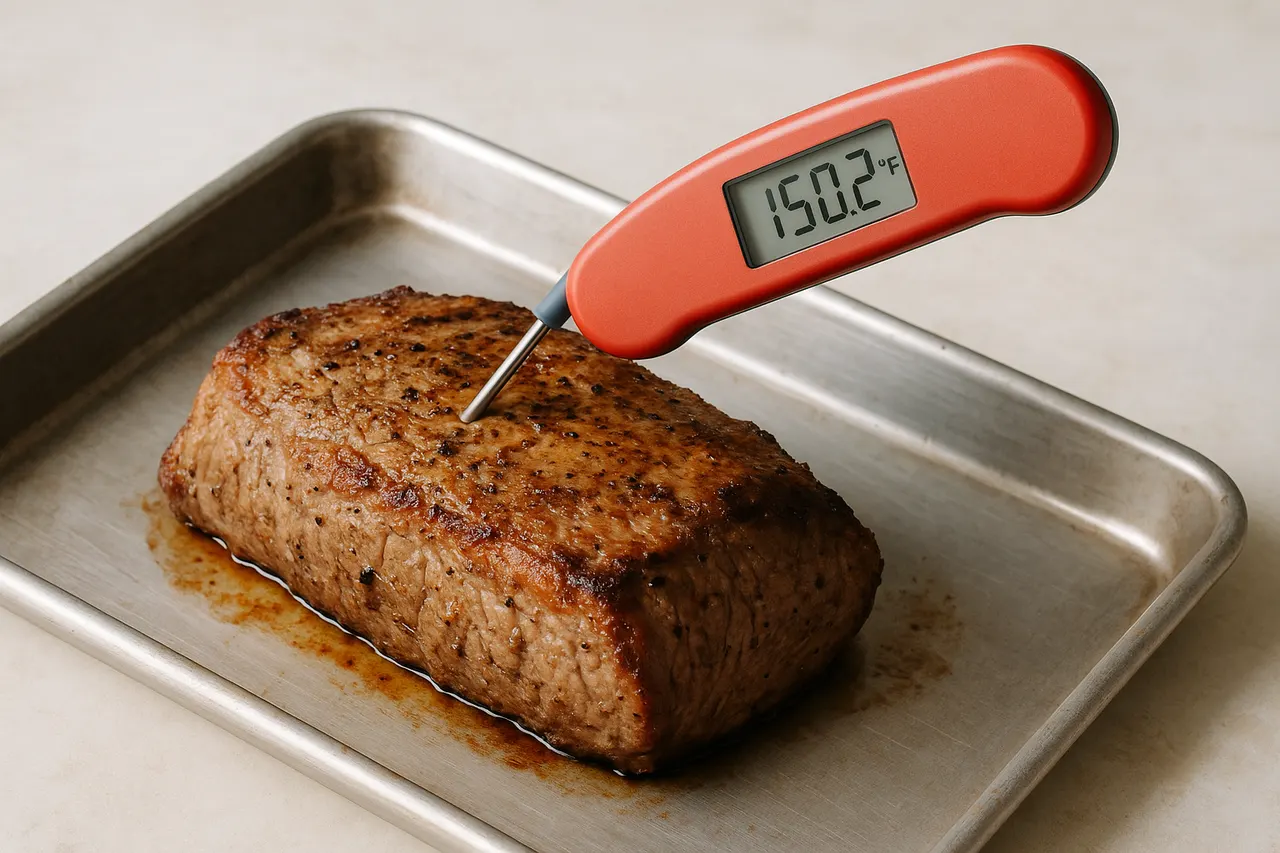
Step 7: Check doneness with a thermometer
After thawing and cooking, verify safe internal temperatures: 165°F (74°C) for poultry, 160°F (71°C) for ground meats, and 145°F (63°C) plus 3 minutes rest for whole cuts. Using an instant-read thermometer ensures safety and avoids overcooking from guesswork.
- Label packages with date and weight before freezing to estimate thaw time accurately.
- Thawing in the refrigerator keeps meat at 40°F (4°C) or below, the safest environment for slow thawing.
- Keep thawed meat in its original packaging or in a leakproof container to retain moisture and prevent contamination.
- Plan meals so you can thaw overnight and cook within 1–2 days for poultry or ground meat and 3–5 days for whole cuts.
- If you must refreeze, cook the meat first; refreezing raw thawed meat lowers quality unless it stayed below 40°F (4°C).
- Use smaller portions or divide large roasts before freezing to speed future thawing and reduce waste.
- Never thaw meat at room temperature on the counter; the surface can enter the bacterial danger zone while the inside is still frozen.
- Avoid water warmer than 70°F (21°C) for cold-water thawing, as warmer water encourages bacterial growth.
- If microwave thawing begins to cook edges, stop and cook immediately to prevent uneven temperatures that harbor bacteria.
- Do not reuse water from a thawing bath for cooking or drinking; it can contain raw juices and pathogens.
Was this guide helpful?
More Food & Entertaining guides
How to make stovetop shakshuka with tender eggs and balanced tomato sauce
Shakshuka is a comforting North African–style skillet of eggs poached in a spiced tomato sauce. This guide walks you through building a balanced sauce and gently cooking tender eggs on the stovetop so yolks stay silky while the sauce is bright and flavorful.
How to make homemade sourdough starter and maintain regular feedings
Making a sourdough starter is a simple, rewarding kitchen project that captures wild yeast and beneficial bacteria to leaven bread. With just flour, water, and a little patience you can build a lively culture and keep it healthy with regular feedings. Follow the step-by-step routine below to create and maintain a starter that will power many loaves.
How to assemble and store layered salads so they don’t get soggy before eating
Layered salads are a colorful, make-ahead way to serve a crowd, but soggy ingredients can ruin the texture. With a few simple construction and storage strategies you can keep greens crisp and dressings separated for 24–72 hours. Follow these steps to assemble jars or bowls that travel well and taste fresh when served.