How to whip cream to soft and stiff peaks without overbeating
Whipping cream to soft or stiff peaks is a quick skill that elevates desserts and drinks. With a few simple techniques—temperature control, the right tools, and watching textures—you can achieve perfect peaks without turning cream into butter. This guide walks you through consistent steps and practical timing to get reliable results every time.
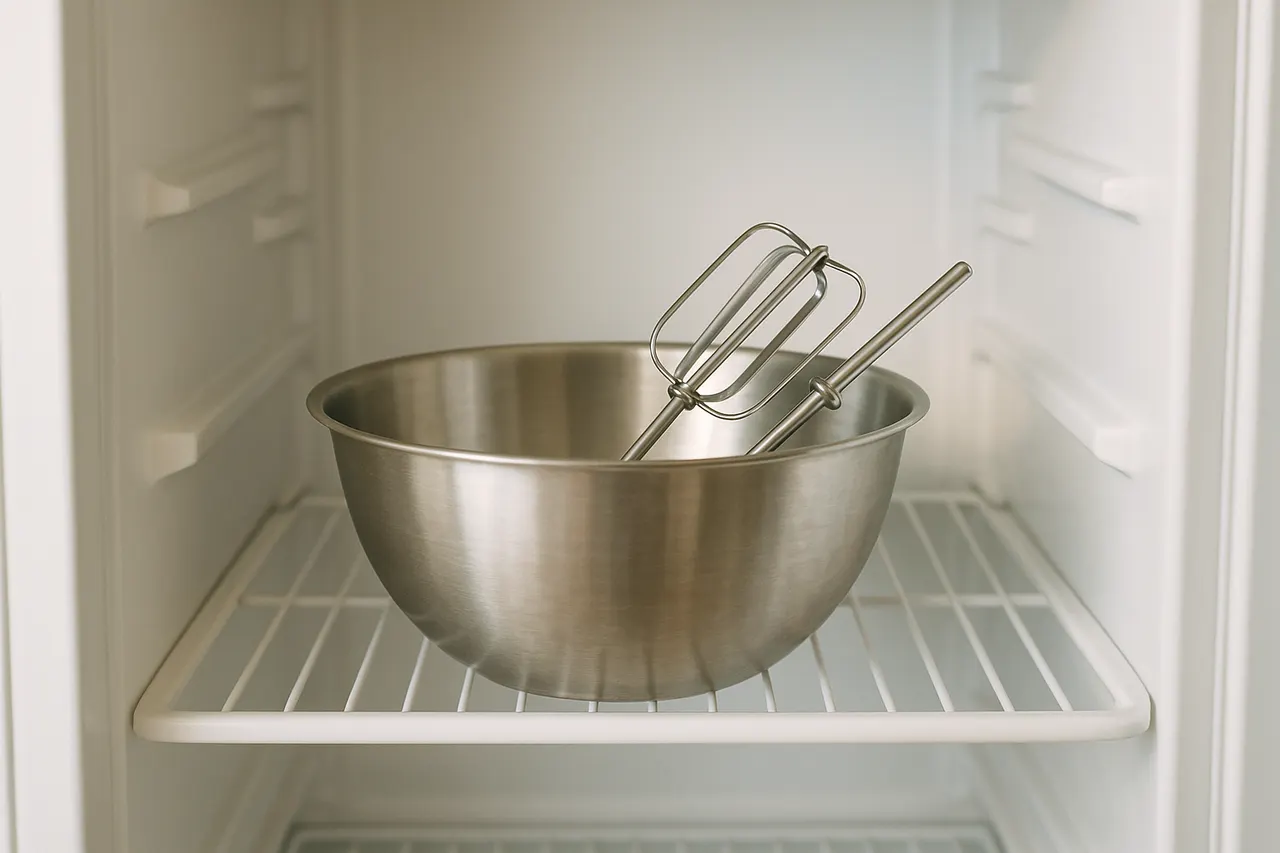
Step 1: Chill your equipment
Place the mixing bowl and whisk or beaters in the refrigerator for at least 15–30 minutes; for best results chill 10–20 minutes in the freezer if your bowl is metal. Cold equipment keeps the cream colder longer so air incorporates before fat starts to clump, giving fuller, more stable peaks.
Step 2: Use the right cream
Choose heavy cream or double cream labeled 30–40% milk fat; avoid low-fat creams. Higher fat content creates stable structure—aim for 1–2 cups (240–480 ml) per batch for predictable timing and easier stopping before overbeating.

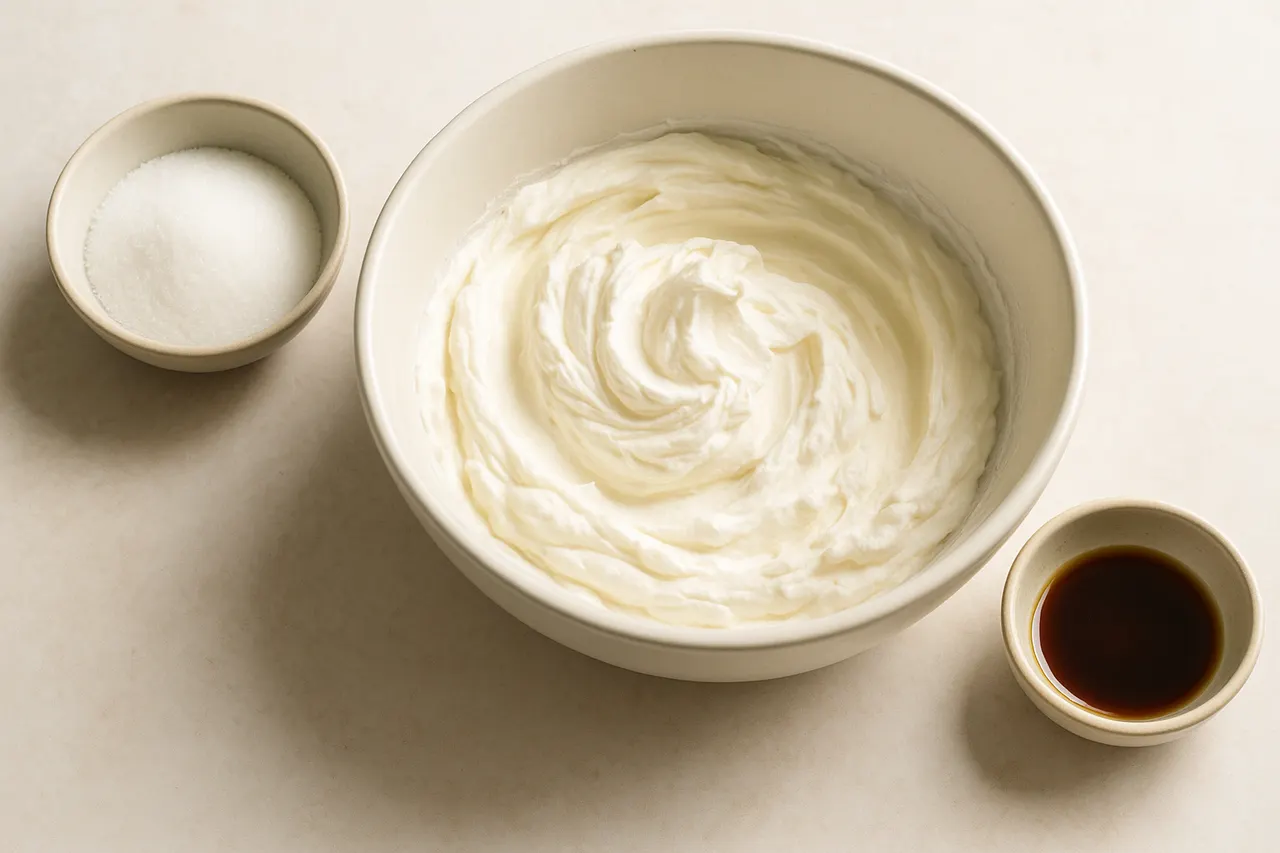
Step 3: Add flavorings at the right time
If using sugar, vanilla, or liqueurs, add 1–2 tablespoons of sugar and 1 teaspoon vanilla after cream starts to thicken but before peaks form. Sugar slows foam formation slightly; adding it too early can delay whipping, while adding too late can make incorporation uneven.
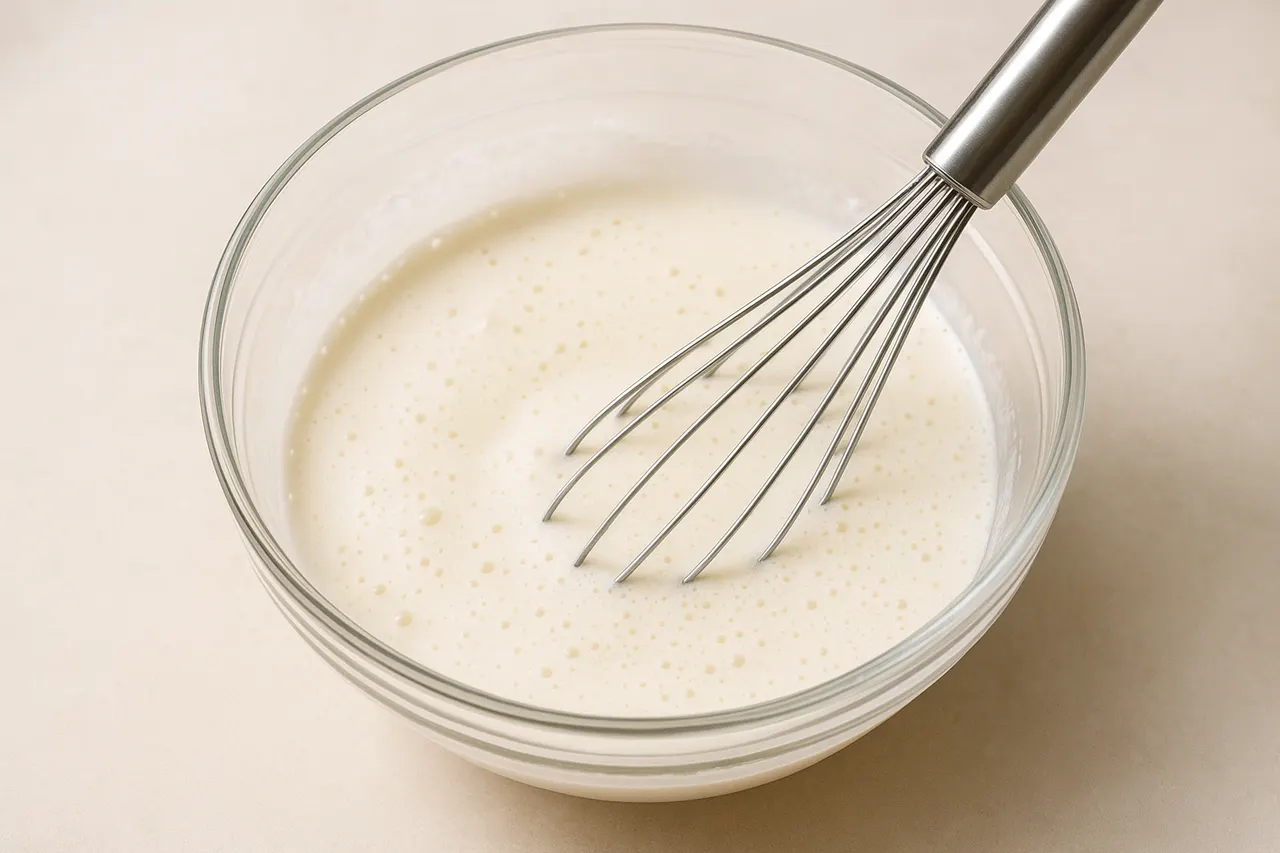
Step 4: Start slow then increase speed
Begin whisking at low speed for 30–60 seconds to form small bubbles, then raise to medium-high. This gradual build prevents large unstable bubbles; for hand whisking use steady circular motions for 3–5 minutes, for a mixer expect 2–4 minutes depending on speed and volume.
Step 5: Watch for soft peak stage
Stop and check after about 2 minutes with a mixer or 3 minutes by hand; lift the whisk—soft peaks will gently hold then slump back after 1–2 seconds. Soft peaks are ideal for folding into mousses or topping pies; move on to stiff peaks only when needed to avoid overworking the cream.
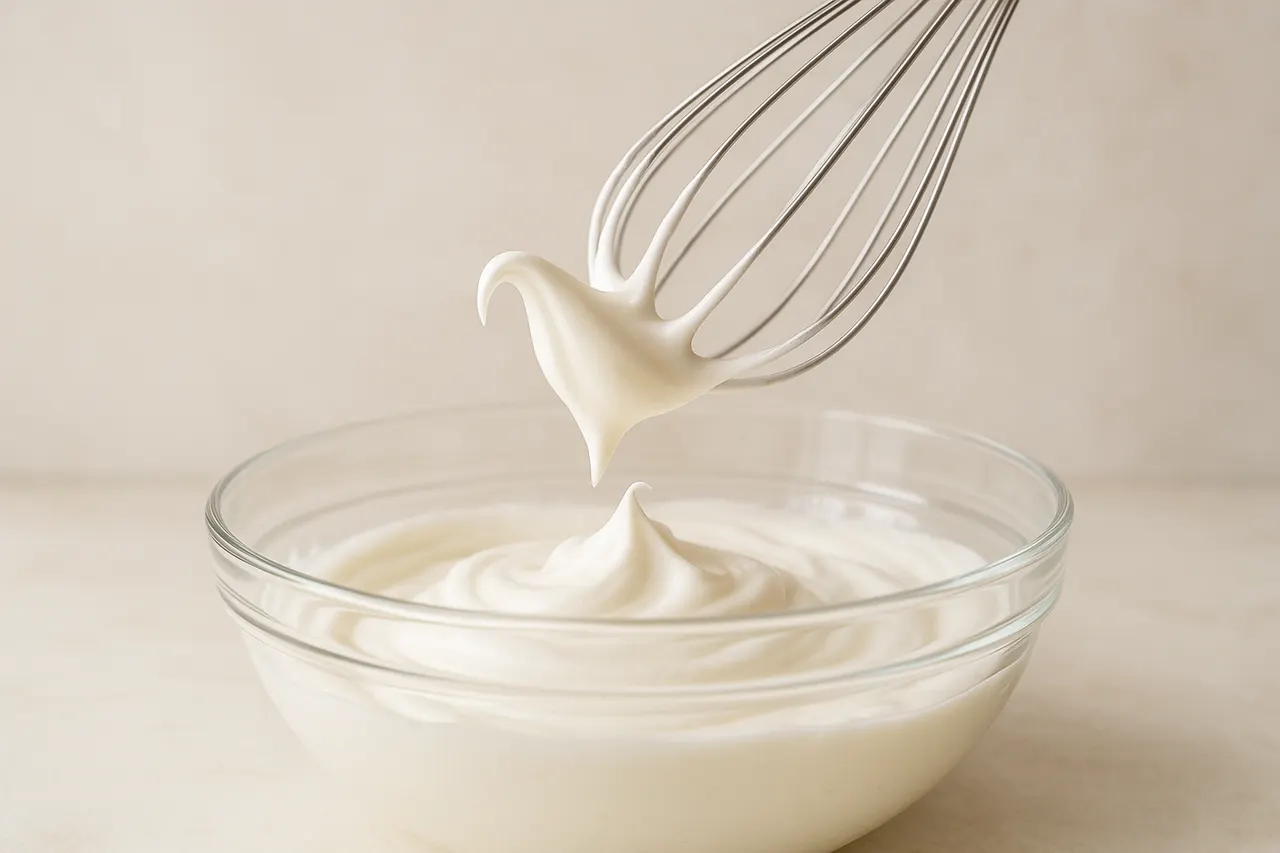
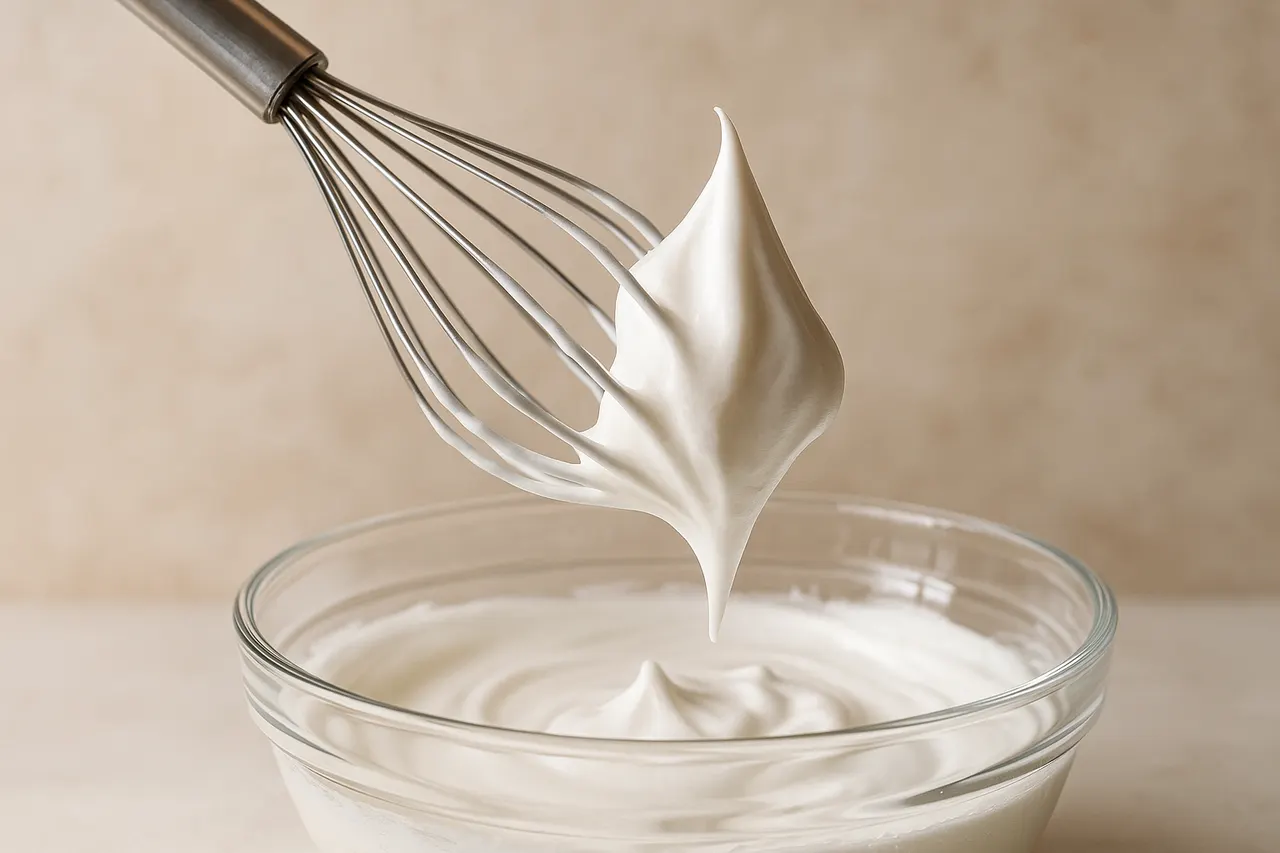
Step 6: Move to stiff peaks carefully
Continue whipping in 10–15 second bursts, checking frequently; stiff peaks stand straight and hold their shape but still look glossy. Total whipping time from start to stiff peaks is usually 3–6 minutes with a mixer or 5–8 minutes by hand—stop immediately once stiffness is reached to prevent graininess.
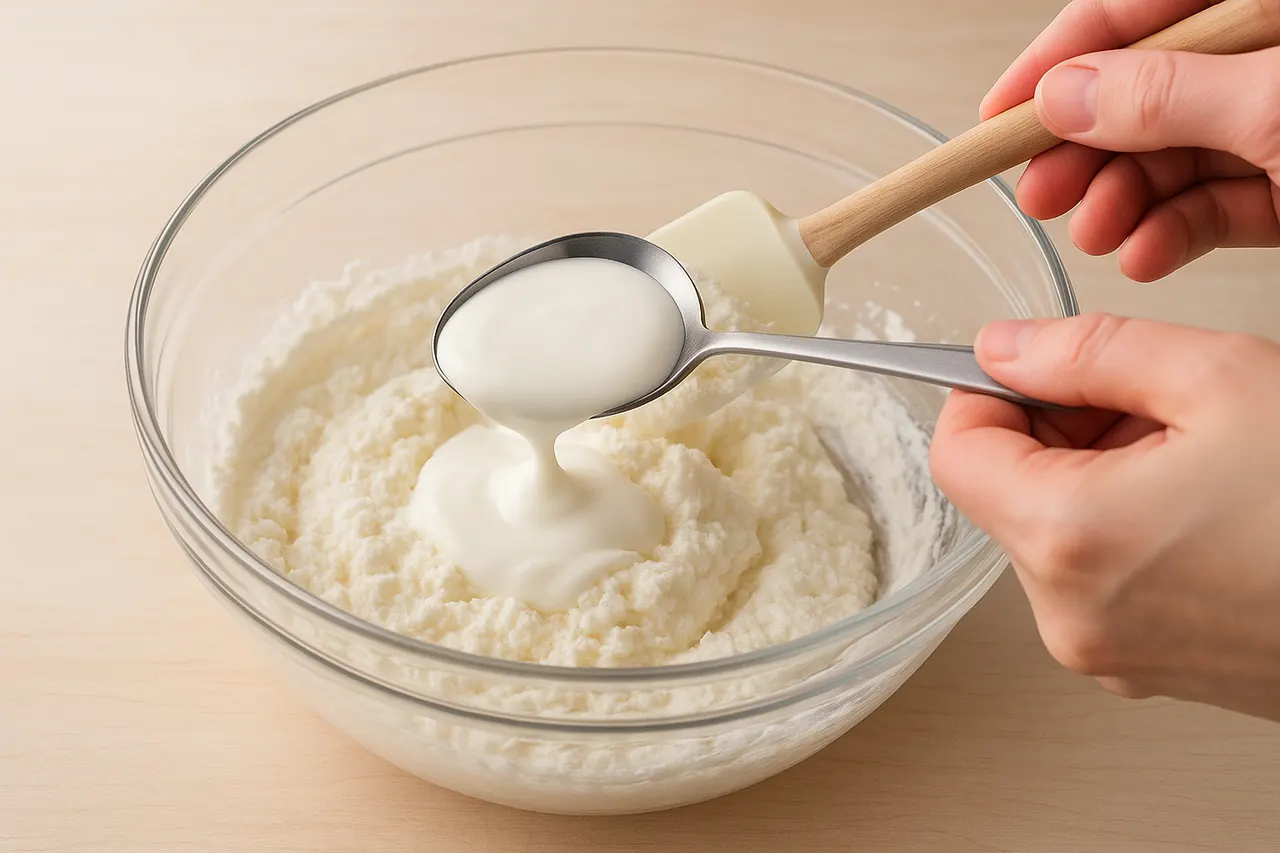
Step 7: Rescue slightly overwhipped cream
If cream becomes grainy or starts separating, add 1–2 tablespoons of unwhipped cold cream and gently fold it in to smooth texture; work quickly and chill briefly if needed. If separation is advanced, repurpose as a butter-flavored spread or start a new batch to avoid food safety risks.
- Measure cream by volume so timing is predictable: 1 cup (240 ml) per dessert portion is common.
- Use a metal bowl for best chilling and airflow; glass or ceramic can work but chill longer.
- Keep the bowl at a 30–45 degree angle while whisking by hand to help incorporate air efficiently.
- Taste sugar levels as you go—2 tablespoons of powdered sugar per cup of cream is a good starting point.
- If you need very stable whipped cream for piping, add 1 teaspoon of unflavored gelatin dissolved in 1 tablespoon water per 2 cups cream.
- Whip in short bursts toward the end and check between bursts to avoid overshooting texture.
- Make whipped cream just before serving for best loft; it will hold for 2–4 hours refrigerated depending on stabilizers used.
- Do not leave whipped cream at room temperature for more than 2 hours to avoid bacterial growth.
- Avoid overwhipping into butter: once the cream looks grainy or separates, texture cannot be fully reversed without adding fresh cream.
- If using alcohol-based flavorings, add in moderation; they can thin the cream and slow whipping, requiring longer whipping times.
- Do not reuse cream that has separated and been left out or smells off—discard for safety.
Was this guide helpful?
More Food & Entertaining guides
How to make stovetop shakshuka with tender eggs and balanced tomato sauce
Shakshuka is a comforting North African–style skillet of eggs poached in a spiced tomato sauce. This guide walks you through building a balanced sauce and gently cooking tender eggs on the stovetop so yolks stay silky while the sauce is bright and flavorful.
How to make homemade sourdough starter and maintain regular feedings
Making a sourdough starter is a simple, rewarding kitchen project that captures wild yeast and beneficial bacteria to leaven bread. With just flour, water, and a little patience you can build a lively culture and keep it healthy with regular feedings. Follow the step-by-step routine below to create and maintain a starter that will power many loaves.
How to assemble and store layered salads so they don’t get soggy before eating
Layered salads are a colorful, make-ahead way to serve a crowd, but soggy ingredients can ruin the texture. With a few simple construction and storage strategies you can keep greens crisp and dressings separated for 24–72 hours. Follow these steps to assemble jars or bowls that travel well and taste fresh when served.